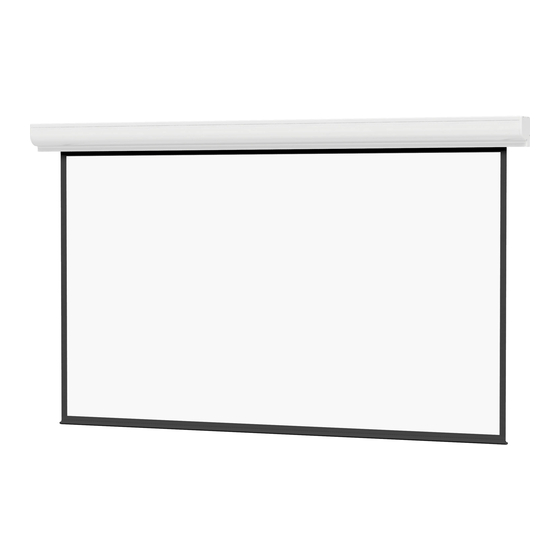
Da-Lite Contour Electrol Instruction Book
Hide thumbs
Also See for Contour Electrol:
- Instruction book (9 pages) ,
- Installer's manual (2 pages) ,
- Instruction book (8 pages)
Table of Contents
Advertisement
Advertisement
Table of Contents

Summary of Contents for Da-Lite Contour Electrol
- Page 1 Instruction Book for ContouR ElECtRol ® ®...
-
Page 2: Important Safety Instructions
NoTe: Remove the black tape and rubber bands from the slat 5-11/16" bar after the case has been installed. There are three ways to install the Contour electrol — Wall Mount, Ceiling Mount, or Ceiling Hook. Procedures for each method are as follows: Wall Mount 2-5/16"... -
Page 3: Ceiling Flush Mount
The brackets can be attached anywhere within 12" of the ends of the case (Figure 4). 4. Before hanging your Contour electrol, be sure the ceiling has adequate reinforcement. 5. Using the holes in the ceiling hook brackets, hang the Contour electrol using the appropriate hardware and fasteners for your ceiling type. -
Page 4: Electrical Installation
ELECTRICAL INSTALLATION 1. open the junction box on the left end of the case using a #2 Phillips screwdriver. Install electrical connections that apply to your unit. Make sure to review the wiring diagram for proper hook up. Replace the junction box cover. NoTe: Must be installed in accordance with the requirements of the Local Building Codes, the Canadian electrical Code (CeC), CAN/CSA C22.1 and the National... - Page 5 SCREEN AdJUSTMENT FOR 120V SCREENS 1. Locate the wall switch and remove the cover plate from the 4. To adjust the up limit switch, press and hold the up tactile button until the LeD on the back of the switch turns solid wall switch and remove the switch from the junction box.
-
Page 6: 120V Wiring Diagram
CONTOUR CONTOUR ELECTROL ELECTROL INSTALLATION FOR 120V SCREENS INSTALLATION FOR 120V SCREENS ® ® ® ® 120V Wiring DiagraM 3-conductor 20–24 gauge wire can be used in place of the iMportant note: The wall switch is ReQUIReD to make S T O supplied RJ-14 cable to connect the wall switch. - Page 7 CONTOUR ELECTROL INSTALLATION FOR 120V SCREENS ® ® 120V Wiring DiagraM With optional Built-in ViDeo proJeCtor interFaCe Caution: The projector must be turned off before connecting iMportant note: The wall switch is ReQUIReD to make the trigger wires to the projector. Failure to do so may damage any limit switch adjustments, eVeN if a third party control the controller.
-
Page 8: 240V Wiring Diagram
CONTOUR ELECTROL INSTALLATION FOR 240V SCREENS ® ® 240V Wiring DiagraM ilt rJ-9 pin-outs (Tab Is Facing Up) iMportant note: The wall switch is ReQUIReD to make IR or Up Black any limit switch adjustments, eVeN if a third party control Ground Common system is used. -
Page 9: Troubleshooting
TROUBLESHOOTING Visit www.da -lite.com/products/tutorials.php to find installation You can contact us by email at info@da-lite.com or by phone at and troubleshooting tutorials. You will also find a link to Live 800.622.3737 or 574.267.8101 with any additional Chat for interactive support. - Page 12 EQuIPMEnt, oR FoR InCIDEntAl, DIRECt, oR ConSEQuEntIAl DAMAGES oF AnY nAtuRE. In the event that there is a defect in materials or workmanship of a Da-Lite product, you may contact our Sales Partners at PO Box 137, Warsaw, IN 46581-0137, 574.267.8101, 800.622.3737.


Need help?
Do you have a question about the Contour Electrol and is the answer not in the manual?
Questions and answers