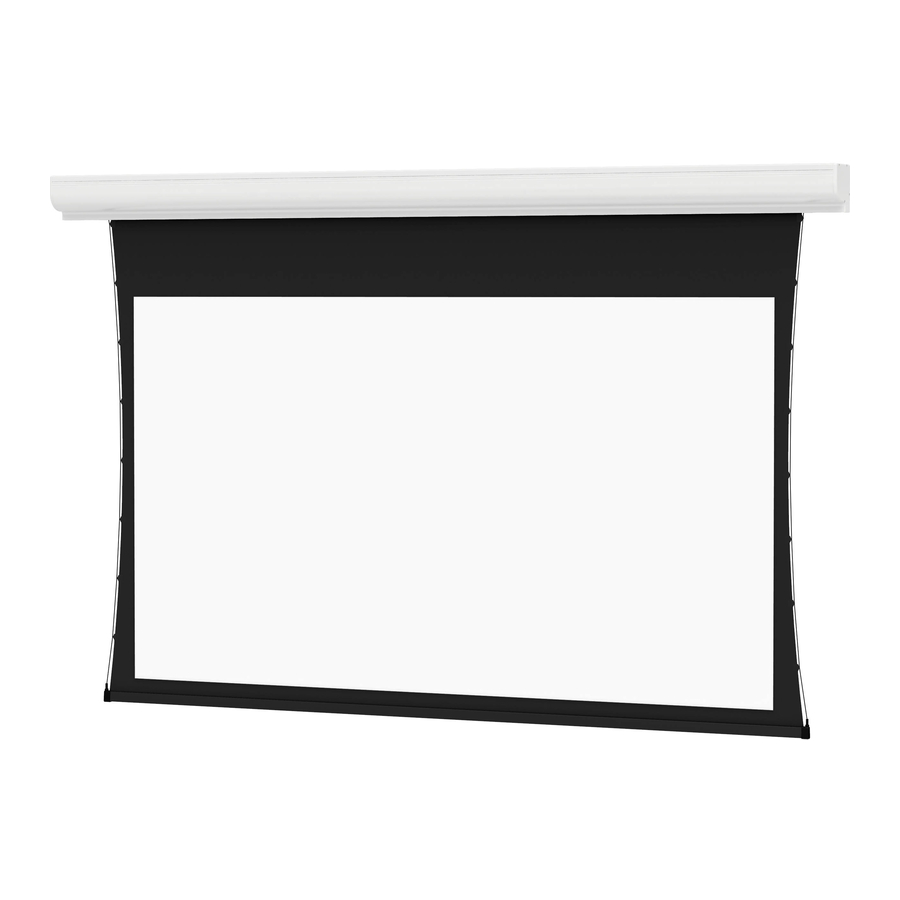
Da-Lite Tensioned Contour Electrol Instruction Book
Hide thumbs
Also See for Tensioned Contour Electrol:
- Instruction book (9 pages) ,
- Instruction manual (9 pages) ,
- Installer's manual (2 pages)
Table of Contents
Advertisement
Quick Links
Download this manual
See also:
Instruction Manual
Advertisement
Table of Contents

Summary of Contents for Da-Lite Tensioned Contour Electrol
- Page 1 INSTRUCTION BOOK FOR Tensioned Contour Electrol ® ®...
-
Page 2: Important Safety Instructions
Milestone makes no representation of warranty, expressed or implied, regarding the information contained herein. Milestone assumes no responsibility for accuracy, completeness or sufficiency of the information contained in this document. Da-Lite® is a registered trademark of Milestone AV Technologies. All rights reserved. Important Safety Instructions When using your video equipment, basic safety precautions 10. -
Page 3: Installation
NOTE: Carefully unpack screen. Use supplied 1/8" hex key to remove silver shipping brackets attached to slat and screen case. There are three ways to install the Tensioned Contour Electrol — Wall Mount, Ceiling Mount, or Ceiling Hook. Procedures for each method are as follows: 2 5/16"... -
Page 4: Electrical Installation
The brackets can be Figure 4 attached anywhere within 12" of the ends of the case (Figure Before hanging your Tensioned Contour Electrol, be sure the ceiling has adequate reinforcement. Using the holes in the ceiling hook brackets, hang the Tensioned Contour Electrol using the appropriate hardware and fasteners for your ceiling type. - Page 5 Tensioned Contour Electrol Installation for 120V Screens ® ® 120V Wiring Diagram IMPORTANT NOTE: The wall switch is REQUIRED to make any limit switch adjustments, EVEN if a third party control system is 3-conductor 20–24 gauge wire can be used in place of the S T O used.
- Page 6 Tensioned Contour Electrol Installation for 220V Screens ® ® 220V Wiring Diagram with Operation & Limit Adjustment IMPORTANT NOTE: The wall switch is REQUIRED to make any Wall Switch limit switch adjustments, EVEN if a third party control system is S T O used.
- Page 7 Tensioned Contour Electrol Installation for 220V Screens (continued) ® ® 220V Wiring Diagram with European Style Wall Switch IMPORTANT NOTE: The European style wall switch is for operation only and CANNOT be used to make limit switch Use 3-conductor 20–24 gauge wire for wall switch connections. adjustments.
- Page 8 Optional Built-In Video Projector Interface CAUTION: The projector must be turned off before IMPORTANT NOTE: The wall switch is REQUIRED to make any connecting the trigger wires to the projector. Failure to limit switch adjustments, EVEN if a third party control system is do so may damage the controller.
-
Page 9: Screen Adjustment
Screen Adjustment If your Tensioned Contour Electrol was ordered as a complete unit, the up and down limits were pre-set by Da-Lite. If your screen and roller assembly was ordered separately from the case, or if general adjustment is needed, please follow the steps below and refer to the Wiring Diagram. -
Page 10: Operation Of Screen
Operation of Screen Operation & Limit Adjustment Wall Switch “Up” Button Press ”DOWN” button on screen switch and screen will deploy out of case in downward direction. “Stop” Button 2. Press “STOP “button on screen switch and screen will stop if in movement. -
Page 11: Troubleshooting
Troubleshooting Symptom Cause Solution Verify 115-125V (or 220-240V). If insufficient voltage, Incorrect line voltage. rewire incoming electric line. Blown fuse. Replace fuse. Tripped circuit breaker. Reset circuit breaker. Screen will not operate and motor does not hum. Check above. Tighten all loose wire connections. Correct any improper connections. - Page 12 Da-Lite’s sole obligation under this warranty shall be to repair or to replace (at Da-Lite’s option) the defective part of the merchandise. Returns for service should be made to your Da-Lite dealer. If it is necessary for the dealer to return the screen or part to Da-Lite, transportation expenses to and from Da-Lite are payable by the purchaser and Da-Lite is not responsible for damage in shipment.


Need help?
Do you have a question about the Tensioned Contour Electrol and is the answer not in the manual?
Questions and answers