Friedrich WallMaster WS08C10 Service Manual
Thru-the-wall air conditioners and heat pumps
Hide thumbs
Also See for WallMaster WS08C10:
- Installation and operation manual (56 pages) ,
- Specifications (6 pages)
Table of Contents
Advertisement
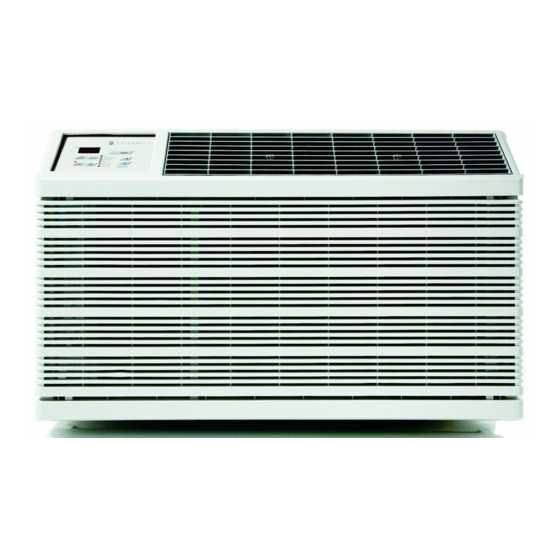
Thru-the-wall
Air Conditioners and Heat Pumps
WallMaster
Cool Only
115-Volt: WS08C10
230-Volt: WS10C30
Cool with Electric Heat
230-Volt: WE10C33
Heat Pump with Electric Heat Back Up
230-Volt: WY09C33
WM-ServMan (1-11)
2 0 1 1
®
R-410A Models
*
*
, WS10C10
, WS12C10
*
*
, WS13C30
, WS15C30
*
*
, WE13C33
, WE15C33
*
*
, WY12C33
*
*
*
*
Last character may vary.
Advertisement
Table of Contents


Need help?
Do you have a question about the WallMaster WS08C10 and is the answer not in the manual?
Questions and answers