
Related Manuals for Salus RT300


Summary of Contents for Salus RT300
- Page 1 Salus RT300 Manual 002:89 23/11/10 11:03 Page 1 Digital Room Thermostat Instruction Manual Model No RT300...
-
Page 2: Product Compliance
• EC Marking directive 93/68/EEC SAFETY INFORMATION These instructions are applicable to the Salus Controls model stated on the front cover of this manual only, and must not be used with any other make or model. These instructions are intended to apply in the United Kingdom only, and should be followed along with any other statutory obligations. -
Page 3: Features
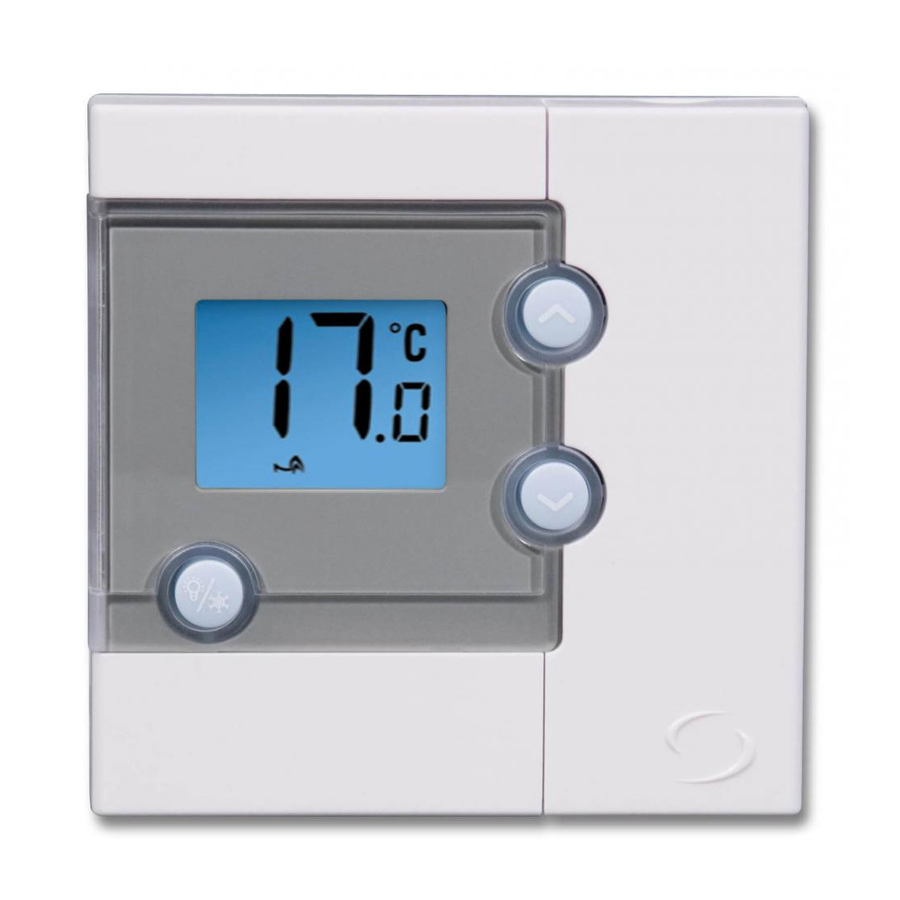
The RT300 from Salus Controls is a stylish and accurate digital thermostat with a large, easy to read Liquid Crystal Display (LCD). This thermostat has been specifically designed to be used Volt Free. -
Page 4: Installation
Salus RT300 Manual 002:89 23/11/10 11:03 Page 4 INSTALLATION Please read the important safety information at the start of this manual before you begin to install the thermostat. The ideal position to locate the RT300 thermostat is about 1.5m above floor level, in a location where the thermostat is accessible, reasonably lit and free from extremes of temperature and draughts. -
Page 5: Backplate Connections
Salus RT300 Manual 002:89 23/11/10 11:03 Page 5 Backplate Connections Terminal Description Backplate Mains Live Switched Live (Normally Open Contact) Earth Parking (no electrical connection) After installing the backplate in a suitable location, wiring connections can be made as shown above. The following criteria apply to the installation: •... -
Page 6: Jumper Settings
Salus RT300 Manual 002:89 23/11/10 11:03 Page 6 JUMPER SETTINGS Changes to the jumper settings should only be made by the Engineer carrying out the installation or other qualified person. The installer should select the jumper positions required if changes need to be made to the factory default settings. -
Page 7: After Installation
Salus RT300 Manual 002:89 23/11/10 11:03 Page 7 AFTER INSTALLATION After completing installation and powering up the RT300 for the first time the thermostat will behave in the following way: All the indicators on the display and the backlight will be turned on for two seconds. -
Page 8: Operation
Salus RT300 Manual 002:89 23/11/10 11:03 Page 8 OPERATION The status and operation of the RT300 is clearly shown on the large backlit Liquid Crystal Display (LCD). This display allows the user a clear indication of the current room temperature, and the status of the heating system. -
Page 9: Reviewing/Setting Set Point Temperature
Salus RT300 Manual 002:89 23/11/10 11:03 Page 9 REVIEWING SET POINT TEMPERATURE You can view the set point temperature at any time by pressing either the UP or DOWN key. To exit from the set point review, press the BACKLIGHT / FROST key, or don’t press any keys for approximately four... -
Page 10: Frost Protection
Salus RT300 Manual 002:89 23/11/10 11:03 Page 10 FROST PROTECTION To enable the Frost Protection mode, press and hold the BACKLIGHT / FROST button for three seconds. Once Frost Protection is enabled, the set point temperature is automatically set to 5°C to provide protection from the risk of freezing. - Page 11 Salus RT300 Manual 002:89 23/11/10 11:03 Page 11 OTHER FUNCTIONS AND CONTROLS Backlight The backlight of the RT300 is switched on automatically whenever any of the keys are pressed. The backlight will remain illuminated for approximately 5 seconds after the last key press, except if you are changing the set point temperature –...
-
Page 12: Energy Tip
Salus RT300 Manual 002:89 23/11/10 11:03 Page 12 TEMPERATURES OUTSIDE THE OPERATING RANGE Temperatures below 10 °C are displayed without the leading ‘0’. Temperatures exceeding the measurable range will be indicated by ‘HI’ for temperatures above the upper limit, and ‘LO’ for temperatures below the lower limit, as shown in the images... -
Page 13: Maintenance
Heating system time switch or programmer is switched on. WARRANTY Salus Controls warrants that this product will be free from any defect in materials or workmanship, and shall perform in accordance with its specification, for a period of two years from the date of purchase. Salus Controls sole liability for breach of this warranty will be (at its option) to repair or replace the defective product. -
Page 14: Product Specification
Salus RT300 Manual 002:89 23/11/10 11:03 Page 14 PRODUCT SPECIFICATION Model: RT300 Type: Surface mounted digital room thermostat designed for volt free heating applications. Switching Switching Voltage: 230V AC / 50Hz Switching Current: 3A resistive, 1A inductive Contact Type: Single Pole Single Throw (SPST) - Page 15 Page 15 RT300 Warranty Salus Controls warrants that this product will be free from any defect in materials or workmanship, and shall perform in accordance with its specification, for a period of two years from the date of purchase. Salus Controls sole liability for breach of this warranty will be (at its option) to repair or replace the defective product.
- Page 16 Salus RT300 Manual 002:89 23/11/10 11:03 Page 16 salus-tech. Email: sales@salus-tech.com Tel: 01226 323961 Sales Email: tech@salus-tech.com Tel: 01226 323961 Technical Salus Controls plc, Salus House, Dodworth Business Park South, Whinby Road, Dodworth, Barnsley S75 3SP...
Need help?
Do you have a question about the RT300 and is the answer not in the manual?
Questions and answers