Salus RT310RF Installation Manual
Wireless programmable room thermostat
Hide thumbs
Also See for RT310RF:
- Quick start manual ,
- Full user manual (24 pages) ,
- Quick manual (2 pages)
Table of Contents
Advertisement
Advertisement
Table of Contents

Related Manuals for Salus RT310RF


Summary of Contents for Salus RT310RF
- Page 1 Model: RT310RF Installation Manual...
-
Page 2: Table Of Contents
Introduction ........................4 Features ..........................5 Installation ........................5 Button functions and keys ..................7 Installer mode ....................... 9 Operations ........................10 Other functions ......................12 Factory reset ........................13 Technical info ........................ 13 Warranty ........................... 14 02 RT310RF Installation Manual... -
Page 3: Product Compliance
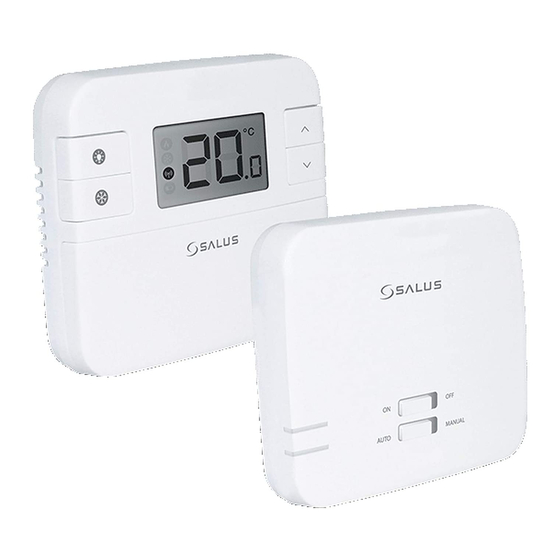
Box content The box includes the 310RF thermostat, the RT310 receiver (pre paired), 2 AA batteries a set of screws and the Quick Guide installation manual. RT310RF thermostat RXRT510 receiver 2xAA batteries and 4x screws Installation Quick Guide RT310RF Installation Manual... -
Page 4: Introduction
Room thermostats need a free flow of air to sense the temperature, so they must not be covered by curtains or blocked by furniture. Nearby electric fires, televisions, wall or table lamps may prevent the thermostat from working properly. 04 RT310RF Installation Manual... -
Page 5: Features
RF Test Pairing Installation Note: Please insert batteries into the RT310RF thermostat and it will power up.. DIP switch settings The DIP switches are found on the rear of your thermostat and can be used to change the span (temperature accuracy) of your thermostat from the default +/-0.5°C to +/-0.25°C. - Page 6 Receiver Terminals Switch Terminal Common Switch Terminal Mains Live (230VAC) Mains Neutral Wiring Electrical diagram Wall mounting Fix the backplate to the wall Align the front housing Fit the front housing. at the top edge. Press lightly 06 RT310RF Installation Manual...
-
Page 7: Button Functions And Keys
Button functions and keys There are few user controls for the RT310RF, making this thermostat very easy to operate. These controls are shown below, along with a description of each of their functions. The temperature displayed on the LCD is the current room temperature. - Page 8 Make sure your devices are wired and the thermostat has batteries inserted. Switch receiver to ON. If you are using the RT310RF pack, the pairing between the thermostat and the receiver is already done. If you bought the RT310TX and RXRT510 separately then pair as follows. Please make sure that the Receiver is set on Auto.
-
Page 9: Installer Mode
TESTING/PAIRING Function Parameter Description Default value Temperature display 0.1°C or Select the temperature display 0.5°C increments 0.5°C increments Temperature offset +/-3.0°C Calibrate your thermostat tempera- 0.0°C ture Frost setpoint 5.0°C-17.0°C Set the Frost Point temperature 5.0°C RT310RF Installation Manual... -
Page 10: Operations
After that, all keys are unlocked and the thermostat is initialized. Then software version is shown.The typical reset display is shown below. The following table shows the settings of the RT310RF digital thermostat after Power on, or after TEST/PAIRING button is pressed:... -
Page 11: Frost Protection
0.5°C steps per key press. The RT310RF will return to Normal mode if no keys are pressed for more than 2 seconds. Once the new control has been implemented, the change is permanent override until new Setpoint is set again. Setpoint temperature cannot be changed if Frost Protection mode is enabled. -
Page 12: Other Functions
• The LCD display will be blank. • All output from the Control Unit will be turned off immediately. Press any key to wake up the RT310RF and cancel SLEEP mode. Sleep Mode On Sleep Mode Off 3 Sec 3 Sec... -
Page 13: Factory Reset
230Vac 50Hz Switch Rating Switching Voltage: 230V/50Hz Switching Current: 16A resistance 8A inductance Protection Rating: IP 30 Environment Operating Temperature/ 0°C ~ 50°C, 10% – 90% non-condensing Humidity: Storage Temperature/ -20°C~- 60°C, 10% – 90% non-condensing Humidity: RT310RF Installation Manual... -
Page 14: Warranty
Warranty SALUS Controls warrants that this product will be free from any defect in materials or workmanship, and shall perform in accordance with its specification, for a period of two years from the date of installation. SALUS Controls sole liability for breach of this warranty will be (at its option) to repair or replace the defective product. - Page 15 SALUS Controls is a member of the Computime Group Maintaining a policy of continuous product development, SALUS Controls plc reserves the right to change specification, design and materials of products listed in this brochure without prior notice. For the latest PFD Instruction Manual, go to www.salus-manuals.com...
Need help?
Do you have a question about the RT310RF and is the answer not in the manual?
Questions and answers