LaserPecker 4 Manual
- User manual (222 pages) ,
- User manual (16 pages) ,
- User manual (16 pages)
Advertisement
- 1 APP/PC Software Download
- 2 After-Sales Services
- 3 List of Included Parts
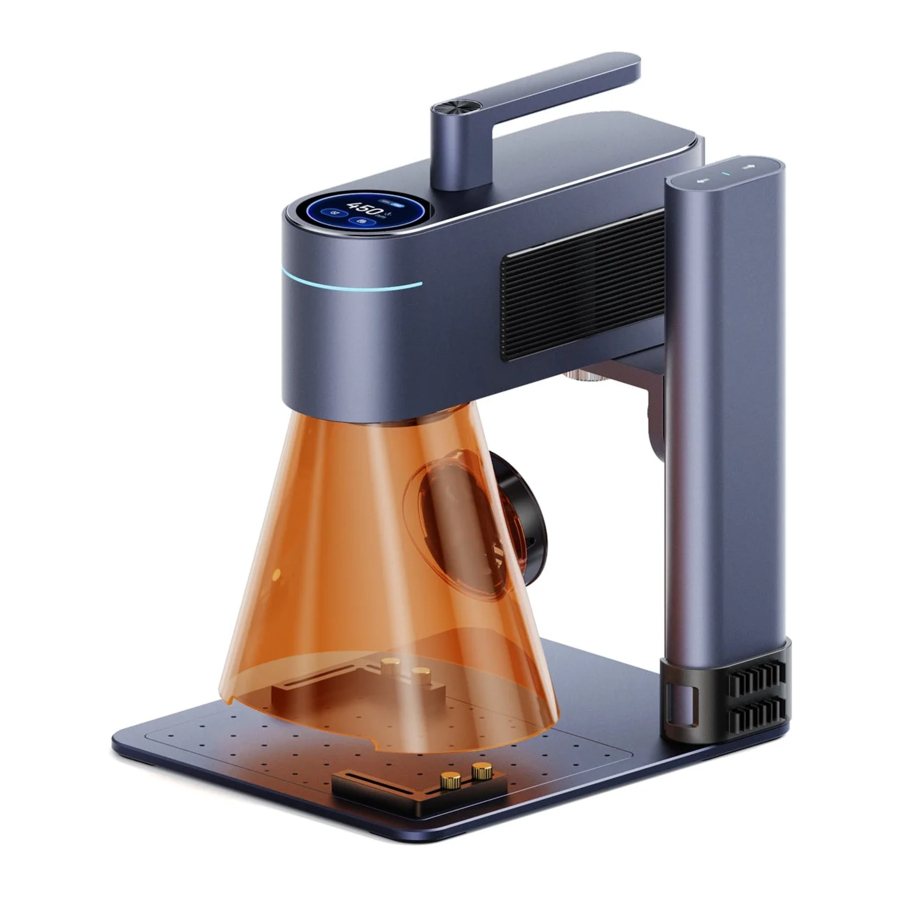
- 4 Component Overview-Laser Unit
- 5 Component Overview-Protective Cover
- 6 Electric Stand Assembly
- 7 Attaching Alignment Fixtures
- 8 Protective Cover Assembly
- 9 Connecting Components
- 10 Control Interface Options
- 11 Ret Dot Focusing
- 12 Machine Maintenance
- 13 Product Specifications
- 14 Safety Instructions
- 15 Documents / Resources
APP/PC Software Download
- Scan the QR code to Download the Android or iOS APP
NOTE: After installing the APP, please read all warnings and instructions carefully to ensure safety and the correct operation of the product
![]()
![www.apple.com]()
![play.google.com]()
- Download the Windows/Mac software from the Official LaserPecker website.
![]()


After-Sales Services
- Technical support for this product is available globally. Please contact us if you encounter any problems with your LP4 and we will get back to you as soon as possible.
- Email: support@laserpecker.com
List of Included Parts

Component Overview-Laser Unit


Component Overview-Protective Cover


Electric Stand Assembly
- Attach the tower to the base unit using the wrench and 4 screws.

- Attach the Laser Unit to the Electric Stand by aligning the underside threads with the bracket and securely tightening the knob.


Attaching Alignment Fixtures
- To secure materials during engraving and for accurate repeat placement, position the Alignment Fixtures to the desired location on the base plate and attach them by tightening the screws.

- Example of attached Alignment Fixtures


Protective Cover Assembly
- Remove the folding bezel
![]()
- Fold both ends of the folding bezel inwards by 90 °

- Installing upper bezel
![]()
- Mounting bottom frame
![]()
- Installing door bezel

- Door Bezel Installation Complete

- Installing latch, stability cover

- Move the machine into position for subsequent gas discharge.

- Move Complete

- The machine cable passes through the cable protector and connects to the power source.


Connecting Components
Connecting Components & Organizer Clip

Put the Power Adaptor cord into the first DC port slot, and use the rest to organize other cables.

Connect to power supply with the AC Cord & Power Adapter

Connect to Safety Cover & Exhaust Fan

Connect to Electric Stand with the 0.6m USB-C Cable
Smart Sensors
Open the door bezel, the machine intelligently senses, the laser carving pro-cess automatically pauses carving, and displays a notice on the software. To continue carving, close the door bezel and follow the instructions on the soft-ware.


Open door bezel

Hall switch sensing machine stopped working
Control Interface Options
- Mobile APP Connection
After assembling the device and power on, open the official application LaserPecker Desi Space(LDS) and connect the device in the APP.

- PC Software Connection
After assembling the device and powering it on, open the official PC Software LaserPecker Design Space. Connect the device to the PC software via USB cable or official Bluetooth dongle, and search LaserPecker 4 for connection.


- Blinking Blue: Waiting for Bluetooth Connection
- Solid Blue: Bluetooth is Connected
- Streaming Green: Data is Transmitting
- Multi Color: Job in Progress
Ret Dot Focusing
While in Preview Mode on the Mobile App or PC Software, set the focal range by adjusting the height of the Laser Unit until the 2 red dots align into 1 or touch each other on the surface of the material to be worked on.

Machine Maintenance
- The Laser Unit's dust screen is attached magnetically for easy cleaning.
Original status of the Magnetic Dust Screen. Power off the Laser Unit before you clean the screen.

Remove and clean the screen frequently to help maintain the optimal operating condition.

Take care to ensure that moisture or foreignobjects do not get inside the Laser Unit while the screen is removed.
Product Specifications
| Size | 320*315*280mm |
| Weight | 5.9kg |
| Laser source | 1064nm Pulsed Laser 450nm Diode Laser |
| Engraving area | 100* 100mmmm |
| Appearance | Anodic oxidation of aluminum alloy |
| Document transmission | USB cable and Bluetooth wireless transmission |
| Supported document format | PC Software: BMP/ JPG/ PNG/ SVG/ G-code Mobile APP: JPG/PNG/G-code/SVG |
| APP & software connection | Bluetooth connection, USB connection (2375~2525MHz) |
| APP operating system | Support iOS 9.0+, Android 6.0+, MacOS 10+, Windows 10+ |
| Power input | DC(24V,5A),AC(100-240V,50-60Hz) |
| Operating temperature range | 15℃-65℃ |
| Operating humidity range | 5%~80%RH |
| Safety certification | IEC 60825-1, CE, ROHS, FCC, FDA,CDRH registration, NCC, KC, UKCA, TECLEC |
| Pulse width | 50us |
| Repetition frequency | 15kHz ~ 20kHz |
Safety Instructions
General Safety Instructions
- The usage and specific application of this product, and emissions generated by engraving shall be subject to the laws and regulations in the country where the user is located.
- Please use and maintain the product in accordance with the manual instructions to ensure safe operation.
- Do NOT place the product in a rainy or damp environment.
- Please prepare a stable and flat table or workbench for this product.
- Minors of any age should NOT operate the product without adult supervision and assistance.
- Please concentrate and pay close attention to operation process and changes in the surrounding environment during use.
- Do NOT operate the product when feeling fatigued.
- When the product is in operation, please do NOT touch the moving part, otherwise it may spoil your material.
- Do NOT leave the machine unattended during operation.
![]()
Use of controls or adjustments or performanceof procedures other than those specified herein may resultin hazardous radiation exposure.

In case of the following situations, please stop using the product and cut off the power supply immediately.
- The product has a smell of burning odor.
- The engraved material generates a large amount of smoke or open flames.
- The internal components of the product have been damaged.
- The product stops working accidentally.
- The product generates unprecedented abnormal noise or light.
Laser Engraving Instructions
- Installation specification: Before operation, please secure the main unit based on the user manual. Please place the product on a stable and flat table or workbench. The vibration of the machine will affect the engraving quality.
- Due to the risks of laser, do NOT bring minors or people without self-protection awareness close to the device in operation.
- Before laser engraving, you should have adequate knowledge of: physical properties of laser radiation, hazardous classification of laser and relevant health implications and safety measures.
- During laser engraving, do NOT look directly at or touch the laser aperture, or expose your body to the laser.
- During operation, the material being engraved or cut may release toxic and harmful gases or smoke. Please make a comprehensive judgment based on the type and composition of the material. It is recommended to use the product with an air purifier or in a well-ventilated place, so that the toxic and harmful gases or smoke generated can be effectively adsorbed, thus protecting your health and preventing environmental pollution.
- Reflective materials can cause laser reflection and injury. Please remove all reflective materials from the work area before use and during operation. It is suggested to blacken the area to be engraved by a whiteboard marker beforehand when engraving the reflective material.
- Please power the device with the power and type (12V
- Before laser engraving, please make sure to take safety protection measures, such as wearing safety goggles to prevent eye or skin injury, removing irrelevant objects to prevent damage caused by laser radiation, and moving away flammable and explosive objects to avoid fire.
- After initiating engraving, do NOT move the device, otherwise it may trigger emergency stop as the gyroscope detects the machine inclination, therefore affecting the final engraving result.
Emergency Response
- Please take the following measures when there is open fire during engraving
- Cut off the power supply.
- Douse the flames with fire extinguisher.
- Inhale smoke and particulate matter
- Smoke and particulates that can irritate the respiratory system may be generated when engraving or cutting certain materials. It is recommend to use the product with an air purifier or in a well-ventilated place. Please wear a protective mask if necessary.
- If respiratory irritation or similar symptoms occur, immediately move the patient to a site with fresh air and seek medical help.
Documents / Resources
References
Download manual
Here you can download full pdf version of manual, it may contain additional safety instructions, warranty information, FCC rules, etc.
Advertisement


Need help?
Do you have a question about the 4 and is the answer not in the manual?
Questions and answers