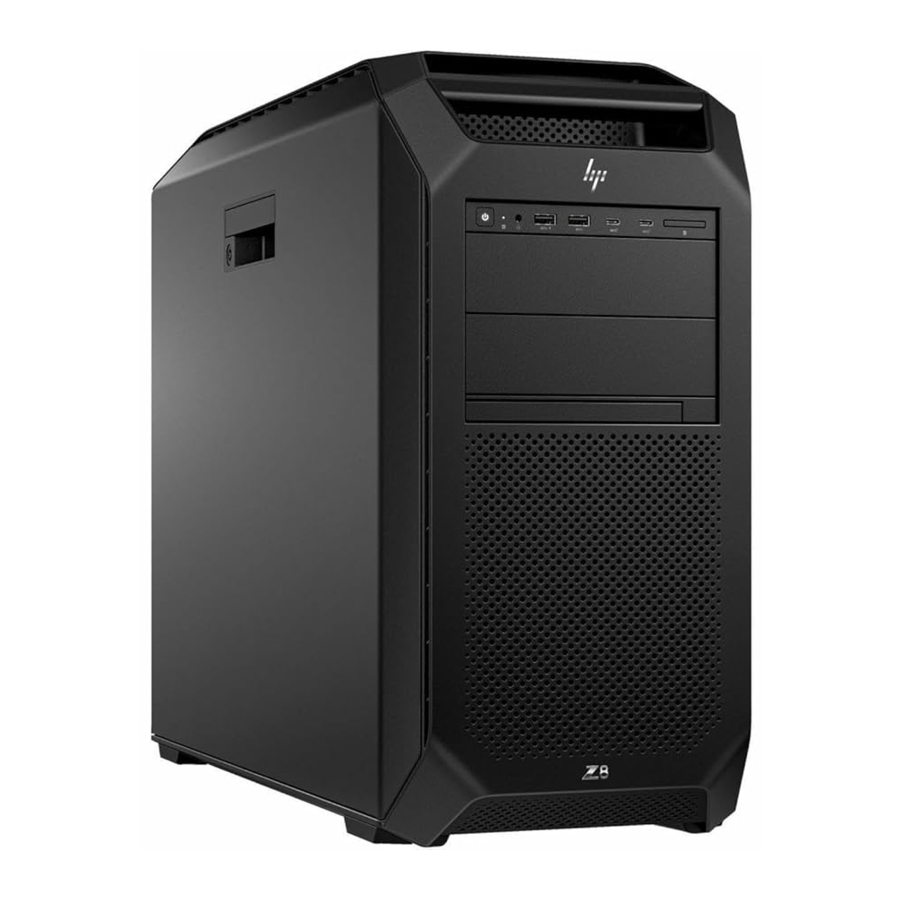
HP Z8 Fury G5, FCLSA-2204A, FCLSA-2204B Manual
- Maintenance and service manual (136 pages) ,
- Product end-of-life disassembly instructions (25 pages)
Advertisement
Items Requiring Selective Treatment
Items listed below are classified as requiring selective treatment. An "X" in the list of components and parts indicates the product contains the component or part requiring selective treatment
| Item Description | Components and parts requiring selective treatments | Quantity of items included in product |
| Printed Circuit Boards (PCB) or Printed Circuit Assemblies (PCA) with a surface greater than 10 sq cm | ☒ Main board (MB) PCB*1 ☒ Solid state drive (SSD) PCB*2 ☐ Wireless WAN module (WWAN) PCB ☐ Touch module PCB ☒ Power supply PCB*1 ☒ External Keyboard (KB)*1 ☒ External Mouse*1 ☒ Graphic card PCB *1, ☒Transfer card*1, ☒ Switch card*1 ☒ PDB board PCB*1 ☒ Memory PCB*4 ☒ HDD PCB*1 | 15 |
| Batteries, excluding Li-Ion batteries. This includes standard alkaline, coin or button style batteries | ☒ RTC/CMOS battery ☐ Others: | 1 |
| Li-Ion batteries. Includes all Li-Ion batteries if more than one is provided with the product (such as a detachable notebook keyboard battery, etc.) | Li-ion battery(ies) are attached to the product by: ☐ screws ☐ snaps ☐ adhesive ☐ other. Explain | 0 |
| Mercury-containing components. For example, mercury in lamps, display backlights, scanner lamps, switches, batteries | 0 | |
| Liquid Crystal Displays (LCD) with a surface greater than 100 sq cm. Includes background illuminated displays with gas discharge lamps | ☐ Panel LCD | 0 |
| Cathode Ray Tubes (CRT) | 0 | |
| Capacitors / condensers (Containing PCB/PCT) | 0 | |
| Electrolytic Capacitors / Condensers measuring greater than 2.5 cm in diameter or height | ☒Power Supply capacitor(s) or condenser(s) | 4 |
| External electrical cables and cords | ☒ AC power cord ☐ Audio, video or data cables ☐ Other: | 1 |
| Gas Discharge Lamps | 0 | |
| Plastics containing Brominated Flame Retardants (not including external electrical cables and cords, PCBs or PCAs already listed as a separate item above) | 0 | |
| Components and parts containing toner and ink, including liquids, semi-liquids (gel/paste) and toner. Include the cartridges, print heads, tubes, vent chambers, and service stations. | 0 | |
| Components and waste containing asbestos | 0 | |
| Components, parts and materials containing refractory ceramic fibers | 0 | |
| Components, parts and materials containing radioactive substances | 0 | |
| Components containing chlorofluorocarbons (CFC), hydrochlorofluorocarbons (HCFC) or hydrofluorocarbons (HFC), hydrocarbons (HC) | 0 |
Tools Required
List the type and size of the tools that would typically be used to disassemble the product to a point where components and materials requiring selective treatment can be removed.
| Tool Description | Tool Size (if applicable) |
| Screwdriver | Philip #0 |
| Screwdriver | Torx T8 |
| Heat gun | N/A |
| Suction cup | N/A |
Product Disassembly Process
List the basic steps that should typically be followed to remove components and materials requiring selective treatment including the required steps to remove the external enclosure.
- Open and remove the access panel from chassis

- Remove the PCIe retainer from chassis
![]()
- Remove the CPU fan duct frame
![]()
- Press the latch and push the top PCI card duct out

- Loosen the screws and remove the CPU fan duct latch

- Press the two sides of buttons and remove the cooler fan duct

- Remove the cooler fan from duct

- Disconnect the graphic card cable and remove the graphic card from MB

- Remove the 4 pcs memories from MB

Below is 4pcs Memories PCB
![]()
- Disconnect the ODD SATA/Power cable from ODD

- Remove the ODD from chassis
![]()
- Loosen the HDD bracket

- Remove the HDD bracket from the Chassis

- Remove the HDD from HDD bracket by push out the HDD bracket
![]()
- Disconnect the PCIe power cable from PCIe fan guide.

- Disconnect the front middle chassis fan cable

- Disconnect the front lower chassis fan cable

- Press the guide and remove the PCIe fan guide from chassis
![]()
- Remove the front lower chassis fan from fan guide
![]()
- Remove the front middle chassis fan from fan guide
![]()
- All the parts of PCIe fan guide

- Remove the rear system fan duct from hook
![]()
- Disconnect rear system fan cable from MB
![]()
- Remove the fan guard from fan guard

- Press the clip and remove the transfer card

- Loosen the 2pcs screws and remove the 2pcs SSD

- Lift the latch and slide to the left (in the direction of rear IO)

- Remove the guide bracket,

- Disconnect the front upper chassis fan cable
![]()
- Press the guide and remove the front upper chassis fan and fan guard

- Remove the fan guard from fan
![]()
- Detailed parts on the assembly of chassis front upper chassis fan guide assembly
![]()
- Disconnect the switch card cable
![]()
- Remove the switch card from Chassis

- Loosen the screws(x2) of speaker and release speaker
![]()
- Disconnect the speaker cable from switch card

- Release the front panel mount cable from clip
![]()
- Disconnect the front panel mount cable from switch card
![]()
- Release the front panel mount cable by push out 2 pins fixed front side in switch card tray.
![]()
- Release the front panel mount cable by push out 2 pins fixed black side in switch card tray
![]()
- Loosen the 4pcs switch card PCA screws and remove the switch card PCA
![]()
- Remove the SD card reader carrier

- Loosen the left and right side right hooks of switch card panel
![]()
- Loosen the 2pcs bottom side hooks of switch card panel
![]()
- Detailed parts of switch card assembly
![]()
- Remove the 3pcs HDD brackets from chassis.

- Remove ODD housing from chassis

- Disconnect the CPU cooler cable from motherboard
![]()
- Remove the CPU cooler from motherboard

- Press the bottom and remove the CPU cooler from MB

- Remove the CPU from the cooler
![]()
- Remove the CPU from the carrier

- Press the bottom and remove the 2 pcs PSU


- Cut off the cable ties on front upper in chassis
![]()
- Loosen the 2pcs screws and remove the heat sink

- Disconnect all other cables from motherboard

- Remove the MB from chassis

- Remove the battery from motherboard

- Release 2pcs screws of right side panel.
![]()
- Cut off 5 pcs cable ties to fix power cable

- Unlock 4pcs screws of PDB
![]()
See below is PDB PCB.

- Disconnect the H1 power cable and blind mating SATA power cable

- Release the Blind mating SATA connector from chassis
![]()
- Cut off cable tie and remove blind mating SATA cable
![]()
- Loosen the screw and remove interlock bracket
![]()
- Loosen the screw, cable and interlock bracket

- Push up 2pcs inside latches to release hood sensor bracket from chassis
![]()
- Release 2pcs latches of top bezel and remove it
![]()
- Release clasp of front bezel on bottom side of chassis and remove the bezel

- Remove the left side plastic parts of corner bracket pocket by release the clasp

- Remove the right side plastic parts of front side handle pocket by release 2pcs latches

- Unlock 4pcs screwsfront side handle

- Release 2pcs latches of front side handle pocket
![]()
- Remove the handle pocket and details of front side handle pocket
![]()
- Unlock 2pcs screwsfront side handle
![]()
- Release 3pcs latches of rear handle pocket
![]()
- Remove the handle pocket and details of front side handle pocket

- Remove the PCIe slot covers (x7) from chassis

- Unlock bottom side screw of ODD bracket cover

- Remove the bottom side spring of ODD bracket cover
![]()
- Unlock top side screw of ODD bracket cover
![]()
- Remove the ODD bracket cover

- Unplugging

- Unfasten seven screws

- Push top cover on right hand side to make sure four snap in come off
![]()
- Take top cover away.

- Remove top Mylar, latch-cover and foam sheet from top cover
![]()
- Remove the small Mylar

- Unfasten GND screw

- Put AC socket cable outside to see PCBA screw
![]()
- Unfasten six screws

- Disconnect 3mm LED cable and fan cable from daughter board

- Take out PCBA with AC socket cable from bottom chassis

- Unfasten two screws

- Take out fan from bottom chassis

- Unfasten screw

- Take out LED & S/W sub-assembly with cable from bottom chassis

- Remove bottom Mylar and two pads from bottom chassis.

- Identity PCBA > 10 cm² for further treatment (main board: 324.6 cm²).

- Identity PCBA > 10 cm² for further treatment (daughter board: 32.5 cm²).

- Identity PCBA > 10 cm² for further treatment (daughter board: 24.0 cm²).

- Identity electrolyte capacitor > 2.5 cm for further treatment (Length: 4.5 cm)

- Identity electrolyte capacitor > 2.5 cm for further treatment (Length: 4.5 cm).


Location of components requiring selective treatment. The photos and/or graphics below identify the location of the parts or components requiring selective treatment within the main unit. For End-of-Life product disassembly instructions of external accessories including external power supply (EPS), external keyboard (KB) external mouse and external cables and cords, refer to the following URL: End-of-Life Product Disassembly Instructions (hp.com)
Documents / Resources
References
Download manual
Here you can download full pdf version of manual, it may contain additional safety instructions, warranty information, FCC rules, etc.
Advertisement


Need help?
Do you have a question about the Z8 Fury G5 and is the answer not in the manual?
Questions and answers