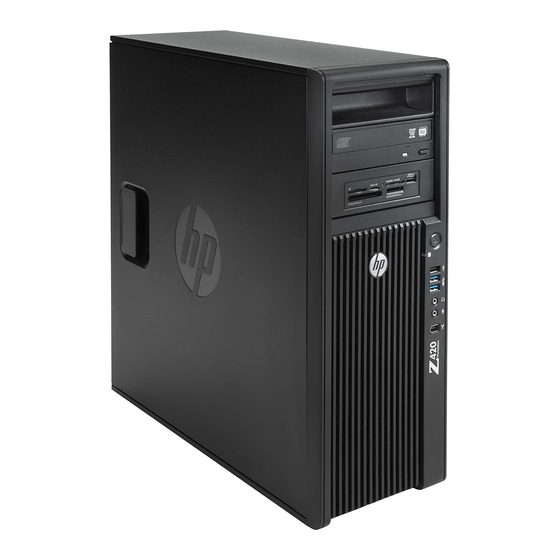
HP Z420 Installation Manual
Lsi sas raid host bus adapter installation
Hide thumbs
Also See for Z420:
- Specification (73 pages) ,
- User manual (49 pages) ,
- Installation manual (11 pages)
Table of Contents
Advertisement
LSI SAS RAID Host Bus Adapter
installation
Introduction
This document describes how to install an LSI 9212–4i Serial Attached SCSI (SAS) Redundant Array of
Independent Disks (RAID) Host Bus Adapter (HBA) in HP Z series Workstations. Procedures are included
for drives mounted in internal hard drive bays and external drive bays.
Kit contents
●
LSI SAS 9212–4i RAID HBA (RAID controller card)
●
SAS driver CD
●
4x SATA cable extender (for HP Z620 Workstation only)
●
Hard drive activity LED cable
●
Warranty information
●
Installation instructions (this document)
Before you begin
To view QuickSpecs and determine the compatibility of this product with your HP workstation, see
http://www.hp.com/go/productbulletin.
405023-007
© 2012 Hewlett-Packard Development Company, L.P. Printed in the USA
Advertisement
Table of Contents

Summary of Contents for HP Z420
-
Page 1: Kit Contents
Hard drive activity LED cable ● Warranty information ● Installation instructions (this document) Before you begin To view QuickSpecs and determine the compatibility of this product with your HP workstation, see http://www.hp.com/go/productbulletin. © 2012 Hewlett-Packard Development Company, L.P. Printed in the USA 405023-007... -
Page 2: Warnings And Cautions
Warnings and cautions WARNING! Any surface or area of the equipment marked with this symbol indicates the presence of a hot surface or hot component. If this surface is contacted, the potential for injury exists. To reduce the risk of injury from a hot component, enable the surface to cool before touching. WARNING! Any surface or area of the equipment marked with this symbol indicates the presence of an electrical shock hazard. -
Page 3: Step 1-Preparing For Component Installation
Step 1—Preparing for component installation NOTE: Computer models vary. All illustrations are examples only. Download and install updates Check for available system BIOS updates specified for your HP computer model and operating system at http://www.hp.com/support. Install the system BIOS updates, if available. Accessing the internal components of the computer If you need help preparing the computer for this installation, refer to the ●... -
Page 4: Step 3-Configuring The Cabling
The hard drive LED cable connection is similar for most HP workstation models. Table 1 Data cable configuration guide HP workstation Location of hard drive Connection type Description model HP Z400 and Z420 ● Internal hard drive bay Connecting standard data Use the data cable provided with Workstations cables on page 7 the hard drive to connect the hard ●... - Page 5 Connecting pre-installed data cables HP Z600 and HP Z620 Workstations have internal hard drive bay data cables pre-installed on the system board. For workstations with this cabling configuration, use the following procedure to connect internal hard drives to the RAID controller card. Locate and disconnect the hard drive cables from the system board.
- Page 6 Connect the data cables to the corresponding ports on the RAID controller card, as shown in Figure 3 SAS/SATA data ports and hard drive LED connector on page 6. For the HP Z620 Workstation, refer to Table 1* instructions on the required use of the 4x SATA cable extender to lengthen the data cabling.
- Page 7 Connecting standard data cables External hard drives installed in HP Z400 and HP Z420 Workstations do not have cabling preinstalled on the system board. To connect the RAID controller card cabling for these configurations: If connecting a SAS hard drive, ensure that there is a SAS-to-SATA adapter or SAS-to-SATA cable (included with the HP workstation SAS hard drive kit) attached to the data connector on the SAS hard drive.
- Page 8 Figure 6 Attaching the data cable Attach any subsequent hard drives to ports 1 through 3 on the RAID controller card as shown in Figure 3 SAS/SATA data ports and hard drive LED connector on page 6. Continue with Connecting the hard drive LED activity indicator on page 9. LSI SAS RAID Host Bus Adapter installation...
- Page 9 Connecting the hard drive LED activity indicator This section applies to all HP workstations previously listed. Attach one end of the hard drive LED cable to the RAID controller card LED port (L) as shown in Figure 7 RAID controller card with hard drive LED connector on page 9. The LSI SAS 9212-4i hard drive LED cable is a 4-to-2 pin connector style.
-
Page 10: Step 4-Reassembling The Workstation
Step 4—Reassembling the workstation Reinstall the card support, if applicable. Reinstall the side access panel. Reconnect power to the workstation and all external devices. Restore power to the workstation and all external devices. Step 5—Loading and setting up driver software For instructions on loading and setting up the drivers for use with your workstation, see the manufacturer’s documentation shipped with the RAID controller card.


Need help?
Do you have a question about the Z420 and is the answer not in the manual?
Questions and answers