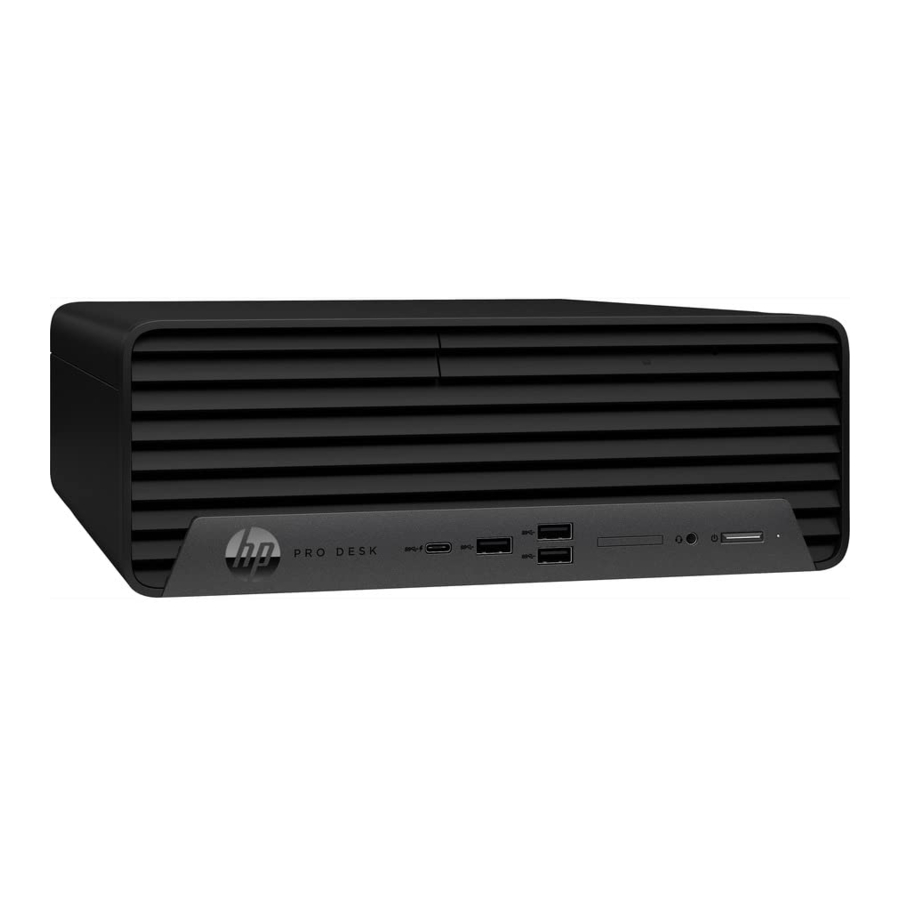
HP Pro SFF 400 G9, HSC-F003SF Manual
- Maintenance and service manual (128 pages) ,
- Product end-of-life disassembly instructions (9 pages)
Advertisement
Introduction
Purpose: The document is intended for use by end-of-life recyclers or treatment facilities. It provides the basic instructions for the disassembly of HP Inc. products to remove components and materials requiring selective treatment, as defined by EU directive 2012/19/EC, Waste Electrical and Electronic Equipment (WEEE).
NOTE: Recyclers should sort plastic materials into resin streams for recycling based on the ISO 11469 plastic marking code on the plastic part. For any questions on plastic marking or identification of location of parts or components requiring selective treatment, please contact HP's Sustainability Contact.
Items Requiring Selective Treatment
Items listed below are classified as requiring selective treatment. An "X" in the list of components and parts indicates the product contains the component or part requiring selective treatment
| Item Description | Components and parts requiring selective treatments | Quantity of items included in product |
| Printed Circuit Boards (PCB) or Printed Circuit Assemblies (PCA) with a surface greater than 10 sq cm | [ x ] Main board (MB) PCB [ x ] Solid state drive (SSD) PCB [ x ] Hard disk drive (HDD) PCB [ x ] Memory PCB [ x ] Internal power supply (IPS) PCB [ x ] External Keyboard (KB) [ x ] External Mouse [ x ] Others: Graphic Card PCB | 9 |
| Batteries, excluding Li-Ion batteries. This includes standard alkaline, coin or button style batteries | RTC coin battery | 1 |
| Li-Ion batteries. Includes all Li-Ion batteries if more than one is provided with the product (such as a detachable notebook keyboard battery, etc.) | Battery(ies) are attached to the product by: [ ] screws [ ] snaps [ ] adhesive [ ] other. Explain | 0 |
| Mercury-containing components. For example, mercury in lamps, display backlights, scanner lamps, switches, batteries | 0 | |
| Liquid Crystal Displays (LCD) with a surface greater than 100 sq cm. Includes background illuminated displays with gas discharge lamps | [ ] Panel LCD | 0 |
| Cathode Ray Tubes (CRT) | 0 | |
| Capacitors / condensers (Containing PCB/PCT) | 0 | |
| Electrolytic Capacitors / Condensers measuring greater than 2.5 cm in diameter or height | [ x ] Power Supply capacitor(s) or condenser(s) | 1 |
| External electrical cables and cords | [ x ] AC power cord [ ] Audio, video or data cables [ ] Other: | 1 |
| Gas Discharge Lamps | 0 | |
| Plastics containing Brominated Flame Retardants (not including external electrical cables and cords, PCBs or PCAs already listed as a separate item above) | 0 | |
| Components and parts containing toner and ink, including liquids, semi-liquids (gel/paste) and toner. Include the cartridges, print heads, tubes, vent chambers, and service stations. | 0 | |
| Components and waste containing asbestos | 0 | |
| Components, parts and materials containing refractory ceramic fibers | 0 | |
| Components, parts and materials containing radioactive substances | 0 | |
| Components containing chlorofluorocarbons (CFC), hydrochlorofluorocarbons (HCFC) or hydrofluorocarbons (HFC), hydrocarbons (HC) | 0 |
Tools Required
List the type and size of the tools that would typically be used to disassemble the product to a point where components and materials requiring selective treatment can be removed.
| Tool Description | Tool Size (if applicable) |
| Hexagon Screw Driver | T-15 |
| Electric Iron | QUICK 310 |
| Crisscross Screw Driver | PH1 |
Product Disassembly Process
List the basic steps that should typically be followed to remove components and materials requiring selective treatment including the required steps to remove the external enclosure:
NOTE - For disassembly instructions of the external power supply (EPS), external keyboard (KB) external mouse and external cables and cords, refer to the links below:
Generic Keyboard
Generic Mouse
Generic cables and cord
Optional Graphic
If the disassembly process is complex, insert a graphic illustration below to identify the items contained in the product that require selective treatment (with descriptions and arrows identifying locations).
- Use T-15 screwdriver to release thumb screw.

- Remove access panel.

- Disconnect ODD SATA cable and power cable
![]()
- Remove ODD
![]()
- Release the front bezel
![]()
- Rotate and open drive cage
![]()


- Disconnect HDD SATA cable and power cable

- Loose the Screw and remove HDD

- Remove HDD from Chassis, The PCA of HDD as below:

- Remove fan duct latch


- Remove fan duct
![]()
- Remove CPU cooler

- Rotate the handle and open it up
![]()
- Remove the CPU from the board.
![]()
- Open the GFX Lock

- Unlock the slot latch and remove Graphic from MB


- Remove the Graphic card From MB and Show Graphic card PCA as below:

- Remove Memory from MB

- Remove Memory from MB and show Memory PCA as below:

- Release the screw and remove WLAN from MB

- Release the screw and remove SSD from MB

- Remove SSD from MB and show the SSD PCA.


- Disconnect speaker power cable from MB
![]()
- Remove Speaker BOX from chassis

- Use T-15 screwdriver to release the screws of MB

- Remove MB from chassis

- Use T-15 screwdriver to release the screws of PSU

- Press the PSU's latch on chassis


- Remove the PSU from chassis

- Remove four screws covered

- Remove the screw and open case

- Loose screws and remove PCB from case

- Remove Ele-Cap from PCBA

- Show Ele-Cap on PCBA (C1)


Documents / ResourcesDownload manual
Here you can download full pdf version of manual, it may contain additional safety instructions, warranty information, FCC rules, etc.
Advertisement


Need help?
Do you have a question about the Pro SFF 400 G9 and is the answer not in the manual?
Questions and answers