Advertisement
Quick Links
Advertisement

Related Manuals for TEMPLE & WEBSTER Russo


Summary of Contents for TEMPLE & WEBSTER Russo
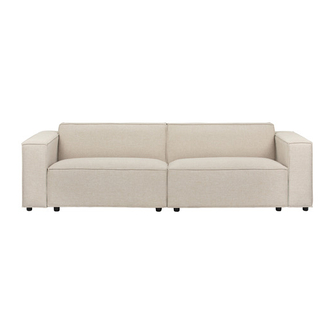
- Page 1 ASSEMBLY INSTRUCTIONS Russo Sofa...
- Page 2 Read first, enjoy forever Assembly tips ● Assemble your product on a level surface and lay something soft underneath to protect potential floor damage. ● Don’t over tighten screws. During assembly we recommend tightening to approximately 70% tightness. Only tighten hardware 100% when fully assembled. ●...
-
Page 3: Parts List
ASSEMBLY INSTRUCTIONS Parts list Russo Sofa AARS3SNT/AARS3SGR Ax12 H5xØ5cm Damaged or missing parts? Or just need help? Contact us on service@templeandwebster.com.au... - Page 4 1) Attach 8x Legs(A) into the Sofa(1&3). 2) Attach 4x Legs(A) into the 2x Armrests (5&6). You will need: Ax12 H5xØ5cm Damaged or missing parts? Or just need help? Contact us on service@templeandwebster.com.au...
- Page 5 1) Open the iron plate of the Left Backrest(2). 2) Attach the Left Backrest(2) into the Left Sofa(1). 3) Attach the Left Armrest(5) into the Left Sofa(1). The iron must be aligned,and then tightened. Press down the backrest with your hand Damaged or missing parts? Or just need help? Contact us on service@templeandwebster.com.au...
- Page 6 1) Open the iron plate of the Right Backrest(4). 2) Attach the Right Backrest(4) into the Right Sofa(3). 3) Attach the Right Armrest(6) into the Right Sofa(3). The iron must be aligned,and then tightened. Press down the backrest with your hand. Damaged or missing parts? Or just need help? Contact us on service@templeandwebster.com.au...
- Page 7 Tighten the bottom buckle of the sofa and connect Left Sofa(1) and Right Sofa(3). Damaged or missing parts? Or just need help? Contact us on service@templeandwebster.com.au...
Need help?
Do you have a question about the Russo and is the answer not in the manual?
Questions and answers