
Subscribe to Our Youtube Channel
Related Manuals for TEMPLE & WEBSTER Dion


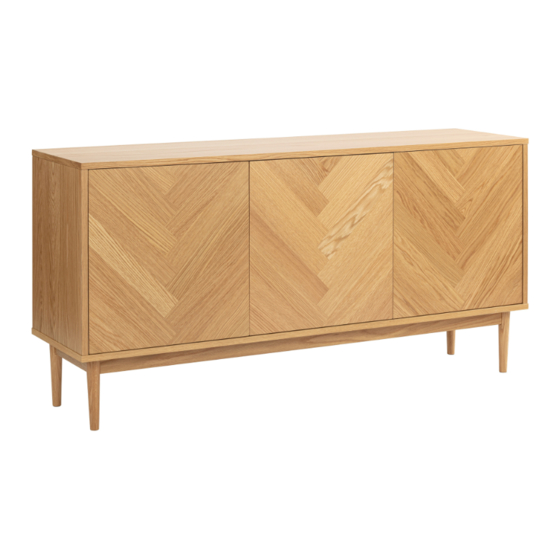
Summary of Contents for TEMPLE & WEBSTER Dion
- Page 1 SBDISIBO TEMPLE WEBSTER ASSEMBLY INSTRUCTIONS Dion Oak Veneer Parquet Buffet Sideboard Two people required www.templeandwebster.com.au 2021/6/26...
- Page 2 Keep these instructions for future reference Assemble the furniture on a soft level surface to avoid damaging the furniture or your floor. Parts of the assembly will be easier with 2 people. We recommend furniture be assembled near where they will be placed, to avoid moving the product unnecessarily once assembled.
- Page 3 Tools Required Time Required DO NOT USE Mallet Flat head Screwdriver Cross Screwdriver 60 min Parts List People Required Top Panel (P1); (P7)x4; Left Side (P2); Left Door (P8); Right Side (P3); Middle Door (P9); Divider Panel (P4); Right Door (P10);...
- Page 4 Hardware/Fittings 8x30mm 6x44mm 15x12mm Wood Dowel x 12 Connecting Bolt x 8 Locking Nut x 8 Push-to-open Latch x 3 (H1) (H3) (H2) (H4) 3.5x16mm Screw x 42 3.5x16mm Screw x 12 Hinge x 4 Door bumper x 3 (H6) (H5) (H8) (H7)
- Page 5 H1 x 12 Insert 12 x Wood Dowels into Left Side (P2), Right Side (P3) and Divider Panel (P4). If necessary, gently tap the wood dowels with a mallet. H15 x 8 H11 x 8 H10 x 8 H14 x 1 Attach 4 x Legs (P7) to Base (P5) using 8 x Bolts (H15), 8 x Spring Washers (H10) and 8 x Washers (H11).
- Page 6 H16 x 8 H19 x 1 H13 x 8 Attach Left Side (P2), Right Side (P3) and Divider Panel (P4) to Base (P5) using 8 x Bolts (H13) and 8 x Nuts (H16). Tighten the bolts with Allen Key (H19).
- Page 7 H4 x 3 H6 x 16 H12 x 2 Fix 2 x Brackets (H12) to Top Panel using 4 x Screws (H6). Fix 3 x Push-to-open Latches (H4) to Top Panel using 12 x Screws (H6). H2 x 8 Screw 8 x Bolts (H2) into Top Panel (P1).
- Page 8 H3 x 8 H18 x 4 (P1) H18 x 4 Attach Top Panel (P1) to Left Side (P2), Right Side (P3) and Divider Panel (P4). Using 8 x Locking Nuts (H3), Use a screwdriver to turn the nuts clockwise to lock. Attach 4 x Felt Pads (H18) to the 4 x Legs (P7).
- Page 9 I. With help, move the buffet into position. Mark drilling points on the wall. II. If necessary, remove the buffet and drill holes with sizes suitable for your wall fixings. III. Install wall fixings in the holes. IV. Fix the wall brackets to the wall with appropriate wall fixing screws. V.
- Page 10 H17 x8 Insert 8 x Shelf Supports (H17) into desired locations on the Side and Divider panels. Gently place the Big Shelf (P11) and Small Shelf (P12) as shown.
- Page 11 H5 x 8 H7 x 2 H8 x 4 Fix 4 x Hinges (H8) to Left Door (P8) and Right Door (P10) using 8 x Screws (H5). Fix 2 x Door bumpers (H7) to Left Door (P8) and Right Door (P10). H5 x 4 H7 x 1 H9 x 2...
- Page 12 (P8) Attach the doors on the cabinet as shown.
- Page 13 If adjustment is necessary, please follow the steps below: To move doors up or down: loosen the screws on the hinge plate and move the doors to suit. Once doors are aligned, re-tighten the screws. To move doors in or out: loosen or tighten the screws on the hinge plate, as shown.
- Page 14 Assembly is complete. Please dispose of all packaging thoughtfully.
Need help?
Do you have a question about the Dion and is the answer not in the manual?
Questions and answers