Advertisement
Firmware Upgrade
- You can upgrade the firmware directly through the device screen;
- You can upgrade the firmware via the Creality Cloud OTA;
- Please visit the official websitehttps://www.creality.com, click on "Support → Download Center ", select the corresponding model to download the required firmware, (Or click on"Creality Cloud → Downloads → Firmware"), after installation is complete, you can use it.
Product Operation and After-Sales Service Information
- You can log in to the Creality Official Wiki (https://wiki.creality.com) to explore more detailed after-sales service tutorials.
- Or contact our after-sales service center at +86 755 3396 5666, or send e-mail to cs@creality.com.

Creality Wiki
 NOTES
NOTES
- Do not use the printer in any way other than described herein in order to avoid personal injury or property damage;
- Do not place the printer near any heat source or flammable or explosive objects. We suggest placing it in a well-ventilated, cool and dustless environment;
- Do not expose the printer to a violent vibration or any other unstable environment, as this may cause poor print quality;
- Please use recommended filaments to avoid clogging of the extrusion head and causing damage to the machine;
- Do not use the power cable of other products during installation. Always use a grounded three-prong power outlet, which accompanies the printer;
- Do not touch the nozzle and the heated bed during operation to avoid burns or personal injury;
- Do not wear gloves or wraps while operating the machine to prevent entrapment of movable parts that could cause crushing and cutting injuries to bodily parts;
- Use the provided tools to clean the filament from the extruder in time taking advantage of the residual temperature after printing. Do not touch the extruder directly when cleaning, otherwise it may cause burns;
- Clean the printer frequently. Clean the printer body with a dry cloth regularly after powering off the printer, wipe away dust, bonded print filament and foreign objects on the guide rails;
- Children under 10 years old should not use the printer without supervision, otherwise it may cause personal injury;
- Users should comply with the laws and regulations of the corresponding countries and regions where the equipment is located (used), abide by professional ethics, pay attention to safety obligations, and strictly prohibit the use of our products or equipment for any illegal purposes; Creality will not be responsible for any violators' legal liability under any circumstance;
- Tip: Do not plug in or unplug wires on a charged basis.
Printer Information
Packing List


About the Printer


Equipment Specifications
| Parameters | |
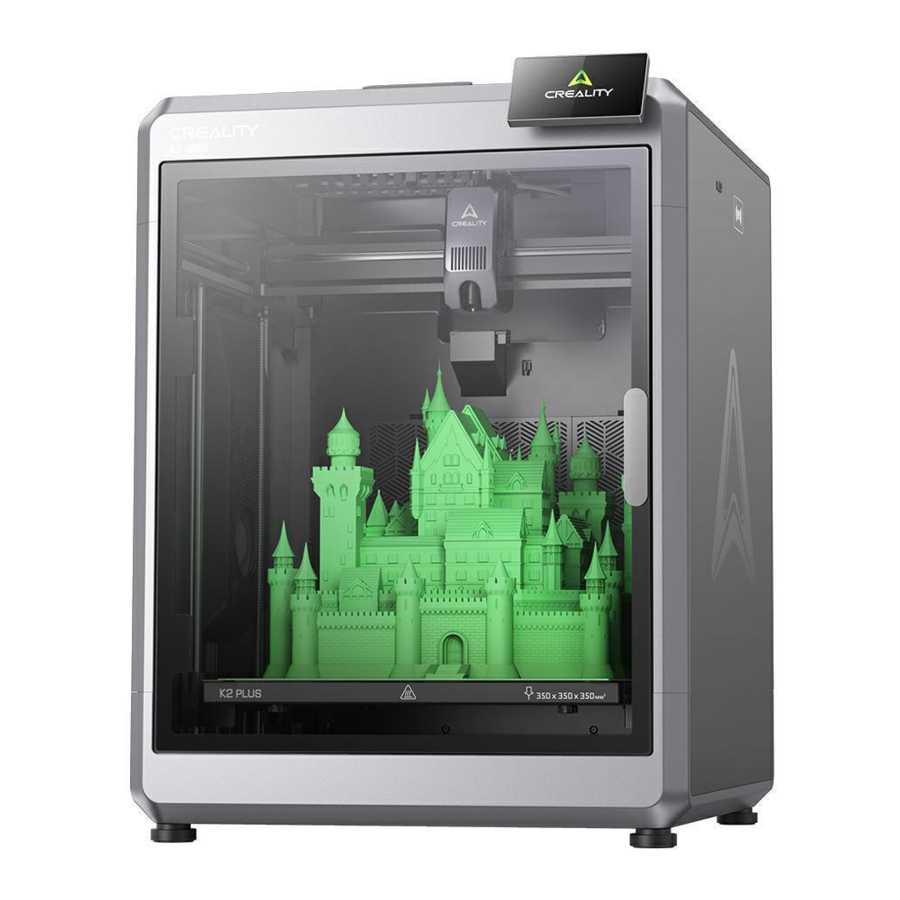
| Model | K2 Plus |
| Print size | 350*350*350mm |
| Pinter size | 495*515*640mm |
| Single set net weight | 35kg |
| Supported filaments | PLA/ABS/PETG/PA-CF/PLA-CF/PET/ASA/PPA-CF |
| Extruder type | Proximal dual gear extruder |
| Printing speed | ≤600mm/s |
| Acceleration | ≤30000mm/s² |
| Nozzle diameter | 0.4mm |
| Nozzle temperature | ≤350℃ |
| Hotbed temperature | ≤120℃ |
| Chamber temperature | ≤60℃ |
| Rated voltage | 100-240V~, 50/60Hz |
| Screen | 4.3-inch color touch screen |
| Chamber camera | Yes |
| Nozzle camera | Yes |
| Power loss recovery | Yes |
| Automatic refilling | Yes |
| Lighting lamp | Yes |
| Air filter | Yes |
| Active chamber heating | Yes |
| Slicing software | Creality Print 5.0 and higher |
| Working mode | USB flash drive /Ethernet/Wi-Fi |
| Printing platform | Flexible printing plate |
| Leveling method | Automatic leveling |
Equipment Size


Please ensure that there is at least a 10 cm gap between the machine and the wall.
Unboxing
Remove Screw Rod Holder, Hotbed Locking Screws, Camera cover
- Remove the left and right screw rod holders.

- Use the L-shaped wrench to remove the four hotbed locking screws indicated by the yellow label.

- Remove the camera cover.


Install Accessories
- Install Printer Screen
- Install the screen base.

- A: Tear off the screen flex cable sticker;
B. Thread the screen flex cable through the screen base any entrance.

- Connect the screen cable: Pay attention to the direction shown in the figure and press to connect

- Snap the screen into the screen base:

A. Align the screen clamping position and press to connect; with the screen base clamping slot;
B. Push to the left to lock.
- Install the screen base.
- Install Spool Holder and PTFE Tube
- As shown in the figure, align the material rack with the hole on the back of the machine and tighten it with two material rack screws;

- Connect the Teflon tube: As shown in the figure, connect the two ends of the Teflon tube to the pneumatic joints on the material rack and the machine.

- As shown in the figure, align the material rack with the hole on the back of the machine and tighten it with two material rack screws;


Connecting CFS

- Install the filament buffer
- Install the filament buffer on the back of the printer and tighten it with two buffer screws; pay attention to the direction of the buffer, do not install it in a wrong direction;

- Connect the PTFE tube and 485 cable

- Install the filament buffer on the back of the printer and tighten it with two buffer screws; pay attention to the direction of the buffer, do not install it in a wrong direction;


- Connect CFS hub outlet and buffer: insert one end of the longer PTFE tube into the CFS hub outlet (position a); insert the other end into the buffer (position b, any of the four holes);

- Connect the buffer and K2 Plus according to steps A, B, and C;

- Connect CFS and buffer Creality 485 cable: Note that the elbow is inserted into the buffer position c, and the straight head is inserted into the CFS position d (either of the two 485 sockets of CFS);

- Connect CFS and K2 Plus Creality 485 cable: Both ends of this line are 6-pin straight heads, one end is inserted into the CFS position e, and the other end is inserted into the machine interface position f.


Connecting Multiple CFSs for Use

Power-on Guide


- Follow on-screen prompts to complete the boot program (about 30 minutes);
- Loud sounds during vibration optimization are normal.
The current interface is for reference only. Please refer to the latest software/ firmware UI on the official website for updates.
Product Usage
User Interface

The left side is the navigation bar:
- Home: In idle state, you can view the temperature of each part of the machine; during printing, you can view the model printing progress and other information on this interface;
- Adjustment page: On this page, you can operate the machine to move, load filaments, etc.;
- File page: On this page, you can choose to print files and operate printing;
- Function setting page: You can set network, camera and other functions; you can also view machine information;
- Help page: You can export logs or view machine wiki.
The current interface is for reference only. Please refer to the latest software/firmware UI on the official website for updates.
Loading Filament From Spool Holder
- If the filaments support RFID recognition, align the chip on the filaments with the RFID recognition position of the machine body to scan the filaments, and the filament information can be automatically set;
![]()
- Hang the filament on the spool holder;
![]()
- Thread the filaments into the Teflon tube and push gently until they cannot be pushed;
![]()
- If the filaments do not support RFID recognition, you need to manually click on the screen to set the filament information: Adjustment page → Filaments → Edit (as shown below the material rack), set the filament brand-type-name-color respectively, and finally click OK to save the settings;

- Extrude: Push the filament gently by hand, and click "Extrude" on the filament interface. The machine will automatically set the current filament temperature, and will automatically extrude the filament after the heating is completed;

- Retract:

A. Click Retract on the filament management page, and the extruder will automatically move to the left front to cut off the filament for retraction;
B. Wait for the retraction to end, and extract the filament from the Teflon tube behind the machine.


During extruding, you can observe whether there is filament flowing out of the nozzle. If no flow-out is observed, you can gently push the filament toward the extruder at the Teflon tube behind the machine, and then click "Extrude" again.
The current interface is for reference only. Please refer to the latest software/firmware UI on the official website for updates.
Loading Filament From CFS
To avoid filament spool getting stuck, do not use cardboard spool with untreated edges or cardboard spool that are deformed as a whole;

- is the Refresh RFID button, which can be used to read filament. If the reading is successful, the remaining filament and filament color will be displayed. If the reading fails, the filament editing button will be displayed, and the filament will be displayed as "?";
- is the empty slot state, displayed as "/", and editing is not supported;
- means that the RFID filament is read, the eye icon is for viewing filament information, RFID filament only support viewing; if this is RFID and you want to use non-RFID next time, click the pre-loading button, wait for the reading to complete, and then click the filament editing button;
- is ordinary filament, which support editing;
- is the state where RFID is not read, the filament display "?". At this time, you need to click the edit button to manually edit the filament information;
- is the CFS humidity status. Green means the humidity is appropriate, orange means the humidity is slightly higher, and red means the humidity is very high. The desiccant may need to be replaced.
- Introduction to the filament management interface: The filament management page is divided into two parts: the spool holder [left] and the CFS [right]. The code above the filament in the CFS, such as 1A, indicates the slot number;
Loading filament: Put the filament into the CFS, align the filament head with the Teflon tube of corresponding silo, push it in gently, and let go after feeling the pulling force. The filament will be automatically loaded.

Unloading filament: First, make sure that the filament is not in the extruder, in this case, just pick up the filament and pull it out; if it is in the extruder, click the Retract button first, wait for the filament to return to the CFS, and then take out the filament.
![]()
- Load/unload filament.


First Use
Filament Setup
- Put in filament and wait for tightening (RFID filament does not need to be edited, in case of non-RFID filament, "?" will be displayed after reading, and filament needs to be edited manually);


The current interface is for reference only. Please refer to the latest software/firmware UI on the official website for updates.
- Check whether the filament information displayed on the screen corresponds to the filament in CFS.


- Click the file on the screen, confirm the filament mapping status, and click Print;


- The area a is the color and type of the material contained in the print file. For example, the green background PLA in the figure indicates that green PLA is required;
- The area b is the state after the mapping of the print file to the filament bin is completed. For example, there is no green PLA in the filament bin, and the blue PLA is automatically selected;
- When the mapping fails, '--' will be displayed, and the user needs to manually select the material;
- Enabling CFS means printing with CFS filament, otherwise the material rack filament will be used for printing, and the multi-color file will be regarded as a single-color file;
- Checking print calibration will perform automatic leveling, AI calibration and other functions.
- Printing...


The current interface is for reference only. Please refer to the latest software/firmware UI on the official website for updates.
Creality Print Slicing
- Software Download and Installation
![]()
Log in to the Creality Cloud website to download Creality Print 5.0 or above slicing: https://www.crealitycloud.com/software-firmware/software/creality-print ; - Bind Machine to LAN
- Check the machine IP on the machine screen: Settings → Network;

- Enter the machine IP in the slicing software for binding: Manually add → Enter IP;

- Check the machine IP on the machine screen: Settings → Network;


The current interface is for reference only. Please refer to the latest software/firmware UI on the official website for updates.
- Slice and Send to Print
- Click "Slice Plate", and click "LAN Printing" after slicing is completed;

- Select the bound printer;

- Check the machine and filament information, and click "Click to Print".

- Click "Slice Plate", and click "LAN Printing" after slicing is completed;


For more detailed slicing software usage tutorials, please log in to the Creality 3D official Wiki: https://wiki.creality.com/en/software/update-released
The current interface is for reference only. Please refer to the latest software/firmware UI on the official website for updates.
SHENZHEN CREALITY 3D TECHNOLOGY CO., LTD.
18th Floor, JinXiuHongDu Building, Meilong Road, Xinniu Community,
Minzhi Street, Longhua District, Shenzhen City, China.
Official Website: www.creality.com
Tel: +86 755-8523 4565
E-mail: cs@creality.com

Documents / Resources
References
![wiki.creality.com]() Creality Print 5.x Contents | Creality Wiki
Creality Print 5.x Contents | Creality Wiki![www.creality.com]() Creality - Official Website
Creality - Official Website![wiki.creality.com]() Home | Creality Wiki
Home | Creality WikiCreality Print - Creality Slicer Softwares Download
![www.creality.com]() Creality - Official Website
Creality - Official Website
Download manual
Here you can download full pdf version of manual, it may contain additional safety instructions, warranty information, FCC rules, etc.
Advertisement


Need help?
Do you have a question about the K2 Plus and is the answer not in the manual?
Questions and answers