Advertisement
Dear Users
For the best experience, please read this User Manual carefully and strictly follow the instructions to operate the printer. Our teams will always be ready to provide you with the best services. Please contact us via the phone number or e-mail address provided at the end of this User Manual when you encounter any problem with the printer. For a better experience in using our products, you can also learn how to use the printer in the following ways:
Accompanied instructions: you can find the relevant instructions and videos in the USB flash disk.
You can also visit our official website (https://www.creality.com) to find information regarding software, hardware, contact information, device instructions, device warranty information, and more.
NOTES
- Do not use the printer in any way other than described herein in order to avoid personal injury or property damage;
- Do not place the printer near any heat source or flammable or explosive objects. We suggest placing it in a well-ventilated, cool and dustless environment;
- Do not expose the printer to a violent vibration or any other unstable environment, as this may cause poor print quality;
- Please use recommended filaments to avoid clogging of the extrusion head and causing damage to the machine;
- Do not use the power cable of other products during installation. Always use a grounded three-prong power outlet, which accompanies the printer;
- Do not touch the nozzle and the heated bed during operation to avoid burns or personal injury;
- Do not wear gloves or wraps while operating the machine to prevent entrapment of movable parts that could cause crushing and cutting injuries to bodily parts;
- Use the provided tools to clean the filament from the extruder in time taking advantage of the residual temperature after printing. Do not touch the extruder directly when cleaning, otherwise it may cause burns;
- Clean the printer frequently. Clean the printer body with a dry cloth regularly after powering off the printer, wipe away dust, bonded print filament and foreign objects on the guide rails;
- Children under 10 years old should not use the printer without supervision, otherwise it may cause personal injury;
- Users should comply with the laws and regulations of the corresponding countries and regions where the equipment is located (used), abide by professional ethics, pay attention to safety obligations, and strictly prohibit the use of our products or equipment for any illegal purposes; Creality will not be responsible for any violators' legal liability under any circumstance;
- Tip: Do not plug in or unplug wires on a charged basis.
About the Device
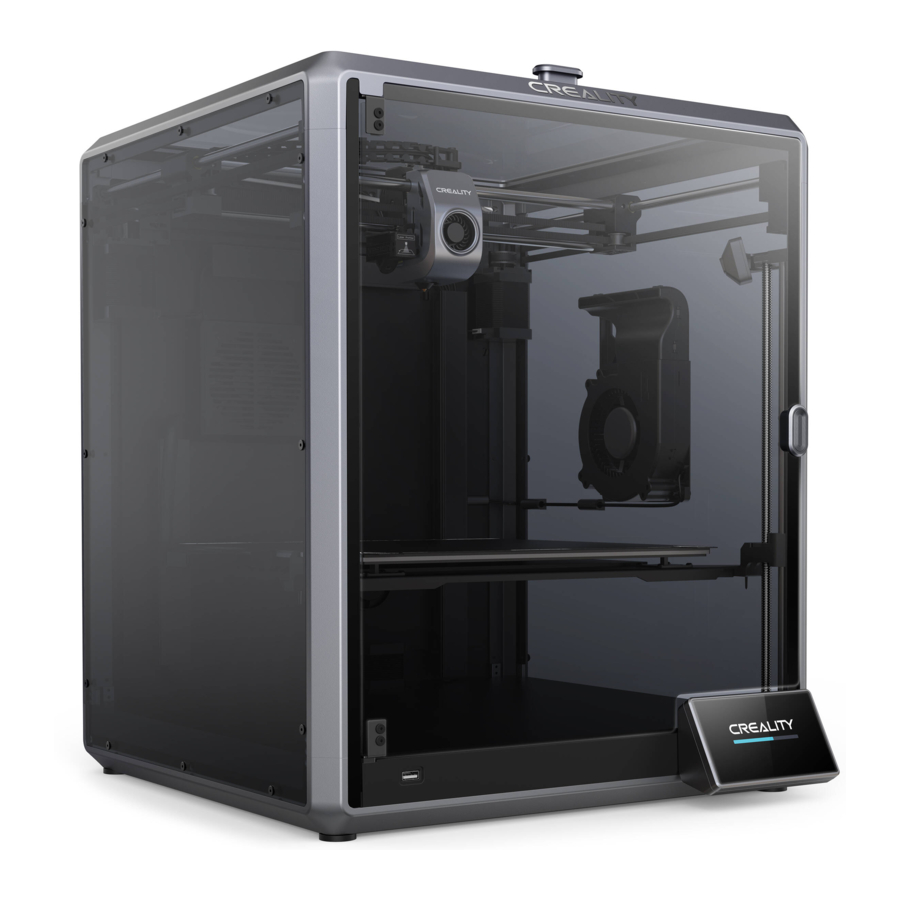
About the Printer

Device Specifications
| Basic Parameters | |
| Product Model | K1 Max |
| Dimensions | 435*462*526mm |
| Max. Build Dimensions | 300*300*300mm |
| Print Technology | FDM |
| Rated Voltage | 100-240V~, 50/60Hz |
| Rated Power | 1000W |
| Ambient temperature | 10℃-30℃ / 50°F-86°F |
| Extruder | Sprite Direct Drive |
| Supported Filament | PLA/ ABS/ Carbon/ PETG/ PET/ TPU95A |
| Max. Nozzle Temperature | 300℃ |
| Screen | 4.3 inch touch screen |
| Printing Method | USB Flash Disk/ LAN Printing/ Creality Cloud Printing |
| Connection | USB flash disk/ WIFI/ Ethernet |
| Power Loss Recovery | Yes |
| Filament Detection | Yes |
| Auto leveling | Yes |
| Camera | Yes |
| AI LiDAR | Yes |
Packing List

* Tips: the above accessories are for reference only. Please refer to the physical accessories!
Unboxing
Unpacking Steps
Take the packing cotton and tools in the order as shown in figure.

Install the Product
- Install the door handle on the front door as shown in the diagram.
![]()
- Connect the touch screen to the flat cable extended from the base according to Figure A. Then snap the touch screen into the slot in the baseplate, as shown in Figure B. (The direction is as shown in the figure; otherwise, the screen interface may be damaged.)

![]()
- Do not power up the machine while you are connecting or disconnecting the touch screen.
- The flexible flat cable of the base is pulled lightly and broken carefully.
![]()
- Connection and power on.
- Install the material barrel.
- Load filaments. (Insert the filaments into the deepest part of Teflon tube until it cannot be moved.)

![]() Note: Keep the Extrusion switch off before printing.
Note: Keep the Extrusion switch off before printing. - Install the top cover.
(Put the top cover gently on the top of the machine.)
![]()
![]()
- When printing low-temperature filaments such as PLA and flexible filaments, remove the clear top cover if the room temperature exceeds 30°C.
- When printing high melting-point filaments such as non-PLA and non-flexible filaments, be sure to keep the forming chamber temperature with the clear top cover closed to avoid cracking of the mould.
- Select a language and click "Next", Remove three screws a, b and c according to position indicated by the yellow arrow. click "OK" on the screen.

- Keep the blue cube in the figure clean of debris and then click "OK".


Power-on guide
- Network Settings
![]()
- Time Zone Settings
![]()
- Creality Cloud binding
![]()
- Self-check
![]()
- Self-checking
![]()
- Self-check completed
![]()


 Note: The current interface is for reference only. Due to the continuous upgrading of functions, it shall be subject to the latest firmware UI published on the official website.
Main, Tune

Note: The current interface is for reference only. Due to the continuous upgrading of functions, it shall be subject to the latest firmware UI published on the official website.
File
- Local file
![]()
- Printing
![]()
- Press and hold on the model to multi-select and copy it to a USB flash drive
![]()
- USB flash drive file
![]()
- History
![]()


Note: The current interface is for reference only. Due to the continuous upgrading of functions, it shall be subject to the latest firmware UI published on the official website.
Settings, Support

Note: The current interface is for reference only. Due to the continuous upgrading of functions, it shall be subject to the latest firmware UI published on the official website.
First Printing
Local Printing
- Local model
![]()
- Select to print
![]()
- Printing
![]()


Note: The current interface is for reference only. Due to the continuous upgrading of functions, it shall be subject to the latest firmware UI published on the official website.
Note: Keep the Extrusion switch off before printing.
LAN Printing
- Download at (www.crealitycloud.com) or find the software on a USB flash drive and install it.
![]()
![]() Tips: the computer must be in the same local area network as the printer
Tips: the computer must be in the same local area network as the printer - Choose a language and region

- Choose a Printer

- Click on "Import Model" and select the model file

- Open the model and click on "Slice"

- Selection of LAN printing
![]()
- Add a device:
- Add by scanning → Select a device

- Add a device by manually entering the IP address

- Add by scanning → Select a device
- Device List
![]()
- Device Details
![]()


Note: The current interface is for reference only. Due to the continuous upgrading of functions, it shall be subject to the latest firmware UI published on the official website.
CrealityCloud printing
- Scan the QR code and download the app
![]()
- Download
![]()
- Sign up for an account
![]()
- Log in
![]()
- Add a new device
![]()
- Add a device
![]()
- Select Settings → Bind the Creality Cloud
![]()
- Scan the QR code
![]()
- Select Settings → Bind the Creality Cloud
- Select model on the homepage
![]()
- Slice
![]()
- Print
![]()
- Select a device
![]()
- Printing
![]()


Functional Specification
Filament Retreat
Method 1:
- Input the nozzle temperature on the screen and wait for it to heat up to the target temperature.
![]()
- Unlock the extrusion switch.

- Remove the filament from the extruder.
- Remove the PTFE tube from the top of the extruder.
- Extract the filament from outside the printer.
![]()


Note: The current interface is for reference only. Due to the continuous upgrading of functions, it shall be subject to the latest firmware UI published on the official website.
Method 2:
- Click on the "Retract" button.
![]()
- Wait for the screen to display "Finish".
![]()
- Extract the filament from outside the printer.
![]()


Note: The current interface is for reference only. Due to the continuous upgrading of functions, it shall be subject to the latest firmware UI published on the official website.
Change filament
- Trigger filament runout sensor, click "refill".
![]()
- Return to the print interface and reheat the nozzle to the extrusion temperature.
![]()
- Unlock the extrusion switch.
![]()
- Remove the PTFE tube and filament from above the extruder.
- Completely remove the filament from the PTFE tube.
![]()
- Insert the filament from the outside until it comes out of the other end of the PTFE tube.

- Insert the filament from the top until some filament flows out from the nozzle.

- Lock the extrusion switch.

- Restore the PTFE tube to its original position.
- Resume the printing process.
![]()


Calibration
Select Calibration, the printer will be leveled before printing the model.

Note:
- Ensure that the calibration plate sticker is clean and undamaged.
- Do not stare directly at the laser when it is activated.
First-layer detection of printing
Use AI Lidar and first-layer detection algorithm to check the first layer of the model to be printed, and report any first-layer quality problem found to the system, so as to prevent printing failure due to first-layer printing problems and to avoid wasting a lot of time and materials.
AI LiDAR
- It's composed of laser and sensor. The laser is used to detect the surface of the measured object;
- The sensor is used to record the changes and generate point cloud data for the control system to call and process;
- It's available to be applied to first-layer detection of printing.
AI function

- When AI detection is turned on, the chamber camera will monitor the process of printing. If any defect is found during the printing, a window will pop up to remind you.
- When you check the Push Pause Printing, the printing will pause if there is any printing defect.
Motion advance: Motion advance is utilized to improve the printing quality by compensating for the delay in the mechanical system response during changes in printing direction. By anticipating the movement of the printer's extruder, motion advance ensures that the extrusion is accurately aligned with the intended path, reducing the occurrence of imperfections such as blobs or gaps in the printed model. This feature adjusts the extrusion rate based on the printer's motion, resulting in smoother and more precise prints.
After printing starts, if there are foreign objects on the platform or the previous printed model is not removed, the printer will pause printing and give a reminder. (To avoiding damaging the extruder) After turning off the first-layer detection, the first-layer detection will not be performed during the calibration.
Note: Push pause printing if Any Fault is effective for both the AI detection and first-layer detection.
Self-check

Input Shaping
Ringing refer to the corrugated unevenness on the surface of the model that may be caused by the resonance of the machine or the action of external forces during the printing process.
To solve this problem, the input shaping sensor is used to actively obtain the resonance frequency of the 3D printer, and algorithm is applied to correct this state to achieve the purpose of eliminating the model chatter marks. Using the input shaping can effectively suppress the machine vibration and improve the printing quality of the model to obtain a smooth model surface.
Network Settings
Wired connection
When the printer is connected to the network cable, you can click Settings → Local Network on the screen to check whether it is connected.

WIFI connection
In the screen click on Settings → Network → Connect WIFI, select the corresponding WIFI enter the password to complete the wireless network connection (only support 2.4GHz band).

Tips and Routine Maintenance
Precautions for printing
Lubrication and maintenance

Regular maintenance of 300 hours: Please regularly lubricate the blue area in the picture with oil for maintenance. The lubricating grease will only be applied to the middle part, then automatically apply evenly by motion. (Users may buy the grease themselves for machine maintenance.)
Use and maintenance of flexible platform
- Together with the flexible platform after the printed model has been cooled down Remove from the device and partially bend the platform slightly to separate the model from the platform.(No excessive bending of the platform to prevent it from being deformed and unusable)
![]()
- The residue of the platform filaments can be scraped off with a blade. Be cautious of safety when using.
![]()
- When the first layer of the model is not glued, it is recommended to apply glue stick evenly on the surface of the platform.
The residual solid glue left after the printing can be cleaned with clean water.
![]()


Cleaning of debris inside the chassis

Reminder: When the printing time of the device exceeds 300 hours, or if the printing platform or nozzles have been replaced, the distance between the platform and nozzles may change that caused the first layer of the model may not stick firmly, resulting in printing failure. Please calibrate the platform regularly.
Reminder: Since the printing platform is quick-wear, it is recommended to replace the printing platform regularly to ensure that the first layer of the model is adhered.
In the event that any of the above problems arise and cannot be resolved:
- Please visit https://www.crealitycloud.com/product, click "Products" and select the right model, and then click "Related" to view the tutorials on after-sales service;
- Or contact our after-sales service center at +86 755 3396 5666, or send e-mail to cs@creality.com.
Maintenance Items
| Maintenance instructions | ||
| Machine cleanup | Clean the debris inside the machine to ensure that its operation is not affected. | Before each print |
| Hot end | Check if the wire output is normal, if not, please check if the extruder is blocked. | After each change of filaments |
| Printing platform | Check the surface of the platform for residual filaments and glue, if so, clean the surface of the platform. | Before each print |
| Motion mechanism | XYZ optic axis lubrication. | Cumulative print time per 300 hours |
| Air filtration | Replace the air filter cartridge. | Cumulative print time per 300 hours |
| Equipment self-test | Optimization of vibration veins. | Cumulative print time per 300 hours |
| Auto Leveling. | ||
| Filament replacement | Replacement of filaments of the same kind: follow the normal Retreat - Feed process. | / |
| Replacement of different filaments: Preheat the nozzle to reach the target temperature of the current filament; then retreat it, replace with the target filament, and preheat the nozzle to the higher filament extrude temperature of the two filaments; feed for 30s until the filament has been completely extruded, and finally set the nozzle temperature to the temperature of current filament nozzle. |
Installation of Damping Pads
The Damping Pads can improve the stability of printer during the printing. The specific installation method is as shown in the figure below:

Since each model is different, the actual product may be different from the picture. Please refer to the actual product.
The final interpretation right belongs to Shenzhen Creality 3D Technology Co., Ltd.

SHENZHEN CREALITY 3D TECHNOLOGY CO., LTD.
Add: 18th Floor, JinXiuHongDu Building, Meilong Road, Xinniu Community, Minzhi Street, Longhua District, Shenzhen City, China.
Official Website: www.creality.com
Tel: +86 755-8523 4565
E-mail: cs@creality.com

Documents / Resources
References
![www.creality.com]() CREALITY - Official Website, Leading 3D Printer Supplier & Manufacturer
CREALITY - Official Website, Leading 3D Printer Supplier & Manufacturer![www.crealitycloud.com]() CREALITY CLOUD - The All-in-One 3D Printing Platform
CREALITY CLOUD - The All-in-One 3D Printing Platform![www.crealitycloud.com]() [Official] Creality Product Center - Compare different 3D printers
[Official] Creality Product Center - Compare different 3D printers![www.creality.com]() CREALITY - Official Website, Leading 3D Printer Supplier & Manufacturer
CREALITY - Official Website, Leading 3D Printer Supplier & Manufacturer
Download manual
Here you can download full pdf version of manual, it may contain additional safety instructions, warranty information, FCC rules, etc.
Advertisement


Need help?
Do you have a question about the K1 Max and is the answer not in the manual?
Questions and answers