Advertisement
Table of Contents
Part List:
Top Deck/Header and Rear Bows assembly-QTY 1
Driver side quarter Window - QTY 1
Passenger side quarter window - QTY 1
Rear window - QTY 1
Center bow assembly- QTY 2
Driver side door surround- Qty 1
Passenger side door surround- QTY 1
Door surround Rubber - Qty 2
Door Surround Screws - Qty 4
Door surround knobs-QTY 8
Tailgate Bar - QTY 1
Tailgate Bar Corner Mounts - QTY 2
Corner Mounts short knobs - QTY 2
Rear bow screws & nuts - Qty 4
Rear Main bracket screws and nuts - Qty 2
4mm Allen Wrench - QTY 1
Rear Main Bracket Screws M8 - Qty 4
5mm Allen Wrench - Qty 1
Loss of vehicle control involves risk of death or serious injury, particularly to parts of your body not
WARNING
restrained within vehicle. This product is intended for weather protection only and should not be relied
upon to contain occupants in the event of an accident or to protect from either ground contact or fall-
ing objects. To reduce risk of accident or injury:
•
ALWAYS WEAR SEATBELTS
•
Always keep head, arms & body parts within vehicle.
•
Fully secure or stow the soft top before driving according to instructions. Never try to latch or fold
soft top while driving. Do not use if damaged or worn.
•
Read and follow all instructions & warnings accompanying this product, in your vehicle owner's
manual and Off Road Driving Supplement.
RISK OF EYE INJURY. Safety glasses should be worn at all times while installing or maintaining this
CAUTION
product.
Installation Instructions
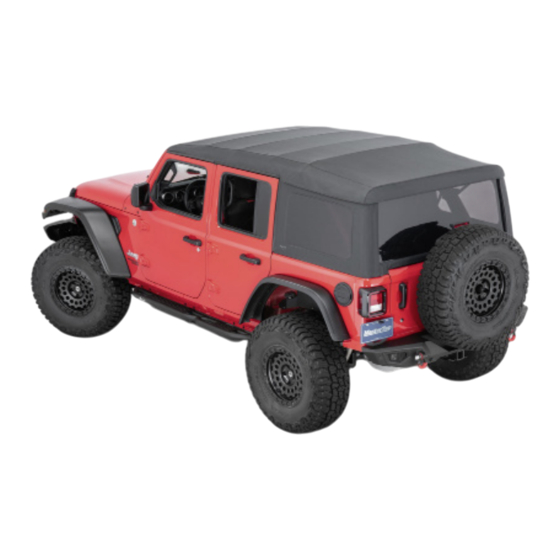
MasterTop Complete Soft Top for 2018-Current
Jeep
JLU 4Dr. Wrangler Vehicles
®
Item
156016XX
#
Required Tools:
Safety glasses
Socket wrench
10mm socket
Phillips head screw driver
Advertisement
Table of Contents

Related Manuals for MasterTop 156016 Series


Summary of Contents for MasterTop 156016 Series
- Page 1 Installation Instructions MasterTop Complete Soft Top for 2018-Current Jeep JLU 4Dr. Wrangler Vehicles ® Item 156016XX Required Tools: Part List: Safety glasses Top Deck/Header and Rear Bows assembly-QTY 1 Driver side quarter Window - QTY 1 Socket wrench Passenger side quarter window - QTY 1...
- Page 2 Important Safety information Your MasterTop® Complete Soft Top is intended to increase the utility and enjoyment of your off road capable vehicle. Before installation, please take a moment to review the following safety information and installation instructions. Important safety information is generally preceded by one of three signal words indicating the relative risk of injury.
- Page 3 Step 2: Secure Front Door Surrounds to the Roll Bar FIG 2 Locate the set of screw knobs and the driver’s side front door surrounds (Fig 2). There should Passenger Front door surround be 2 sets four knobs. See fig 1. These knobs go on the front and rear holes of the brackets.
- Page 4 Step 4: Secure Rear Door Surrounds to the Roll Bar Locate the assembled Driver’s side rear door sur- FIG 9 round previously installed in step 3.(Fig 9) and a set of screw knobs. FIG 10 On the bottom of the vertical pillar portion of the assembled door surround are two pins as shown in FIG 10 that will be inserted into the body tub.
- Page 5 Step 5: Attaching the Corner Mounts Locate the corner mounts and two short knobs FIG 15 FIG 16 (FIG 15). Locate the driver’s side corner mount and line up with the corner of the body tub. With the short knob, secure the corner mount to the body tube and tighten.
- Page 6 Step 7: Installing the rear main bracket to the vehicle Locate the driver side rear main bracket (Fig 22). FIG 22 Passenger side rear main bracket. On the rear sport bar, pull off the plastic cover that comes with the Jeep, there are two metal clips that hold it in place (Fig 23).
- Page 7 Step 8: Installing the rear bow #1 to the rear leg bracket #1 continued Line up the driver’s side rear leg #1 to the rear bow #1. Insert the screws and nuts and tighten using the included 4mm Allen as shown in fig 29. Fold the Rear Bow #1 and the rear leg #1 to the front (FIG30).
- Page 8 Step 11: Securing rear bow #1 & rear leg #1 Once rear bow #1 is secure on the deck, with the FIG 40 help of a friend, fold back to the front, the rear bow #1 and the rear leg #1 (FIG40).Once forward, insert the pin to secure the rear bow as shown in figs 41,41a &...
- Page 9 Step 12: Installing the top Deck continued Before you fold down the header make sure that FIG 46 the front two header corner pockets are in place and not lifted up over the header (Fig 46). With the header resting on the windshield, close the front header latches to secure the front of the top to the windshield.
- Page 10 Step 13: Installing the side quarter windows Locate the drivers rear quarter window. Line up FIG 56 the driver’s side Quarter window to the zipper on the top deck and zip it as shown in FIG’s 56 & Repeat on the passenger side. FIG 57 On the rear of the quarter window there is a Plastic...
- Page 11 When removing the quarter windows from the Top deck, make sure the zipper is com- NOTICE pletely out of the “zipper box” before removing the window. See fig 66 & 66a FIG 66 FIG 66a Step 15: Securing the Side and Rear Windows to the Vehicle As shown in fig’s 67 &...
- Page 12 Step 16: Securing the tailgate bar & rear window to the vehicle FIG 74 FIG 75 FIG 76 FIG 77 Take the tailgate bar and orient the “C“-Channel FIG 78 FIG 79 with the round seal facing down and slide the “C” Channel onto the rear window retainer as shown in FIG 74 &...
-
Page 13: Fig 83
Using Your Complete Soft Top Continued Option #2- FIG 83 Fully Open Front Fully Opened Driver and Passenger Sunroof For the next position you will need to slide the two side straps towards the header as shown in fig 83a and push the front bow in the center of the folded back “sunroof”... -
Page 14: Fig 85
FIG 85 Fully Open rear The front header arms must be secure to the third bow mount bracket and the fabric/ bows must be layered back before the vehicle is WARNING driven! Failure to secure these bow mounts will cause the top to potentially fly off the ve- hicle causing damage to the top, vehicle and potentially other vehicles on the road. -
Page 15: Fig 88
Using Your Soft Top Hardware Continued To secure your soft top, locate the two side tension straps (fig 88). Hook the end of strap under the belt rail (fig 89), insert the other side of the tension strap through the strap that is sewn onto the top for shipping located on the front leg, see fig 90. - Page 16 “fogging” and permanent damage. When removing your windows, store them clean rolled up in a towel or secured in a MasterTop Window storage bag. If frost or ice forms on the outside of your windows during the winter, DO NOT use an ice scraper to remove this frost.
-
Page 17: Limited 3 Year Warranty
Top branded accessories first sold in the United States, MasterTop warrants to the initial retail purchaser only that your MasterTop accessory shall be free of defects in material and workmanship; for a period of 3 years from date of initial retail sale.
Need help?
Do you have a question about the 156016 Series and is the answer not in the manual?
Questions and answers