Advertisement
Quick Links
Advertisement

Summary of Contents for Ingersoll-Rand PPDI034-1
- Page 1 Piston Flange Kit D14T Series Part #: PPDI034-1...
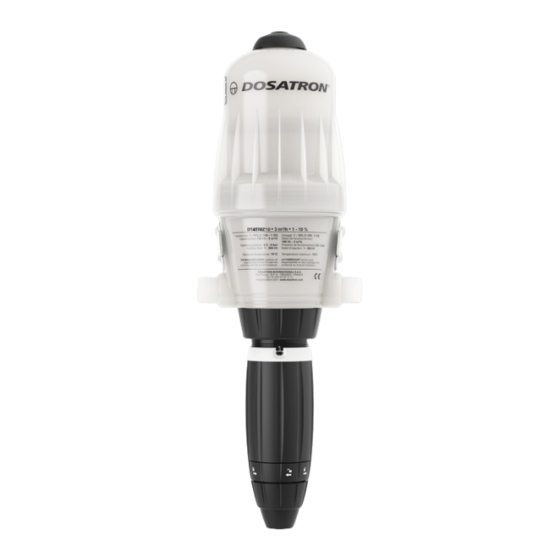
- Page 2 Dosatron Hot-Water Piston Kit Part #: PPDI034-1 This kit is for the Dosatron D14T Series Hot-Water Piston Flange Kit Contents: PDI651U Omega Spring PDI649-1 Connecting Rod PDI648 Push Rod Seal MPDI243U Upper Flange MPDI244U Lower Flange PDI1236 Top Locking Ring...
- Page 3 Hot-Water Piston Kit Instructions Unscrew and remove the Bell Housing, you may have to use a strap wrench. Pull the piston out of the Dosatron injector, and set the bell housing and body aside. Remove the Plunger from the Piston by twisting a quarter turn counterclockwise, and set aside.
- Page 4 Squeeze the Locking Ring from grip points outside-edge and turn it counterclockwise to unlock the tooth. Lift up the old Top Locking Ring and Upper Flange to remove from the Piston shell. Flip the piston upside down and follow steps 3 - 4 to unlock the Lower Locking Ring.
- Page 5 Lift up the old Lower Locking Ring and Lower Flange to remove from the Piston shell. With the use of a flat head screwdriver, remove the upper valves from the guide. The valves look like golf tees. These will drop down and out of the piston shell.
- Page 6 Now you have two subassemblies, the push rod on the right and valve support frame on the left. OMEGA SPRING In order to disassemble the CONNECTING push rod, remove the Connecting Rod from the Omega Spring. Now, twist the Omega Spring to remove from push rod.
- Page 7 OMEGA SPRING Slide the other end of the Omega Spring into the NEW Connecting Rod (PDI649-1). The key to this step is to make PUSH sure the curved top of the Push Rod faces in the same direction as the Omega Spring. CONNECTING Remove Push Rod Seal by grasping and twist a quarter of...
- Page 8 To install the NEW Top Locking Ring (PDI1236) locate the small tooth on the inner diameter of the ring, and align the tooth on the Top Locking Ring with the notch on top of the piston shell. Press down the Locking Ring and turn clockwise until the tooth locks into the notch on the shell.
- Page 9 The valve support frame will align on the side with the four holes, making sure it goes into the grooves. VALVE SUPPORT FRAME To demonstrate the alignment of the push rod assembly, the curved top would be facing inward, inserting the push rod into the single hole at the bottom of the piston shell.
- Page 10 Insert the upper valves through the bottom of the top area, and snap them into the valve support frame. To test the piston, pull the push rod up then push down a few times, it should click in both directions. Reinstall the plunger into the bottom of the piston shell and twist a quarter turn...
- Page 11 Carefully press the piston back into the injector and reinstall the bell housing. If you have any questions, call 1-800-523-8449 or to CHAT visit www.dosatronusa.com. 1-800-523-8499 • 1-727-443-5404...
- Page 12 2090 Sunnydale Blvd. • Clearwater, FL 33765 1-800-523-8499 • www.dosatron.com...


Need help?
Do you have a question about the PPDI034-1 and is the answer not in the manual?
Questions and answers