OPT7 AURA PRO Manual
Also See for AURA PRO:
- Manual (5 pages) ,
- Installation manual (5 pages) ,
- Installation manual (4 pages)
Advertisement
Table of Contents
OPT7 AURA PRO Manual
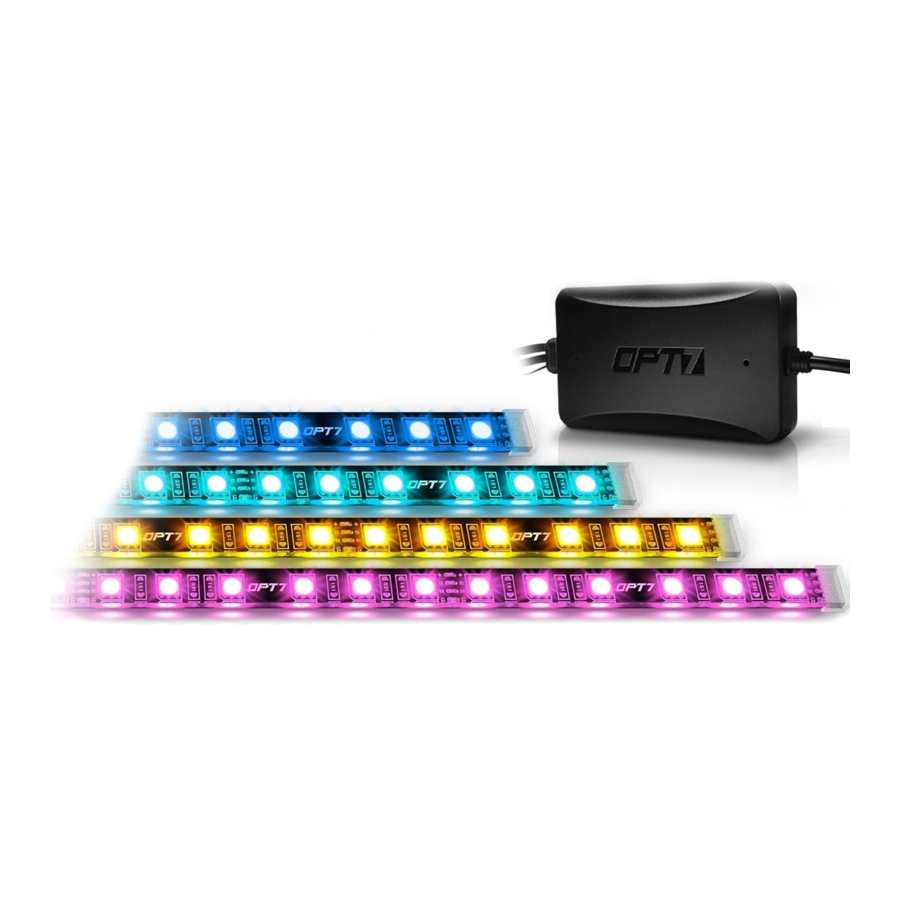
COMPONENTS

INSTALLATION
- Inspect kit to ensure all contents was included.
- Decide where to locate the control box and light trips. Ensure wiring has enough length for light strips to be installed in desired location.
![]()

EXAMPLES


- Connecting to more than 10 AMP will override the kit and cause early failure, ensure it is 10AMPs or less!!
- Please ensure that the LED bars or strips/control box/wiring all are mounted in areas where will not exceed 85℃ or 185℉.
- Scan the QR code on the back of the control box to download the app.

- Secure Control box in desired location with Velcro or zipties.
* The control box is NOT waterproof. Tuck it away from the elements.

- Secure the light strips using the zip ties to tie all the wiring away from the moving components.
![]()
The LED connectors are not waterproof. You will need to use HEAT SHRINK TUBE (not included) or ELECTRICAL TAPE around the LED connectors to ensure the longevity of the lighting kit.

- Open the "OPT7 Connect" App, pair your smart phone to the control


OPT7 CONNECT APP
- Colors
- Modes
- Door Assist
- Support
- Ability to control up to 4 devices at once
QR CODE TO DOWNLOAD


Download the free "OPT7 CONNECT" App
- App iOS (12+) available on App Store
- Android (6 +) available on Google Play
Documents / Resources
References
Download manual
Here you can download full pdf version of manual, it may contain additional safety instructions, warranty information, FCC rules, etc.
Advertisement


Need help?
Do you have a question about the AURA PRO and is the answer not in the manual?
Questions and answers