OLG Rover 50-ROMLK-0919 Manual
Also See for Rover Series:
- Assembly instructions manual (10 pages) ,
- Assembly instructions manual (9 pages) ,
- Assembly instructions manual (10 pages)
Advertisement
Table of Contents
Contents
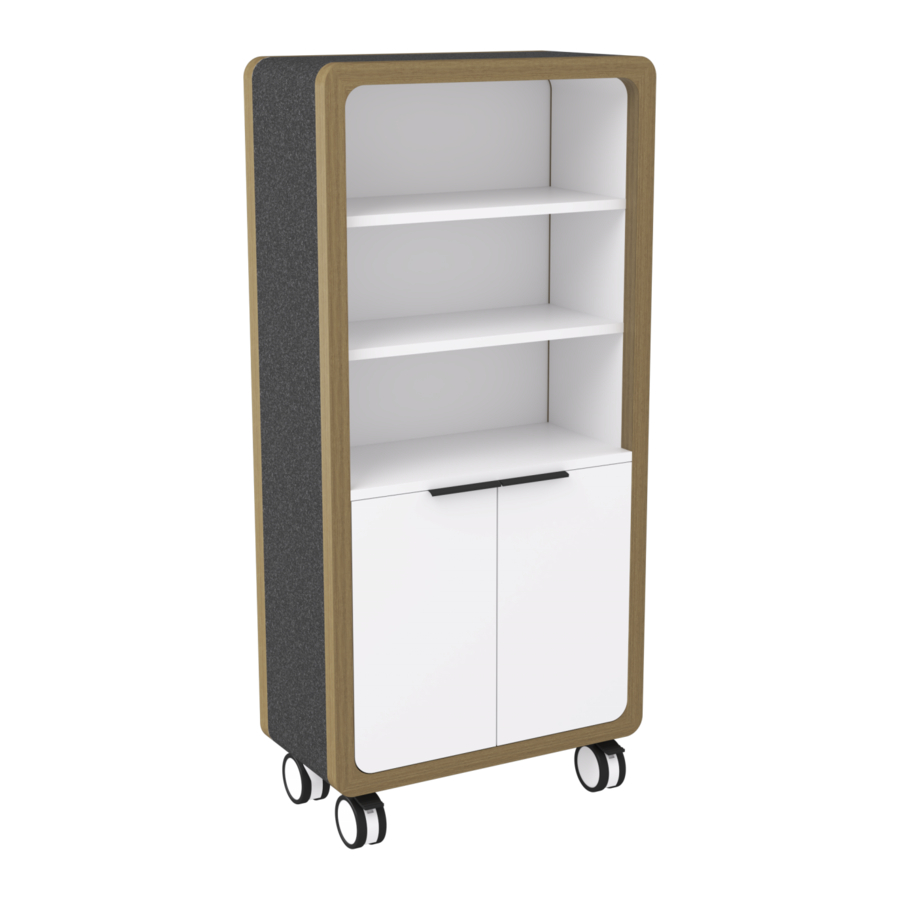
OLG Rover 50-ROMLK-0919 Manual
Component List

Assembly Instructions
Preparation for panel A, G, X, Z, Y, F, D.

- Insert cam bolts C1 and dowel pins D1 into panels A,G,F,D,X and Z as illustrated above.
- Locate the trim ring on lock and set aside. Insert cylinder of lock L through hole in Y and secure with S2 screws. Add trim ring to lock on outside of Y.
- Insert cams bolts C2 and dowel pins D1 into panels Y as illustrated above.

- Install the aluminum piece and A, G panel together with bolts B2 as illustrated above.
Panel Y/F assembly

- Insert cam bolts C2 and dowel pins D1 into panels Y into cams on panel F and tighten in a clockwise direction as illustrated above.
Panel A/G assembly

- Insert cam bolts C1 and dowel pins D1 into panels A, G into cams on panel X, Y, Z and tighten in a clockwise direction as illustrated above.
Panel D assembly

- Insert cam bolts C1 and dowel pins D1 on panel D into cams on panel X, Z, A, G, F, Y and tighten in clockwise direction as illustrated above.

- Install the aluminum piece and X, Z, A, G panel together with screw S1 as illustrated above.
- Install the aluminum piece and X, Z panel together with screw as illustrated above.

- Install the aluminum piece and X, Z, A, G panel together with screw S1 as illustrated above.

- Insert fix bolt B1 on panel A, X, Z into cam on eva and tighten in a clockwise direction as illustrated above.
- Install the aluminum piece and G panel together with screw S1 as illustrated above.

- Install castors T1 and T2 using screws B3.
Moveable shelf E assembly.

- Insert threaded dowel pins P1 into panels X, D and Z as illustrated above.
- Put the two panels E on the top of threaded dowel pins P1 as illustrated above.


- Loosen B screws
- Adjust door vertical
- Tighten B screws again

- Loosen screw A
- Adjust door in depth
- Tighten screw A again

- Loosen screw A
- Adjust door sideways with screw C
- Tighten screw A again
Complete:

Remove all QC and panel labels and wipe clean using a damp cloth and general household cleaner.
myolg.online | olgoffice.com | officedesigner.net | motionoffice.com
Sydney 02 8188 2732
Melbourne 03 9111 0315
Brisbane 07 3733 1923 Adelaide 08 7111 0810
Perth 08 9468 2707
info@olgoffice.com
Documents / Resources
References
![myolg.online]() MyOLG Online – OLG Reseller Online Ordering
MyOLG Online – OLG Reseller Online Ordering![olgoffice.com]() Commercial Furniture Wholesaler | OLG Office
Commercial Furniture Wholesaler | OLG Office![officedesigner.net]() Office Designer
Office Designer![motionoffice.com]() MotionOffice – Activity Based Working Furniture
MotionOffice – Activity Based Working Furniture
Download manual
Here you can download full pdf version of manual, it may contain additional safety instructions, warranty information, FCC rules, etc.
Advertisement


Need help?
Do you have a question about the Rover Series and is the answer not in the manual?
Questions and answers