Advertisement
MAN#650206
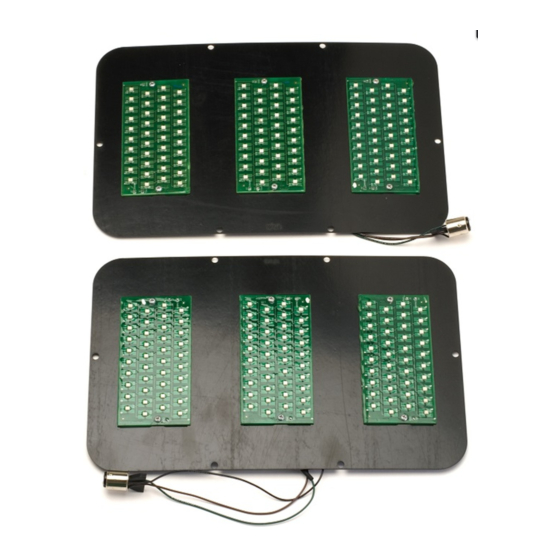
Kit Includes:
Installation:
1. Remove light bulb socket from the back of the tail light housing.
2. Remove the light bulb from socket.
3. Remove tail light housing from vehicle.
4. Pull the tail light/body seal off the housing carefully working it around the trim ring and over the
lens.
5. Remove the 6 screws that hold the lens and lens trim.
6. Remove the lens and trim from the housing.
7. Loosen the lens seal from the housing by gently pulling the seal away from the housing.
8. Clean dirt and rust from the seal surface of the housing. Now is also a good time to clean the
lenses. If the lenses are in bad shape, a replacement set is recommended.
69 Mustang
INSTALLATION INSTRUCTIONS
LAT-NR372
LED Tail Lights for 1969 Mustang
MAN#650206
Advertisement
Table of Contents

Related Manuals for Dakota Digital LED Tail Lights for 1969 Mustang LAT-NR372


Summary of Contents for Dakota Digital LED Tail Lights for 1969 Mustang LAT-NR372
- Page 1 MAN#650206 Kit Includes: Installation: 69 Mustang 1. Remove light bulb socket from the back of the tail light housing. 2. Remove the light bulb from socket. 3. Remove tail light housing from vehicle. 4. Pull the tail light/body seal off the housing carefully working it around the trim ring and over the lens.
-
Page 2: Service And Repair
This Warranty is in lieu of all other expressed warranties or liabilities. Any implied warranties, including any implied warranty of merchantability, shall be limited to the duration of this written warranty. No person or representative is authorized to assume, for Dakota Digital, any liability other than expressed herein in connection with the sale of this product.
Need help?
Do you have a question about the LED Tail Lights for 1969 Mustang LAT-NR372 and is the answer not in the manual?
Questions and answers