
Related Manuals for RTA Products TECHNI MOBILI RTA-1011


Summary of Contents for RTA Products TECHNI MOBILI RTA-1011
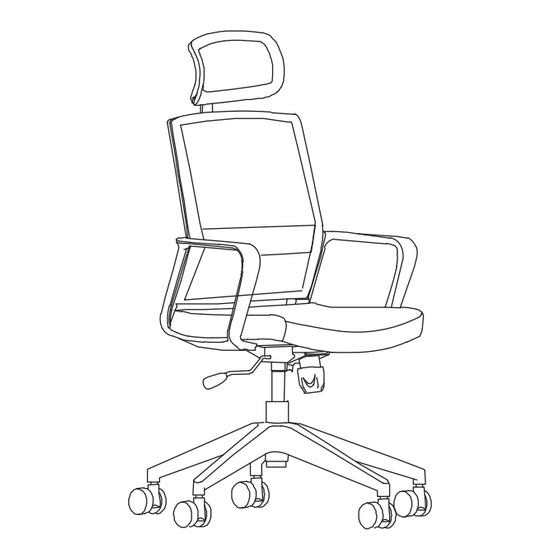
- Page 1 MESH CHAIR WITH HEADREST MODEL RTA-1011 ASSEMBLY INSTRUCTIONS REV.GLDP-1-8106-0524 Thank you for purchasing our product...
-
Page 2: Main Parts List
Customers & AK-HI-PR orders: of all the parts and & Replacement Parts within the 48 Contiguous United States: RTA Products will replace the part free of hardware listed below. charge, while the customer is responsible Please email us at: for shipping costs plus any International local taxes or duties. -
Page 3: Assembly Steps
RTA-1011 ASSEMBLY STEPS STEP 1 FIRST: Attach F to THEN: Insert E in C using pressure. the middle of C. STEP 2 FIRST: Place D over the holes of B. THEN: Secure D to B with screws #1 and washers #4. (Front) (M6x20) (Front) - Page 4 RTA-1011 ASSEMBLY STEPS STEP 4 THEN: Fix A FIRST: Snap-in A with screws #1. to G-L and G-R. (M6x20) LAST: Tighten the screws on D. STEP 5 Join the seat to the base, making sure E enters correctly into D. STEP 6 Attach H to A with screws #3.
-
Page 5: Care And Maintenance
RTA-1011 CHAIR'S FUNCTIONS HEIGHT ADJUST Pull Handle UP. Move UP or DOWN. TILTING TENSION Turn CLOCKWISE for Pull Handle OUT less tension (-); to UNLOCK; COUTERCLOCKWISE Push Handle IN for more tension (+). to LOCK. With less tension, the tilting feels easier. WARNINGS Not paying attention to the following warnings could result in injuries. -
Page 6: Year Limited Warranty
TECHNI MOBILI WARRANTY 1-YEAR LIMITED WARRANTY RTA Products, LLC has warranted the Techni Mobili office chairs to the original purchaser who acquired a new product from RTA Products or its authorized resellers of the product against defects in material or workmanship.
Need help?
Do you have a question about the TECHNI MOBILI RTA-1011 and is the answer not in the manual?
Questions and answers