Advertisement
Quick Links
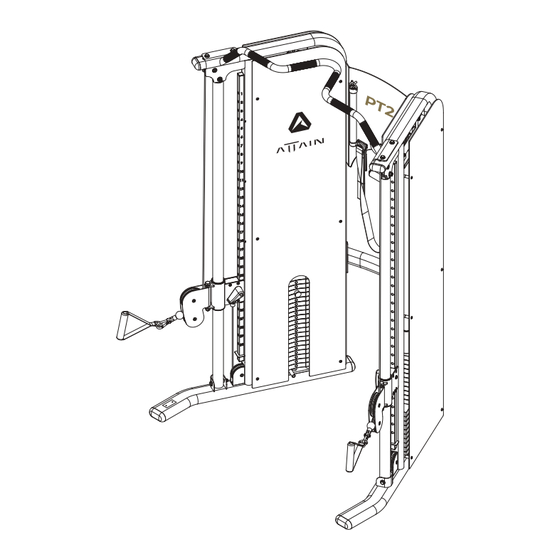
Serial Number Location
ATTAIN
S E R I A L
1 2 3 4 5 6 7 8
Record your Serial number
and purchase date here:
S/N __________________
DATE:________________
DEALER:______________
______________________
Model No. PT2
MA7119V4
ATTAIN FITNESS
PT2 PERSONAL TRAINER
OWNER'S MANUAL
Fitness Authority Industrial Co., LTD.
No. 15, Xiangxue Rd., Dali Dist.,
Taichung City 41275, Taiwan.
Advertisement

Related Manuals for ATTAIN FITNESS PT2


Summary of Contents for ATTAIN FITNESS PT2
- Page 1 PT2 PERSONAL TRAINER OWNER’S MANUAL Serial Number Location ATTAIN S E R I A L 1 2 3 4 5 6 7 8 Record your Serial number and purchase date here: S/N __________________ DATE:________________ DEALER:______________ ______________________ Model No. PT2 Fitness Authority Industrial Co., LTD.
- Page 2 8. Make certain all cables are seated within the pulleys before every use. 9. Exercise with care to avoid injury. 10. If you are unsure about the proper use of the ATTAIN FITNESS PT2, call your local ATTAIN FITNESS dealer.
- Page 3 Gym Placement Planner WALL 39" HEIGHT 53" 82" Important Notes and Tips: Recommended Tools for Assembly 1. Do not tighten any bolts until instructed. 2. Two people are required for the safe assembly of the gym. Ratchet 3. Use silicone lubricant on guide rods prior to weight 9/16"...
- Page 4 PT2 PARTS LIST 1 NOTE: IF YOU SEEM TO BE MISSING A PART, DO NOT WORRY, IT LIKELY HAS BEEN PRE-INSTALLED FOR QUALITY CONTROL PURPOSES. (7) CHIP UP (8) MID CROSS CONNECTOR (19) SELECTOR ROD (18) TOP PLATE (2pcs) (2pcs) (20) 5LBS.
- Page 5 PT2 PARTS LIST 2 NOTE: IF YOU SEEM TO BE MISSING A PART, DO NOT WORRY, IT LIKELY HAS BEEN PRE-INSTALLED FOR QUALITY CONTROL PURPOSES. (44) PLASTIC (65) LINK STUDS (24pcs) (2pcs) (74) CURL (70) BACK SUPPORT (66) OD BUSHING...
- Page 6 STEP 1 ASSEMBLE MAIN UPRIGHT Assembly requires two people. Do NOT attempt assembly by yourself. Carefully unpack the pieces and lay them on the floor near the location you plane to use this machine. Professional installers are highly recommended. To ease assembly, DO NOT tighten any bolts until instructed.
- Page 7 STEP 2 ASSEMBLE GUIDE ROD AND WEIGHT PLATE 1. Remove pre-assembled Top Guide Rod Holder (9). With two Guide Rods (3) angled slightly forward, slide 10 each 10 lbs Weight Plates (21), then 10 each 5 lbs Weight Plates (20) onto the Guide Rods (3).
- Page 8 STEP 3 CABLE ROUTE CHECK Make certain the Screws (55) is inserted completely through both holes in the Revolving Cable Bracket (11). Failure to do so will result in improper alignment and the pulley will rub on steel. Assemble cable and pulleys simultaneously. 1.
- Page 9 STEP 3 CABLE ROUTE CHECK CABLE (31) Steel Head End Ball End T6,T5...
- Page 10 STEP 4 ASSEMBLE ACRYLIC PANELS 1. Attach acrylic Panels (23L1 & 23L2) to Left Main Upright (2L) using six Plastic Studs (44), six OD Bushings (66) and six M6 X 40L Round Head Bolts (53) per panel. Makes sure that panels with slot and printed logo ATTAIN are applied to the inside.
- Page 11 STEP 5 ASSEMBLE ACCESSORY KIT 1. Hang Lat Bar (73), Curl Bar (74), Tether Strap (75), Tricep Rope (76) and two Hand Straps (28) on the Back Support Plate (70).
- Page 12 COMPLETE PARTS CHART NO. DESCRIPTION QTY. RIGHT MAIN UPRIGHT LEFT MAIN UPRIGHT GUIDE ROD CABLE ADJUSTING CONNECTOR RIGHT HEIGHT TRACK LEFT HEIGHT TRACK CHIP UP BAR MID CROSS CONNECTOR TOP GUIDE ROD HOLDER RIGHT CABLE HEIGHT ADJUSTER ASSEMBLY LEFT CABLE HEIGHT ADJUSTER ASSEMBLY REVOLVING CABLE BRACKET PULLEY BLOCK...
- Page 13 COMPLETE PARTS CHART NO. DESCRIPTION QTY. STEEL SHAFT SHAFT SPRING ADJUSTER SPRING PLASTIC STUDS S12 C PIN 1/2" X 6" HEX BOLT 3/8" X 3-1/4" HEX BOLT 3/8" X 2-1/2" HEX BOLT 3/8" X 2" HEX BOLT 3/8" X 3/4" ROUND SET SCREW TOP PLATE BOLT 3/8"...
-
Page 14: Exploded View
EXPLODED VIEW 1 22R1 35 36 33 44 61 64 22R2 62 43... - Page 15 41 56 61 14 61 64 53 66 61 13 64 44 23L2 61 35 61 64 23L1 EXPLODED VIEW 2...
- Page 16 5. Clean and apply silicone to the Guide Rods every 6 months. Enjoy many years of a Fit Lifestyle. Thank you for purchasing the ATTAIN FITNESS PT2 PERSONAL TRAINER! If you have questions or comments, please contact our customer service department at +1 877-551-7484 and info@attainfitnessusa.com.
Need help?
Do you have a question about the PT2 and is the answer not in the manual?
Questions and answers