Advertisement
Quick Links
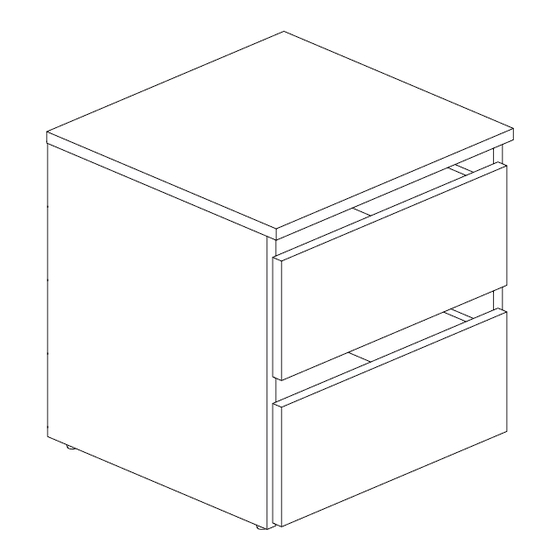
Bergen 2 drawer internal chest 120
Assembly Instructions
246/7287
- Please keep for future reference
Dimensions
Tip : To prevent damage,
we recommend that you
Width - 40cm
Depth - 38.7cm
build your unit on the
Height - 40.1cm
carton(s) it was packed in.
Important
– Please read these instructions fully before starting assembly
If you need help or have damaged or missing parts, please visit: www.argos-support.co.uk
or email: Help@ClickSpares.co.uk (quoting your original order number)
Alternatively, call the Spares Helpline on: 0370 112 1928
For any other queries please contact the Customer Helpline on: 0345 640 2020
Issue 4 - 11/01/16
Advertisement

Related Manuals for hygena Bergen 246/7287


Summary of Contents for hygena Bergen 246/7287
- Page 1 Bergen 2 drawer internal chest 120 Assembly Instructions 246/7287 - Please keep for future reference Dimensions Tip : To prevent damage, we recommend that you Width - 40cm Depth - 38.7cm build your unit on the Height - 40.1cm carton(s) it was packed in. Important –...
-
Page 2: Handy Hints
Safety and Care Advice Important – Please read these instructions fully before starting assembly • Check you have all the • During assembly do not stand • To reduce components and tools listed on or put weight on the product, the likelihood of the following pages. - Page 3 Components - Panels For damaged or missing parts, please visit: www.argos-support.co.uk or email: Help@ClickSpares.co.uk Please check you have all the panels listed below Left side Right side (38.6 x 37cm) (38.6 x 37cm) (40 x 38.7cm) P2878 P2877 P1645 Plinth (36.7 x 6cm) P7029 Drawer Back x 2...
- Page 4 Components - Fittings For damaged or missing parts, please visit: www.argos-support.co.uk or email: Help@ClickSpares.co.uk Please check you have all the fittings listed below Note: The quantities below are the correct amount to complete the assembly. In some cases more fittings may be supplied than are required.
- Page 5 Assembly Instructions Step 1 Prepare the locking screws Screw 2 metal dowelsB into the holes shown on the back of each drawer front 4 . Note: Tighten metal dowels up fully against the panels. Prepare the drawer sides Insert a small locking nut into the hole on left drawer side 7 and right drawerside 8.
- Page 6 Assembly Instructions Step 1 continued finishing the drawers Turn over drawer and slide Drawerbase supports Iin corner as shown and fix them, using the attached screws . Step 2 Attaching runners Slide top of runners L foreward and fix on left side 1 as shown using 10mm fixing screw drawer D.
- Page 7 Assembly Instructions Step 3 Insert fittings on top Screw 24mm locking screws B into top 3 . Note: Insert 24mm locking screw B as far as shown. Do not over tighten. Step 4 Insert fittings on plinth Put drop of glue J in the 4 holes of plinth 5 .
- Page 8 Assembly Instructions Step 5 continued Unfinished Attaching top back edge Position top 3 onto left 1 and right 2 side . Use a screwdriver to turn locking nuts A clockwise to lock. Finished front edge Fitting back panel Attach foldy back 9 to backof the chest using nails F and hammer.
- Page 9 Assembly Instructions Step 6 Inserting drawers Pull runners L out. Slide drawers onto runners so they butt up against back of the drawerfront 4. Fix through drawersides 7 and 8 into runners L using 9mm screws G. 1st small threaded hole Finish.
Need help?
Do you have a question about the Bergen 246/7287 and is the answer not in the manual?
Questions and answers