Advertisement
Quick Links
66074-001
Rev 01
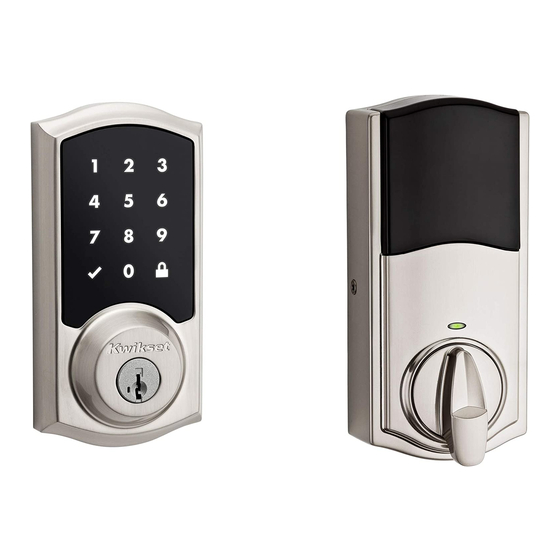
Z-Wave® Plus
Installation and User Guide
Required tools
4 AA Batteries
Ruler
Phillips head screwdriver
Additional Tools (depending on application)
Hammer
Wood block
1
Prepare the door and check dimensions
If drilling a new door, use the supplied template and the complete
door drilling instructions available at www.kwikset.com/doorprep.
Measure to confirm that the hole in
A
the door is either 2-1/8" (54 mm) or
1-1/2" (38 mm).
2-1/8"
54 mm
or
1-1/2"
38 mm
Note: Additional door preparation may be
required for doors with 1-1/2" (38 mm) holes.
Consult the deadbolt drilling instructions at
www.kwikset.com/doorprep.
2
Install the latch and strike
A
Is the door edge chiseled?
YES
or
chiseled
Use latch "A". If the
latch bolt is not already
extended, extend the
latch bolt as shown.
A
Kwikset
Technical Support
1-866-863-6584
www.kwikset.com
Measure to confirm that the backset is
B
either 2-3/8" or 2-3/4" (60 or 70 mm).
b a
2-3/8" or 2-3/4"
60 or 70 mm
B
Hold the latch in front of the door hole, with the latch
face flush against the door edge.
NO
not
chiseled
Use latch "B" (not
included). If the latch
bolt is not already
extended, extend the
latch bolt as shown.
B
C
Is the D-shaped hole centered in the door hole?
D-shaped hole
No adjustment is required.
Proceed to next step.
Parts in the box
Latch
A
B
"B" is not included. If needed,
please contact Kwikset to order
a drive-in latch for your lock.
Strike
Keys
C
E
Adapter
Ring
D
C
Measure to confirm that the hole in
the door edge is 1" (25 mm).
c k
s e
t
A
B
YES
NO
or
D-shaped hole
Rotate latch face as
shown to extend latch.
A
B
1 / 4
Interior Assembly
Exterior Touchscreen
Traditional
Contemporary
M
M
Fasteners
K
L
03809
Mounting
SmartKey
48654
Plate
Tool
G
H
Measure to confirm that the door is
D
between 1-3/8" and 2" (35 mm and
51 mm) thick.
1"
25 mm
actual
size
N
S
D
Which latch are you installing?
Latch "A"
A
N or P
(2x)
E
Install strike on the door frame.
Make sure the hole in the door frame is drilled a
minimum of 1" (25 mm) deep.
Longer screws
install closest to
the door jamb.
S (2x)
Q (2x)
Traditional
Contemporary
F
F
46780
Q
N
P
S
49191
64109
T
U
V
1-3/8" –2"
35 – 51 mm
P
Q
Latch "B"
or
B
wood
block
C
door frame
Advertisement

Related Manuals for Kwikset SmartCode 916


Summary of Contents for Kwikset SmartCode 916
- Page 1 Wood block Prepare the door and check dimensions If drilling a new door, use the supplied template and the complete door drilling instructions available at www.kwikset.com/doorprep. Measure to confirm that the hole in Measure to confirm that the backset is...
- Page 2 actual Install the exterior touchscreen size What is the diameter of the hole in the door? Install exterior touchscreen and mounting plate. Diameter is 2-1/8" Diameter is 1-1/2" Support exterior assembly during (54 mm) (38 mm) mounting plate installation. 2-1/8" 1-1/2"...
- Page 3 “A” on the lock one time. Perform steps 6A-6C again. If still unsuccessful, consult the Programming and Troubleshooting Guide on the SmartCode 916 page Please allow time for the controller to add the lock. at www.kwikset.com.
- Page 4 Z-Wave device. And, regardless of the performance grades to suit the application. In order to enhance security and reduce vendor, always powered nodes may act as a repeater for Kwikset/Weiser/Baldwin products. risk, you should consult a qualified locksmith or other security professional.
Need help?
Do you have a question about the SmartCode 916 and is the answer not in the manual?
Questions and answers
Does not power up
The Kwikset SmartCode 916 may not power up due to the following reasons:
1. Battery Issues – Ensure that the 4-AA batteries are properly installed and have sufficient charge.
2. Incorrect Installation – Verify that the battery pack is securely connected.
3. Pairing Distance – If connecting to a home controller, the lock may need to be powered up within 3 to 5 feet of the controller for a secure connection.
4. Faulty Components – Check for any loose or damaged wiring inside the lock.
If the issue persists, reinsert the batteries or reset the lock.
This answer is automatically generated
I dropped my lock and it came apart, can you send me an exploded diagram so I can reassemble the unit correctly . Thank you.