PLUSOPTIX Vision Screener Short Manual
Hide thumbs
Also See for Vision Screener:
- User manual (14 pages) ,
- Short manual (8 pages) ,
- Short manual (8 pages)

Related Manuals for PLUSOPTIX Vision Screener


Summary of Contents for PLUSOPTIX Vision Screener
- Page 1 Vision Screener Short Manual 2 “Adjusting settings and setting up WLAN” Plusoptix GmbH Neumeyerstrasse 48 90411 Nuremberg Germany www.plusoptix.com Edition: 12/16/2019...
-
Page 2: Table Of Contents
Selecting the referral criteria .................... 6 Setting up the screen lock (only plusoptiX S12C and S16) ..........7 Setting up the network access via LAN/WLAN (only plusoptiX S12C and S16) ....8 Setting up a LAN connection (only plusoptiX S16) ..........8 Setting up a WLAN connection (only plusoptiX S12C and S16) ...... -
Page 3: Adjusting The Settings
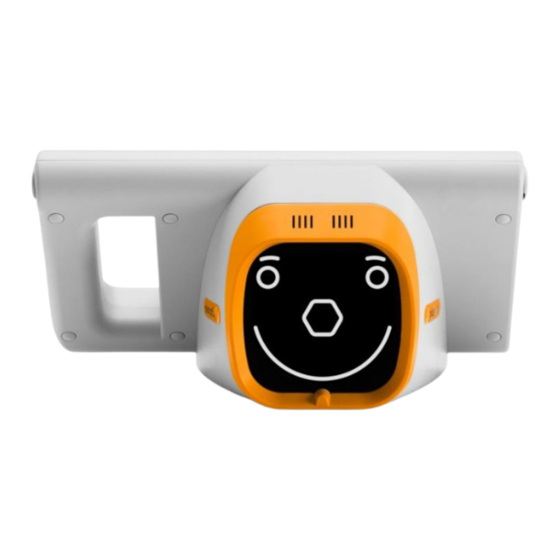
1 Adjusting the settings You can use the settings to adjust the “plusoptiX S12” to your requirements. You get to the settings by touching the gear wheel (1) in the navigation bar. By touching the red “X” (2), you can return to the screen, from which you originally called up the settings. -
Page 4: Adjusting The Basic Settings
Only “plusoptiX S12C” and “plusoptiX S16": Using commas or semi-colons as separators in the CSV files. The set separator is used for all CSV files that are saved by the Plusoptix device. Only CSV files that use the set separator can be imported. For more information, refer to supplementary short manual 5. -
Page 5: Setting Date, Time And Time Zone
3 Setting date, time and time zone The date and time will need to be set the first time the device is turned on and again if the batteries in the plusoptiX S12 models have been removed for an extended period of time. Time format... -
Page 6: Selecting The Referral Criteria
4 Selecting the referral criteria Touch the button to choose the referral criteria (1) in the settings. There are five validated groups of referral criteria to choose from. Figure 5: Referral criteria These five groups are called ROC 1, ROC 2, ROC 3, ROC 4 and ROC 5. Each of these groups defines different, age-dependent thresholds, which lead to a “Refer”... -
Page 7: Setting Up The Screen Lock (Only Plusoptix S12C And S16)
5 Setting up the screen lock (only S12C and S16) To protect the patient data stored in the „plusoptiX S12C” or “plusoptiX S16” from unauthorised access, the screen can be locked. Touch the lock (1) in the settings. Figure 6: Setting up the screen lock Activating the screen lock: - Touch the deactivated button with the lock (2). -
Page 8: Setting Up The Network Access Via Lan/Wlan (Only Plusoptix S12C And S16)
The LAN symbol (1) will be shown in the top right of the header on the home page. To see the IP address and host name of your “plusoptiX S16”, open the “Setting up the network access via LAN / WLAN” page by touching the symbol (2) in the settings. -
Page 9: Figure 9: List Of Active Wlan Connections
- Touch the button (1) to activate the WLAN interface. The device then automatically searches for all available networks within its range and displays these. By touching the down arrow (2), you can view the list. - Touch the Repeat button (3) to repeat the search for available networks. Error message: No WLAN network set up... -
Page 10: Figure 11: Viewing Active Network Connection
Figure 11: Viewing active network connection Note: If you turn off the „plusoptiX S12C” or “plusoptiX S16” when a WLAN is connected, it will automatically connect with the selected WLAN every time it is turned back To deactivate the WLAN interface, touch the button (3). You will automatically return to the settings. - Page 11 Seite 11 von 11...
Need help?
Do you have a question about the Vision Screener and is the answer not in the manual?
Questions and answers