Table of Contents
Advertisement
Quick Links
Advertisement
Table of Contents

Related Manuals for Bijur Delimon Multiport II


Summary of Contents for Bijur Delimon Multiport II
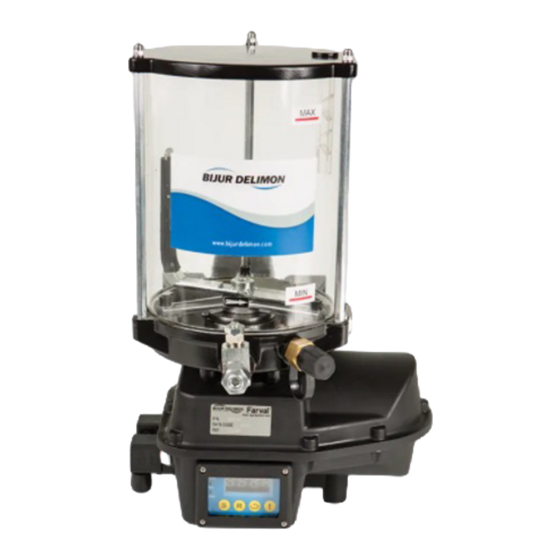
- Page 1 Quick Start Multiport II...
-
Page 2: Table Of Contents
DIRECTORY Multiport Quick Start Guide ....................2 1. Power supply ......................... 2 2. Signal plug ........................2 3. Distributor Monitoring ..................... 3 4. Lubricant Level Monitoring ..................... 3 5. Power ON ........................3 6. Setup the System......................3 6.1 Operation and display ....................3 6.2 Configuration ...................... -
Page 3: Multiport Quick Start Guide
MULTIPORT QUICK START GUIDE 1. Power supply DIN EN 175301-803 4-pins DC 12V/4A/48W - 24V/2A/48W Pin 1: DC 12V/24V Pin 2: 0V Pin 3: Fault signal (DC12V/24V), output Pin 4: PE Connection: max. 1,5 mm² 2. Signal plug DIN EN 175301-803 4-pins DC 10..36V Pin 1: DC 10:36V Pin 2: 0V... -
Page 4: Distributor Monitoring
3. Distributor Monitoring Connection via the signal connector. Distributor monitoring: NPN-Proximity-switch DC 10:36V 4. Lubricant Level Monitoring Connection via the signal connector. Level sensor: NPN-Ultrasonic sensor DC 10:36V 5. Power ON Wait for the controller to start. 6. Setup the System 6.1 Operation and display POWER Operating voltage... -
Page 5: Configuration
6.2 Configuration Press the keys simultaneously. • The Display shows: • 6.3 Operation Mode • The Display shows: key is used to select the mode • and the confirms the selection. Return to operating mode with the key Mode 1: Fixed Interval •... -
Page 6: Mode 3: Progressive
6.6 Mode 3: Progressive Selection d=3 Keys Range Progressive C002 CYCLE COUNT 1:999 Cycles P055 MONITORING TIME [s] 1:999s 0020 IDLE TIME 1:9999 TIME UNIT 1:s, 2:m; 3:h FC02 Return to operating mode 6.7 Mode 4: not supported. 5 / 8 Version A... -
Page 7: Advanced Setup Mode
7. Advanced Setup Mode Press the keys simultaneously. • LP 0 Additionally press the key • 7.1 Pre-lube at power on LP 0 PRE-LUBE OFF: Upon power on, lubrication resumes at last know position. (default) LP 1 PRE-LUBE ON: Upon power on, a lube cycle will initiate. (Pre-lube) 7.2 Fault State F no FAULT SIGNAL... -
Page 8: Fault Conditions
8. Fault Conditions: “EEPP“ - Monitor time-out (Mode d2 – Single Line) Pressure switch did not activate within monitor time. • “EEHP“ - Pressure switch failure (Mode d2 – Single Line) Pressure switch was activate at the beginning of a lube cycle. •... -
Page 9: Notes
NOTES _________________________________________________________________________ _________________________________________________________________________ _________________________________________________________________________ _________________________________________________________________________ _________________________________________________________________________ _________________________________________________________________________ _________________________________________________________________________ _________________________________________________________________________ _________________________________________________________________________ _________________________________________________________________________ _________________________________________________________________________ _________________________________________________________________________ _________________________________________________________________________ _________________________________________________________________________ _________________________________________________________________________ _________________________________________________________________________ _________________________________________________________________________ _________________________________________________________________________ _________________________________________________________________________ _________________________________________________________________________ _________________________________________________________________________ _________________________________________________________________________ _________________________________________________________________________ _________________________________________________________________________ _________________________________________________________________________ _________________________________________________________________________ 8 / 8 Version A...
Need help?
Do you have a question about the Multiport II and is the answer not in the manual?
Questions and answers