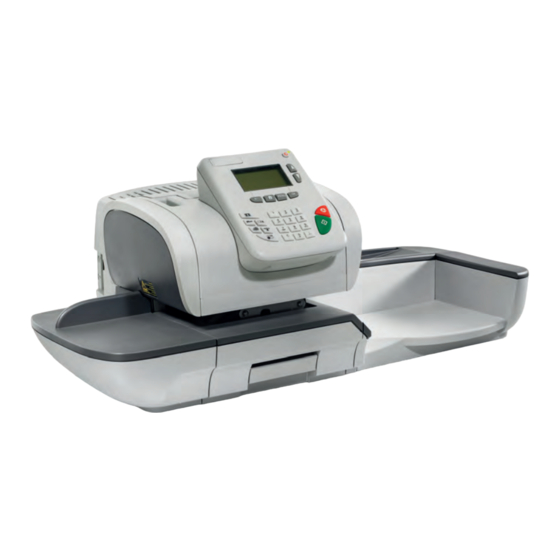
Neopost IS-420 Installation Manual
Hide thumbs
Also See for IS-420:
- User manual (202 pages) ,
- Installation manual (10 pages) ,
- Installation instructions manual (8 pages)
Advertisement
Quick Links
Advertisement

Summary of Contents for Neopost IS-420
- Page 1 INSTALLATION GUIDE...
- Page 2 Gateway, and DNS server. Getting Internet access: The Franking Machine needs to get access via the Internet to: uk-meterservices.neopost.com using TCP port 443. 1. Will the Franking Machine be able to get direct access to this from your LAN once it has an IP address? If yes go to page 3.
- Page 3 IP addresses. Proxy: If a Proxy is used to access the Internet, you can set-up the machine to use it when the machine tries to access the Neopost Servers through your Internet connection. Firewall: A network security system that allows businesses to closely control access between networks and network attached devices, such as your Franking Machine and Neopost.
- Page 4 Ethernet (CAT5, RJ45) cable. The Router then assigns all IP address settings for you using DHCP. In the majority of cases the Franking Machine will then be able to connect directly to Neopost using you ADSL line.
- Page 5 Additionally, a security device called a firewall controls access to the Internet, and may block the Franking Machine. To enable the Franking Machine to reach Neopost, you may need to involve your IT/Security teams, and ask them to permit the Franking Machine to reach: uk-meterservices.neopost.com using TCP port 443.
- Page 6 It will talk to your Proxy Server via TCP port 8080 by default, and is capable of sending username and password. They may respond by providing you with a Username and Password, as well as an IP address or DNS name for the Proxy Server. These details will allow the Franking Machine to get access to Neopost. Connectivity Proxy...
- Page 7 The Franking Machine will need the following fields completed during setup. (It may be advisable to have a member of your IT/Security teams present during installation to assist here). Proxy URL: This is the name or IP address of your Proxy Server. This will need to be provided by your IT department.
- Page 8 IS 330, IS-350, IS-420, IS-430 Manually configuring LAN communication settings In some unique instances, the LAN settings may have to be programmed into the IS series mailing machine in order to establish a valid connection via LAN. To manually configure LAN settings on an IS series mailing machine for a new install, the actions below are required.
- Page 9 Enter the Supervisor Pin code “07610”. Select “OK” to continue. You will now be able to access the “LAN settings” via the “communication settings” option number “9” Note: Please ask a member of your IT administration staff to be present before adjusting these settings. If you are using a proxy server, the proxy settings can also be accessed from this menu.
- Page 10 Installation process Proxy URL Proxy URL: This is the name of the proxy server. This will need to be pro- MY PROXY vided by your IT department. Installation process Proxy Port: This is the port number allo- Proxy Port cated on the network that communicated to the proxy server.
- Page 11 IP Configuration report A report can be obtained to assist your IT department when configuring your network firewall to allow traffic from the Mailing System. To access the report please follow steps 1-3 in page 7 and 8 of this booklet “Manually configuring LAN communication settings”...


Need help?
Do you have a question about the IS-420 and is the answer not in the manual?
Questions and answers