Advertisement
Quick Links
Advertisement

Related Manuals for Pro-Ject Audio Systems 6 PerspeX Balanced


Summary of Contents for Pro-Ject Audio Systems 6 PerspeX Balanced
- Page 1 INSTRUCTIONS FOR USE 6 PerspeX Balanced...
- Page 2 © Pro-Ject Audio Systems · 6 PerspeX Balanced · Revision 27.05.2024...
-
Page 3: Controls, Features, And Connections
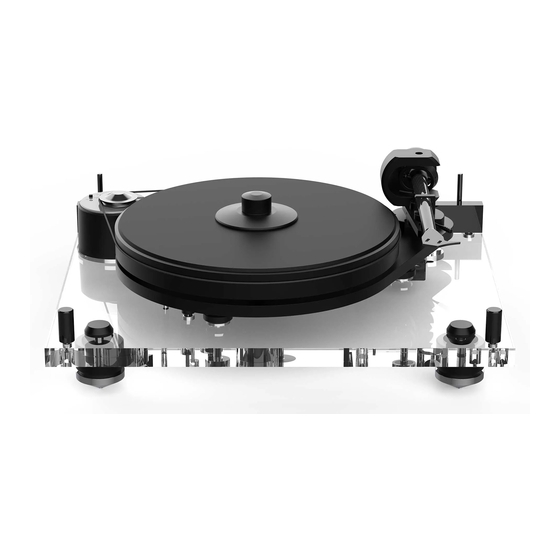
Motor unit Sub-chassis Screw-down record clamp A, B, C Knurled sub-chassis levelling screws Connection cable (not shown) Universal power supply (not shown) Single adapter (not shown) Spirit level (not shown) © Pro-Ject Audio Systems · 6 PerspeX Balanced · Revision 27.05.2024... -
Page 4: Safety Instructions
Check the adjustment of the sub-chassis with the help of the spirit level supplied. If necessary, level the sub- chassis using the three knurled sub-chassis levelling screws (A,B,C), located on the plinth. Fit the drive belt (3) around the platter (5) and the motor pulley (2). © Pro-Ject Audio Systems · 6 PerspeX Balanced · Revision 27.05.2024... -
Page 5: Mounting And Connecting The Cartridge
The full sound quality of the record player can only be achieved if the cartridge is adjusted correctly. Particular tools like the Pro-Ject Audio Systems alignment tool are required to accomplish this job properly. If you are not well acquainted with the adjustment of cartridges, please call for the willing help of your Pro-Ject Audio Systems dealer. -
Page 6: Adjusting The Azimuth
Hang the loop of the thread of the anti-skating weight into the groove of the anti-skating stub (15) corresponding to the downforce applied to your cartridge and hang the thread in the groove of the wire support (17). © Pro-Ject Audio Systems · 6 PerspeX Balanced · Revision 27.05.2024... -
Page 7: Switching On And Off
To use the mini XLR output & take full advantage of the true balanced connection your turntable needs to be equipped with an MC cartridge. „True Balanced Connection“ phono cables are available separately. You can find more details on our website or ask your Pro-Ject dealer for information. © Pro-Ject Audio Systems · 6 PerspeX Balanced · Revision 27.05.2024... -
Page 8: Mains Power Connection
15V DC / 800 mA AC, 90-264V AC, 47 – 63Hz Dimensions (W x H x D) 460 x 183 x 365mm, dust cover open 460 x 420 x 465mm Weight 11kg © Pro-Ject Audio Systems · 6 PerspeX Balanced · Revision 27.05.2024... -
Page 9: Warranty
This guide was produced by: Audio Trade GmbH changes to the technical specification without prior Copyright © 2024. All rights reserved. notice as deemed necessary to uphold the ongoing process of technical development. © Pro-Ject Audio Systems · 6 PerspeX Balanced · Revision 27.05.2024... - Page 10 © Pro-Ject Audio Systems · 6 PerspeX Balanced · Revision 27.05.2024...
Need help?
Do you have a question about the 6 PerspeX Balanced and is the answer not in the manual?
Questions and answers