Pro-Ject Audio Systems Pro-Ject RPM 5 Instructions For Use Manual
Hide thumbs
Also See for Pro-Ject RPM 5:
- Instructions for use manual (9 pages) ,
- Instructions for use manual (9 pages) ,
- Instructions for use manual (10 pages)
Table of Contents
Advertisement
Quick Links
Advertisement
Table of Contents

Subscribe to Our Youtube Channel
Related Manuals for Pro-Ject Audio Systems Pro-Ject RPM 5


Summary of Contents for Pro-Ject Audio Systems Pro-Ject RPM 5
- Page 1 INSTRUCTIONS FOR USE Pro-Ject RPM 5...
- Page 2 © Audio Trade GmbH · Pro-Ject RPM 5 · Revision 20.2.06/1.5.06...
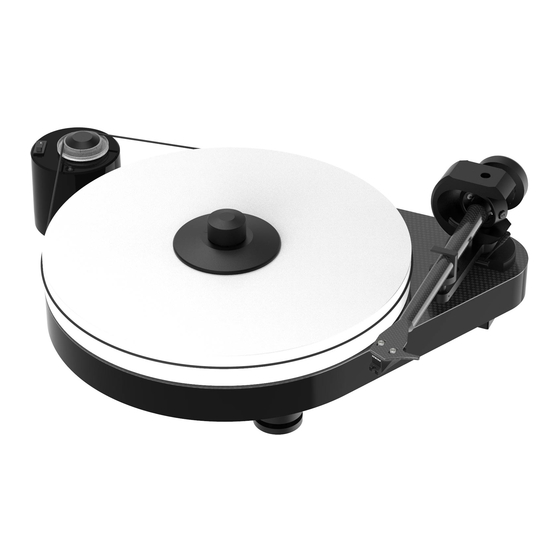
- Page 3 PRO-JECT RPM 5 Controls, features and connections Motor transportation screw (marked red) Stepped drive pulley Drive belt * Hook * Platter * Tonearm counterweight * Downforce scale Tonearm lift lever 8/18 Tonearm rest and removable transport lock Tonearm tube Tonearm base Power supply socket Phono output sockets and earth connection Anti-skating weight adjustment scale...
- Page 4 Set-up Screw the three feet (23) onto the threaded bolts located on the underside of the plinth. Make sure the surface you wish to use the turntable on is level (use a spirit level) before placing the turntable on it. Fit the drive belt (3) around the hub (4) and the smaller diameter part of the motor pulley (2).
- Page 5 Adjusting the vertical tracking angle (vta) Put a record and the record weight on the platter. When the needle is lowered into the record groove and the tonearm is not resting on the lift arm, the tube of the tonearm should be parallel to the surface of the record. If it is not loosen both allen screws in the tonearm base just enough to allow vertical movement of the arm pillar without force and slide the arm up or down until it is parallel.
-
Page 6: Maintenance And Cleaning
Mains power connection The turntable is supplied with a power supply suitable for your country's mains supply. Check the label before connecting to ensure compliance with the mains rating in your house. Connect the low voltage plug from the power supply to the socket (13) on the rear of the record player before connecting the power supply to the mains. - Page 7 Potential incorrect use and fault conditions PRO-JECT turntables are manufactured to the highest standards and undergo strict quality controls before leaving the factory. Faults that may possibly occur are not necessarily due to material or production faults but can sometimes be caused by incorrect use or unfortunate circumstances. Therefore the following list of common fault symptoms is included.
- Page 8 Please remove feet bevore repacking Tonearm transport lock Platter Tonearm counterweight Power supply © Audio Trade GmbH · Pro-Ject RPM 5 · Revision 20.2.06/1.5.06...
Need help?
Do you have a question about the Pro-Ject RPM 5 and is the answer not in the manual?
Questions and answers