
Related Manuals for Holman 4869


Summary of Contents for Holman 4869
- Page 1 Installation Guide 4869 Holman Rancho Cordova, CA 95742 800-343-7486 InstallationSupport@Holman.com 20220729R1 DATE: ______________...
-
Page 2: Table Of Contents
Instructions – 4869 PLEASE READ ALL INSTRUCTIONS AND WARNINGS PRIOR TO ASSEMBLING, INSTALLING, AND USING THIS PRODUCT. Warning Always check for wires, fuel tanks and lines, brake lines and other important vehicle functionality items prior to drilling and installing all products. -
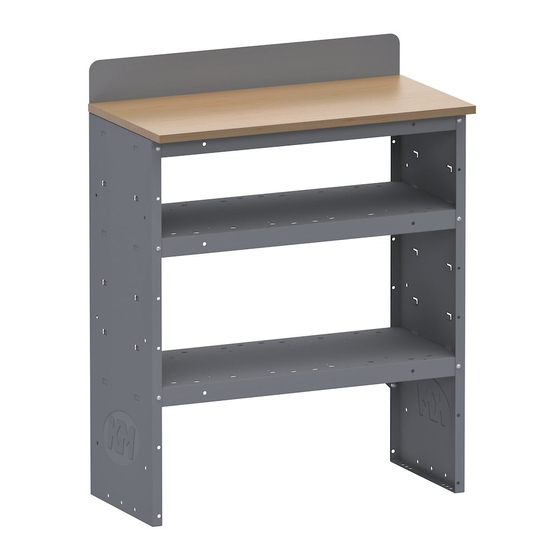
Page 3: Parts
Instructions – 4869 Parts Hardware For Technical Support Call: 800-343-7486, Monday-Friday, 7AM - 4 PM (PST) Page 2... -
Page 4: Step 1 - Place Shelf Into Van
Instructions – 4869 Step 1 – Place Shelf into Van Place the shelf unit into the vehicle in the desired location. Floor spacers are provided if the desired location has a ribbed floor. A total of four mounting locations are desired. Two in the floor and two in the side of the vehicle. -
Page 5: Step 2 - Prepare For Installation
Instructions – 4869 Step 2 – Prepare for Installation Position so the bottom of the shelf side panel can best be mounted to the floor. Mark through the bottom of the shelf side panels at the best two locations onto the floor. -
Page 6: Step 3 - Install Plus Nuts
Instructions – 4869 Mark through the mounting bracket onto the sides of the vehicle in a safe location. Mark through the mounting bracket onto the shelf unit in the desired locations. Be sure when marking on the shelf unit, the holes do not hit a shelf. - Page 7 Instructions – 4869 Place the shelf unit back into the vehicle and align with previously installed plus nuts on the floor. Place the mounting bracket against shelf and previously installed plus nuts on inside of vehicle. Bolt the mounting brackets into the plus nuts using 1/4" x 3/4" hex head bolts, 1/4" lock washers and 1/4"...
-
Page 8: Step 4 - Install Mid-Mount To Shelf
Instructions – 4869 Step 4 – Install Mid-Mount to Shelf Drill through the desired locations in the mounting bracket and into the shelf side panel using a 1/4" drill. Be sure not to drill where a shelf is installed.
Need help?
Do you have a question about the 4869 and is the answer not in the manual?
Questions and answers