Advertisement
Quick Links
Advertisement

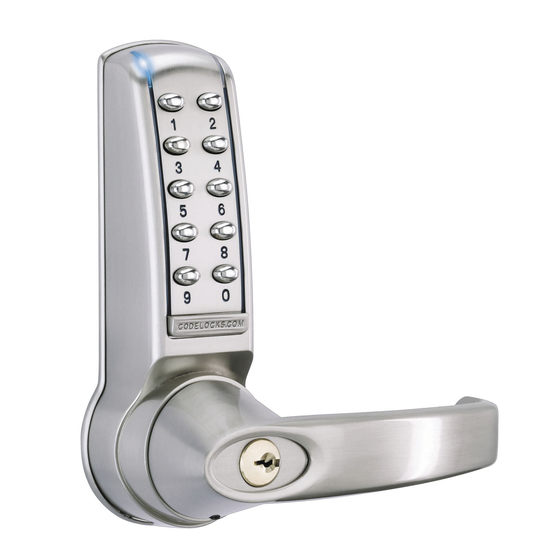
Summary of Contents for CODELOCKS CL4000
- Page 1 Installation Instructions CL4OOO...
-
Page 2: Box Contents
BOX CONTENTS Box Contents CL4010 CL4020 Check the contents of the box are correct according to the lock model: Front Plate Back Plate Lever Handles Gaskets (x2) Tools Required Sprung Spindle • Power Drill Sprung Spindles (x3) - 15, 26, 60mm ( ”, 1”, 2 ”) •... - Page 3 OPERATIONS CHECK SPECIAL FIXING NOTE CL4010 INSTALLATION INSTRUCTIONS For CL4020 Installation Instructions, see page 7. REMOTE RELEASE OPTION Take time to be precise and finish the job quicker. You should familiarise yourself with the operation of the lock and check that all parts work properly. Cables are provided for the REM 1 and REM 2 terminals Installation holes must be drilled in exactly the correct positions and precisely at right angles to the door surface.
- Page 4 CL4010 INSTALLATION INSTRUCTIONS CL4020 INSTALLATION INSTRUCTIONS Anti-Panic 7 Fit the self-adhesive gaskets to the front and back plates. 13 Fit the cylinder cover and codeside handle to the front plate. IMPORTANT The Anti-Panic Mortice Lock has features which are not found in most other locks and so it is The gaskets provide friction against the door so that it is not Mortice Lock recommended that you familiarise yourself with them.
- Page 5 6 Check that the 2 screws have been removed from the follower All CL4000 documentation, as well as other ranges, can be 13 Pass the top bolt through the door into the front plate, and on the codeside of the door. DO NOT remove the screws from found on our support site: www.codelockssupport.com.
- Page 6 Tel: +44 (0) 1635 239645 Fax: +44 (0) 1635 239644 sales@codelocks.co.uk www.codelocks.co.uk Helpline, service & spares Freephone: 0800 393 405 CODELOCKS INC US Tel: +1 714 979 2900 Fax: +1 714 979 2902 sales@codelocks.us www.codelocks.us Helpline, service & spares Toll free: 1.877.codelock...


Need help?
Do you have a question about the CL4000 and is the answer not in the manual?
Questions and answers