CODELOCKS CL400 Series Installation Instructions Manual
Hide thumbs
Also See for CL400 Series:
- Installation instructions manual (7 pages) ,
- Instructions manual (7 pages) ,
- Instructions manual (7 pages)
Advertisement
Quick Links
codelocks
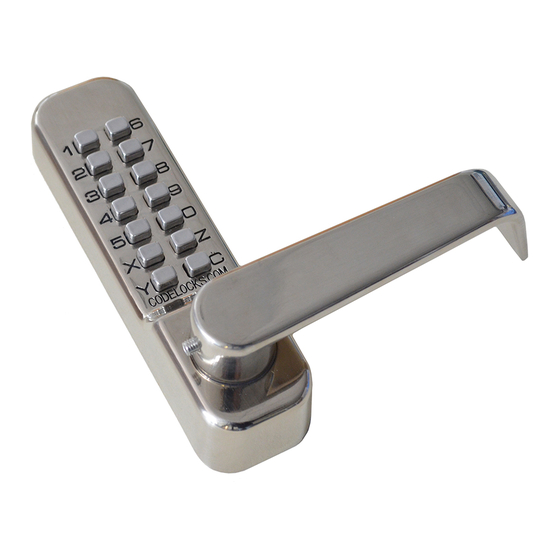
CL400 - Installation Instructions
Features
• Medium-duty mechanical locks with full size lever handles.
• Code Free Access mode by pressing the 'Y' code free button after entering the code (CL415
and CL425 only). Reset by pressing the 'Y' button and then the 'C' button.
• Inside handle always retracts the latch for exit.
• Stainless steel and polished brass finishes available.
• Reversible handles.
• Easy code change as often as required.
• Fit doors between 35mm (1 3⁄8") – 60mm (2 3⁄8") thick.
Back to Back Version Only
• Two coded plates are provided to allow coded access in both directions.
• Butterfly spindle not required.
• For doors hung on the right, fit the silver spindle in the front keypad and the coloured
spindle in the opposite side.
• For doors hung on the left, fit the coloured spindle in the front keypad and the silver spindle
in the opposite side.
CL420 / 425 Only
• Split follower lock enables inside handle to retract latch and deadbolt simultaneously.
Prevents accidental lock-ins.
• Deadbolt thrown by key to lock out code users after work hours.
• Key will retract the latchbolt giving access for admin functions.
• Double euro profile cylinder with 3 keys. Any euro profile cylinder may be used excluding
Advertisement


Need help?
Do you have a question about the CL400 Series and is the answer not in the manual?
Questions and answers