
Related Manuals for CODELOCKS CL5010BB


Summary of Contents for CODELOCKS CL5010BB
- Page 1 Codelocks Support CL5000 - Installation Instructions Box Contents Check the contents of the box are correct according to the model https://codelocks.zohodesk.eu/portal/en/kb/articles/cl5000-installation-instructions...
-
Page 2: Operations Check
Leave socket in the centred position. Enter the factory Master Code (#1234 for the CL5000) (Badge Bar 1234 for the CL4000) N B When the Master Code is entered 3 times consecutively without performing a programming function a https://codelocks.zohodesk.eu/portal/en/kb/articles/cl5000-installation-instructions... - Page 3 REM 2 is for connection to the building alarm system to release a door in an emergency. This allows rooms, wards, offices to be easily checked to ensure that no person is trapped or overlooked during an emergency evacuation. When activated REM 2 will maintain the unlocked condition for 30 minutes, the Red LED will flash https://codelocks.zohodesk.eu/portal/en/kb/articles/cl5000-installation-instructions...
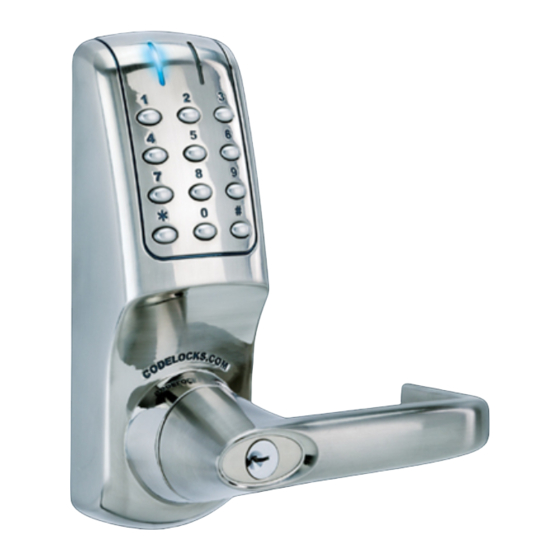
- Page 4 Functions CL4010, CL5010, CL5010BB Latch Function Outside handle turns freely without operating the latchbolt. When the code is entered the Blue LED flashes and the handle will retract the latchbolt. The latch automatically locks the door when closed. The key will open the door without the code.
- Page 5 4. Put the latch into the hole and, holding it square to the door edge, draw around the faceplate. Starting with the top and bottom cuts, chisel a rebate to allow the latch face to flush with the door edge. (See diagram B). https://codelocks.zohodesk.eu/portal/en/kb/articles/cl5000-installation-instructions...
- Page 6 With both parts of the back plate together place them over the spindle, pull the cable through, and screw the fixing bolts through to the https://codelocks.zohodesk.eu/portal/en/kb/articles/cl5000-installation-instructions...
- Page 7 Installation of CL5010BB 1. Lightly mark a height line on the edge and both faces of the door and on the door jamb, to indicate the top of the lock when fitted. Crease the template along one of the dotted lines (60mm (2 3⁄8”) or 70mm (2 3⁄4”) latch) and tape it to the door with the top in line with the height line.
- Page 8 N.B. The plunger beside the latchbolt deadlocks it to protect against manipulation or ‘shimming’. The strike plate must be accurately installed so that the plunger CANNOT enter the aperture when the door is closed, even when it is slammed shut. Installing the Anti-Panic Mortice Lock for models https://codelocks.zohodesk.eu/portal/en/kb/articles/cl5000-installation-instructions...
- Page 9 5. Drill the holes from both faces of the door to improve accuracy. Do not drill right through the door as this will damage the door when the drill breaks through. https://codelocks.zohodesk.eu/portal/en/kb/articles/cl5000-installation-instructions...
- Page 10 N.B. Always cut the bolts at one of the reduced sections so as not to damage a thread. Use the cutting edge of pliers to crimp strongly several times around the selected cutting point. The surplus end should break off quite https://codelocks.zohodesk.eu/portal/en/kb/articles/cl5000-installation-instructions...
- Page 11 ‘play’. When satisfied, draw around the final position of the strike plate, remove it, and cut a rebate to allow it to fit flush to the surface. Re-fix the strike with both screws. II-CL4/5000-v1:0113 © 2019 Codelocks Ltd. All rights reserved. https://codelocks.zohodesk.eu/portal/en/kb/articles/cl5000-installation-instructions...
Need help?
Do you have a question about the CL5010BB and is the answer not in the manual?
Questions and answers