Distech Controls EC-BOS-9 Quick Start Manual
Controller with option module
Hide thumbs
Also See for EC-BOS-9:
- User manual (50 pages) ,
- Installation manual (14 pages) ,
- User manual (22 pages)
Table of Contents
Advertisement
Quick Links
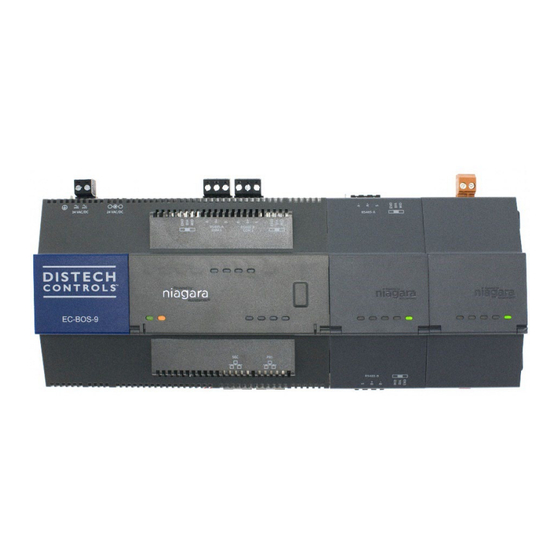
EC-BOS-9 Controller with option module
EC-BOS-9
1
Insert Card
1
Access Shutter
2
Card Carrier
3
MicroSD Card
Install on DIN (2)
3
5. Install module
6. Install end clips
RS485 Example
5
Port A (COM1)
IO-R-16
IO-R-16
IO-R-16
1
Port A (COM1)
2
Port B (COM2)
3
See note
IO-R-16
Port B (COM2)
See note
Quick Start Guide
Install on DIN (1)
2
Pull down clip
1
Pull down clip
2
Tilt and hook on rail
3
Push down and in
4
Push clip up
4
1
Ground
2
Power
3
RS485 A/B with Bias switches
4
Ethernet (Sec)
5
Ethernet (Pri)
IO-R-16
EC-BOS-9
Quick Start Guide
Tilt & hook
Push down & in
RS485-A RS485-B
(COM1)
(COM2)
Push
clip
up
1
Advertisement
Table of Contents

Related Manuals for Distech Controls EC-BOS-9


Summary of Contents for Distech Controls EC-BOS-9
- Page 1 EC-BOS-9 Quick Start Guide EC-BOS-9 Controller with option module EC-BOS-9 Quick Start Guide Insert Card Install on DIN (1) Tilt & hook Push down & in Push clip Pull down clip Access Shutter...
- Page 2 Ground and Power AC and Ground Power transformer 50/60Hz A-RS485-B COM 1 COM 2 STAT BEAT RS485-A (COM1) RS485-B (COM2) STAT (Green) BEAT (Yellow) Ground Ethernet (LAN2) Power Ethernet (LAN1) AC and transformer SHUT DOWN (Green, Behind Door) AC adapter Ports and Switches...
- Page 3 EC-BOS-9 environment relatively free of contaminants. DIN-mount, 24Vac/dc (50/60Hz) powered, area controller. See the product data sheet for complete specifications. See the EC-BOS-9 Cautions: Mounting and Wiring Guide for complete hardware installation details. Remove all power to controller before attaching (plug in) or...
- Page 4 Repeat for other modules as needed (4 maximum). disabled. Carefully secure both ends of the final assembly with DIN rail end- Refer to the EC-BOS-9 Install and Startup Guide for details on the clips provided by the DIN rail vendor. software configuration of the Ethernet ports.
- Page 5 This causes physical stress on equipment and prevents good connections between controller and modules. EC-BOS-9 controller with no option modules added. Allow at least 1.5” (38mm) clearance around all sides. Option expansion module. Up to 4 may be used.
- Page 6 Specifications subject to change without notice. ECLYPSE, Distech Controls, the Distech Controls logo, EC-Net, Allure, and Allure UNITOUCH are trademarks of Distech Controls Inc. BACnet is a registered trademark of ASHRAE; BTL is a registered trademark of the BACnet Manufacturers Association. The Bluetooth® word mark and logos are registered trademarks owned by Bluetooth SIG, Inc.
Need help?
Do you have a question about the EC-BOS-9 and is the answer not in the manual?
Questions and answers