Advertisement
Quick Links
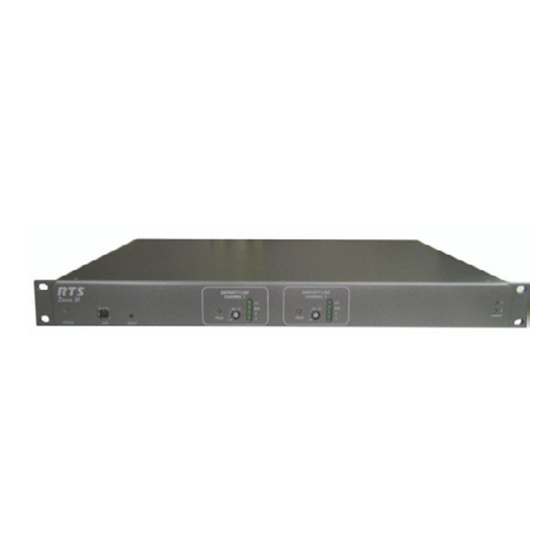
Quick Installation Guide for Zeus III Intercom Matrix – 90007843XXX
Parts List
Included Parts
Zeus III unit (p/n 90007843000)
A.
Power Cord*, US, 115V (2)
B.
(p/n 550024-013)
USB Cable (p/n 600091)
C.
User Manual
(p/n 93507843000)
Warranty
(p/n 38110-387)
* Power Cord, European (550024-000)
Power Cord, UK, 13A (550024-005)
Zeus III unit without power cord (90007843-300)
Zeus III unit UK (90007843-200)
Zeus III unit EURO (90007843-100)
LIT000381000 Rev A
Instructions
To power on the Zeus III unit, do the following:
Connect the power cord connector end to the power
1.
module on the rear side of the Zeus III (see Detail A).
Connect the power cord plug to an electrical outlet.
2.
The Zeus III starts its power up sequence. See the
Zeus III user manual for the power up sequence
description.
Note: Repeat step 1 and step 2 for redundant power
supplies.
Configure the Zeus III in one of four (4) ways:
3.
USB (page 1)
A.
Serial (page 2)
B.
Network (with Standard RJ-45 cable)(page 2)
C.
Network (with RJ-45 Crossover cable)
D.
(page 3) (
Used when configuring the Zeus III for
the first time with no serial or USB port available
Copyright Bosch Security Systems 06/2009
USB Configuration
Note:
If you are configuring a USB connection for the first
time, you must manually navigate to the USB drivers at
C:\Telex\AZedit\USB.
Attach the supplied USB cable to the USB
1.
Connector located on the front of the Zeus III.
Attach the other end of the USB cable to any USB
2.
connector on the computer with AZedit loaded on it.
In AZedit, from the Options menu, select
3.
Communications.
The Communications window appears.
Select the USB radio button.
4.
Click OK.
5.
)
The Zeus III is configured to connect to AZedit via
USB.
Pg – 1
Advertisement

Related Manuals for RTS Zeus III


Summary of Contents for RTS Zeus III
- Page 1 Connect the power cord connector end to the power Power Cord*, US, 115V (2) Communications. module on the rear side of the Zeus III (see Detail A). (p/n 550024-013) The Communications window appears. Connect the power cord plug to an electrical outlet.
- Page 2 Attach the female end of the serial cable to any Attach the other end of the RJ-45 cable to the available serial connector on the computer with Ethernet connector located on the rear of the Zeus III. AZedit loaded on it. In AZedit, from the Options menu, select Note: By default, Zeus III is shipped with the IP Communications.
- Page 3 Ethernet Configuration – RJ-45 Crossover Click OK. The Communications window closes. The Zeus III By default, the Zeus III is shipped with the IP Address is configured for Ethernet operation with a 192.168.0.9. and the network Mask is 255.255.255.0. To...
- Page 4 GPI Input #5 Audio Out - GPI Input #6 Party Line (2) 3-Pin Female XLR RS485 Data + GPI Input #7 GPI Input #8 Audiocom Clear Com RTS CH1 RTS CH2 (balanced) (unbalanced) Common Common Common Common Audio CH1 Audio...
Need help?
Do you have a question about the Zeus III and is the answer not in the manual?
Questions and answers