Table of Contents
Advertisement
Quick Links
Digital Payments
for a Trusted World
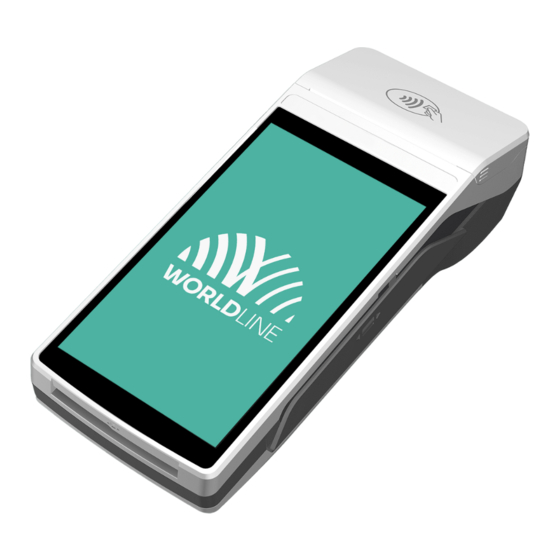
Saturn 1000F2 Portable Flex
1
Transactions
3
Queries
5
Setup
The Saturn 1000F2 Portable Flex is your straightforward, secure and portable payment terminal.
To accept cashless payments, follow these three steps:
Step 1
Before using the terminal for the first time, charge the terminal using the charging station
that was included in the package.
Step 2
Press
Step 3
Your terminal is now ready. You can start taking payments.
Get started with
MOST IMPORTANT FUNCTIONS
2
Balances
4
Settings
on the left side to turn the terminal on.
Quick guide
Transactions
1
Main menu for all payment functions.
Balances
2
Daily closing after your business closes or when
a shift changes.
Queries
3
Information about the status of various operations
along with exchange rates and transaction logs.
Settings
4
Configure the terminal language, network setup and
Android settings.
Setup (requires terminal password)
5
Technical operations on the terminal including
troubleshooting by our service technicians.
Advertisement
Table of Contents

Summary of Contents for Worldline Saturn 1000F2 Portable Flex
- Page 1 Setup (requires terminal password) Technical operations on the terminal including troubleshooting by our service technicians. The Saturn 1000F2 Portable Flex is your straightforward, secure and portable payment terminal. To accept cashless payments, follow these three steps: Step 1 Before using the terminal for the first time, charge the terminal using the charging station that was included in the package.
- Page 2 This is how easy it is to take payments with your Saturn 1000F2 Portable Flex: Step 1 Open payment app Swiping up opens the payment application. Step 2 Choose <Transactions> and start a booking Select <Transactions> to open the transaction overview. A new transaction is started by selecting <Booking>.


Need help?
Do you have a question about the Saturn 1000F2 Portable Flex and is the answer not in the manual?
Questions and answers