Sign In
Upload
Download
Add to my manuals
Delete from my manuals
Share
URL of this page:
HTML Link:
Bookmark this page
Add
Manual will be automatically added to "My Manuals"
Print this page
×
Bookmark added
×
Added to my manuals
Manuals
Brands
HPE Manuals
Storage
Alletra 6000
Controller replacement manual
HPE Alletra 6000 Controller Replacement Manual
Hide thumbs
1
2
3
4
5
6
7
8
9
10
11
page
of
11
Go
/
11
Bookmarks
Advertisement
Quick Links
Download this manual
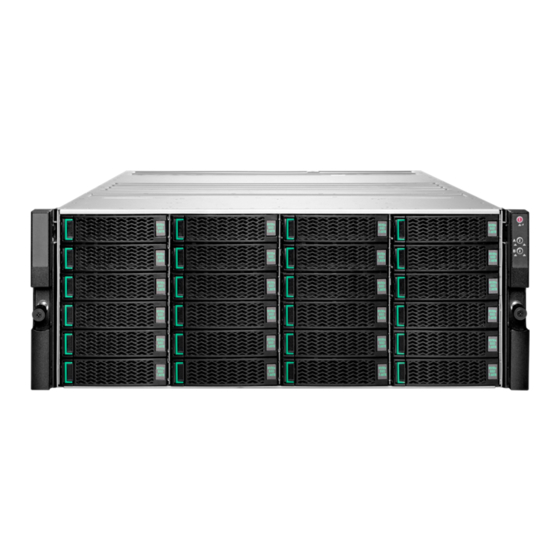
Controller Replacement
HPE Alletra 6000
Published January, 2023
Part No. 960-0116-001 Revision A
*960-0116-001*
Previous
Page
Next
Page
1
2
3
4
5
Advertisement
Need help?
Do you have a question about the Alletra 6000 and is the answer not in the manual?
Ask a question
Questions and answers
Related Manuals for HPE Alletra 6000
Storage HPE Primera 6 Series Product End-Of-Life Disassembly Instructions
Storage controllers (4 pages)
Storage HPE Alletra 6010 Controller Replacement Manual
(11 pages)
Storage HPE Alletra 6030 Controller Replacement Manual
(11 pages)
Storage HPE Alletra 6050 Controller Replacement Manual
(11 pages)
Storage HPE Alletra 6070 Controller Replacement Manual
(11 pages)
Storage HPE Alletra 6090 Controller Replacement Manual
(11 pages)
Storage HPE Alletra 5000 Replacement
Pcie card (14 pages)
Storage HPE 3PAR StoreServ 8000 Service And Upgrade Manual
(174 pages)
Storage HPE MSA 2070 Installation Manual
(84 pages)
Storage HPE StoreEasy 1X60 Storage Administrator's Manual
(183 pages)
Storage HPE StoreEver MSL2024 User's And Service Manual
Tape libraries (221 pages)
Storage HPE MSA 1050 User Manual
(75 pages)
Storage HPE StoreOnce 3100 Installation And Configuration Manual
(91 pages)
Storage HPE StoreEver LTO-8 Ultrium 30750 User Manual
Sas tape drive (38 pages)
Storage HPE StoreEver MSL2024 Getting Started Manual
Tape library (27 pages)
Storage HPE STOREONCE 5500 Maintenance And Service Manual
(62 pages)
This manual is also suitable for:
Alletra 6010
Alletra 6030
Alletra 6050
Alletra 6070
Alletra 6090
Print
Rename the bookmark
Delete bookmark?
Delete from my manuals?
Login
Sign In
OR
Sign in with Facebook
Sign in with Google
Upload manual
Upload from disk
Upload from URL


Need help?
Do you have a question about the Alletra 6000 and is the answer not in the manual?
Questions and answers