Summary of Contents for Mocka Lacie
- Page 1 Hello, I’ve arrived! Now that I’m here you are only one flat-pack away from transforming your home.
- Page 2 Thank you for supporting us. We believe design belongs to everyone. From materials and processes to safety testing, production and delivery, we are passionate and committed to bringing you the best possible product so you can create beautifully functional spaces to feel comfortably you. Here are a few assembly tips before you get started: Make Time Set The Mood...
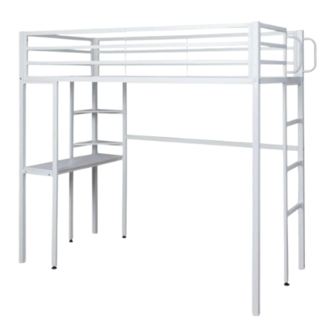
- Page 3 Lacie Metal Loft Bed with Desk Thank you for purchasing Lacie Metal Loft Bed with Desk. Ple a se follow the * IMPORTANT NOTICE * manufacturer’s assembly instructions in detail. DO NOT drag, push or pull the bed across the floor, as this can result in damage to the supporting leg.
- Page 4 Lacie Metal Loft Bed with Desk mocka.co.nz I mocka.com.au I PO Box 18, Pinkenba QLD 4008...
- Page 5 Step 1c: Attach 1 x bolt (A) and 1 x bolt (B) into panel as shown. Step 2c: Attach 1 x bolt (A) and 1 x bolt (B) into panel as shown. Step 1d: Attach 2 x bolts (C) into panel as shown. mocka.co.nz I mocka.com.au I PO Box 18, Pinkenba QLD 4008...
- Page 6 Step 3c: Attach 2 x bolts (A) and 1 x bolt (B) into panel as shown. Step 4d: Attach 1 x bolt (B) into panel as shown. Step 3d: Attach 2 x bolts (C) into panel as shown. mocka.co.nz I mocka.com.au I PO Box 18, Pinkenba QLD 4008...
- Page 7 Step 4c: Attach 1 x bolt (A) into panel as shown. steady before use. You’re done, enjoy! Step 4d: Attach 2 x bolts (D) and 2 x bolts (E) into panel as shown. mocka.co.nz I mocka.com.au I PO Box 18, Pinkenba QLD 4008...


Need help?
Do you have a question about the Lacie and is the answer not in the manual?
Questions and answers