Table of Contents
Advertisement
Quick Links
Advertisement
Table of Contents

Related Manuals for ShowPro LED PixPar 3 IP65 RGBW Zoom


Summary of Contents for ShowPro LED PixPar 3 IP65 RGBW Zoom
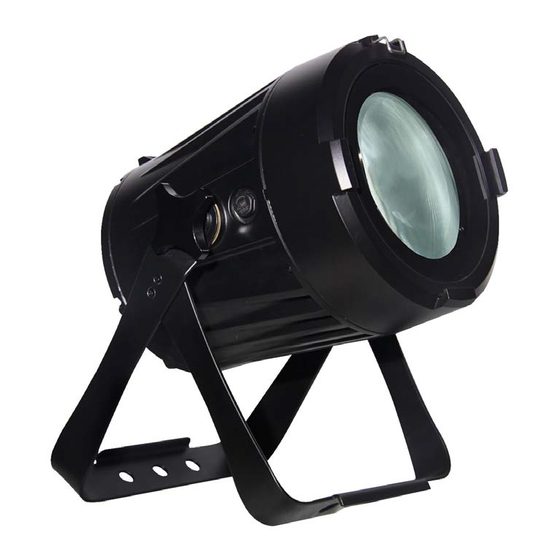
- Page 1 LED PixPar 3 IP65 RGBW Zoom USER MANUAL LEDPAR210...
-
Page 2: Product Specifications
1 PRODUCT SPECIFICATIONS Product Specifications • Voltage: AC100~240V 50/60Hz • Max Power: 130W • Operation Temperature: -20℃ ~45℃ • Size: 376 x 274 x 210mm • Weight: 7.3kg... -
Page 3: Installation
Safety Warning IMPORTANT • This product must be installed by a qualified professional. • All maintenance must be carried out by a qualified electrician. • A minimum distance of 0.5m must be maintained between the equipment and a combustible surface. •... -
Page 4: Power Connections
Power Connections @ 220V: 15 units may be connected in series @110V: 7 units may be connected in series Note: If the signal cable is over 60m between the DMX512 controller and fixture or between two fixtures, then a DMX signal amplifier is needed as well. 3 DISPLAY PANEL OPERATION Display Operation •... -
Page 6: Edit Static Colour
Edit Static Colour • Combine RED, GREEN, BLUE, and WHITE to create an infinite range of colours (0-255) • Set the value of the STROBE (0-25Hz) DMX512 Settings • Enter the ADDRESS mode to set the DMX ADDRESS. Activating Auto Programs •... -
Page 7: Zoom Mode
Zoom Mode • ZOOM MODE 1 is the default fast zoom speed, work in Ambient Temp. > 0℃ • ZOOM MODE 2 is slow zoom speed, works in Ambient Temp. < 0℃ Personality • Enter the PERSONALITY mode to select DMX mode: HSIC \ SSP \ TOUR \ TR16 Introduction for HSIC •... -
Page 8: Special Settings
3.10 Special Settings • SETTING menu allows the user to adjust key operation settings for this fixture. Select UPLOAD to upload the custom programs from the current MASTER unit to the SLAVE units. • To reset custom modes to default values, select RESET. •... -
Page 9: Activate The Password
3.11 Activate the Password • Enter the KEY mode to select whether the access password is on or off. • When the fixture is set as PASS ON, after 30 seconds, the fixture will need an access password to enter the display menu control. Note: The factory access password is UP + DOWN + UP + DOWN, then press ENTER to confirm the access. -
Page 10: Channel Assignment
4 USING A DMX CONTROLLER Channel Assignment Note: This product has four DMX512 channel configurations: HSIC, SSP, TOUR, TR16. HSIC CHANNEL VALUE FUNCTION 000 – 255 Intensity 000 – 255 000 – 255 Hue Fine 000 – 255 Saturation 000 – 010 No function 011 –... - Page 11 CHANNEL VALUE FUNCTION 000 – 255 Dimmer 000 – 255 000 – 255 Green 000 – 255 Blue 000 – 255 White Strobe 000 – 009 No function 010 – 099 Strobe from slow to fast (0-25Hz) 100 – 109 No function 110 –...
- Page 12 236 – 240 6000K 241 – 245 6500K 246 – 250 7200K 251 – 255 8000K Strobe 000 – 009 No function 010 – 099 Strobe from slow to fast (0-25Hz) 100 – 109 No function 110 – 179 Lightning strobe 180 –...
- Page 13 TR16 CHANNEL VALUE FUNCTION 000 – 255 Dimmer 000 – 255 Dimmer Fine 000 – 255 000 – 255 Red Fine 000 – 255 Green 000 – 255 Green Fine 000 – 255 Blue 000 – 255 Blue Fine 000 – 255 White 000 –...
- Page 14 161 – 170 Program 3 171 – 180 Program 4 181 – 190 Program 5 191 – 200 Program 6 201 – 210 Program 7 211 – 220 Program 8 221 – 230 Program 9 231 – 255 Program 10 000 –...
Need help?
Do you have a question about the LED PixPar 3 IP65 RGBW Zoom and is the answer not in the manual?
Questions and answers