Table of Contents
Advertisement
Quick Links
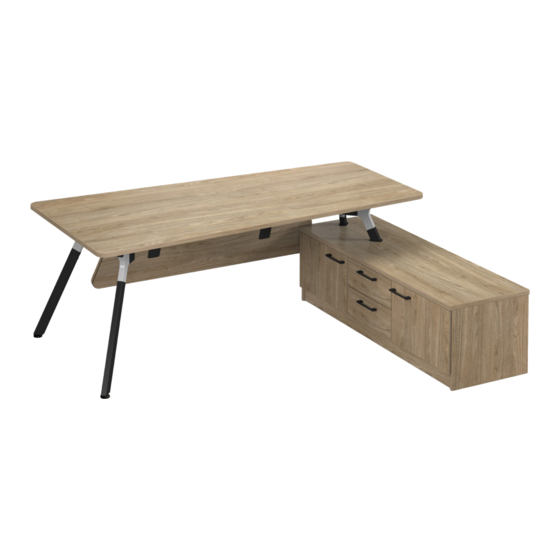
Anson - Deluxe Executive Desk
7
ASSEMBLY
INSTRUCTIONS
10
10
Anson
1
Executive Desk &
Return Credenza
4
4
ANS-DRD
7
7
8
1
11
11
1
2
5
5
Pack 5:
600 Leg Kit
7
8
8
9
1
2
Pack 1:
Top Pack
12
12
2
3
Pack 2:
Rail Kit
6
6
Pack 6:
Modesty Kit
07-12-2022
INS188
8
9
9
10
2
3
Pack 3:
Corner Kit
3
4
Pack 4:
1000 Leg
Kit
7
Pack 7:
Modesty
Pack
1
9
10
10
11
3
4
4
5
8
2
Advertisement
Table of Contents

Subscribe to Our Youtube Channel
Related Manuals for dams Anson ANS-DRD


Summary of Contents for dams Anson ANS-DRD
- Page 1 07-12-2022 INS188 Anson - Deluxe Executive Desk ANS-DRD ASSEMBLY Pack 1: Pack 3: INSTRUCTIONS Top Pack Corner Kit Anson Executive Desk & Return Credenza Pack 2: Pack 4: Rail Kit 1000 Leg Pack 5: Pack 6: Pack 7: 600 Leg Kit Modesty Kit Modesty Pack...
- Page 2 **mm **mm 1,2,3...
- Page 3 Please check that you have all the panels ANS-EXEC-TOP HN-RAIL-2200 PACK 1: PACK 2: 1 x Top Panel 1 x Rail Kit HN-CAST HN-LEG10-KIT HN-LEG6-KIT PACK 3: PACK 4: PACK 5: 1 x Corner Kit 1 x 1000 Leg Kit 1 x Support Kit HN-MBKT-KIT ANS-EXEC-DMOD...
- Page 4 Please check that you have all the fittings FITTINGS SUPPLIED M6 Connector Bolt Adjustable Foot Size Size 25mm 25mm dia. ANSON DELUXE DESK & RETURN ASSEMBLY Step 1 Unpack your Anson rectangular desk and please recycle all packaging. Place the top face down so that the fixing holes are face-up.
- Page 5 ANSON DELUXE DESK & RETURN ASSEMBLY Step 3 Link both the end leg & top support together attaching them with the rail kit as per image Ensure all fixing bolts are tightened turning in a clockwise position. Step 4 Once the frame is assembled place on the underside of the top and affix using the 16x M6 bolts as shown.
- Page 6 ANSON DELUXE DESK & RETURN ASSEMBLY Step 6 Fix the modesty brackets to the underside of the top and affix using the 2x M6 bolts as shown. Step 7 Align the modesty panel to the modesty panel brackets and affix using the 8x M6 bolts as shown.
- Page 7 ANSON DELUXE DESK & RETURN ASSEMBLY Step 9 With 2x person(s) lift and turnover the desk into it’s upright position and place on the top of the credenza. Step 10 Align the support end with the desired holes located on the underside of the top and affix using the 2x M6 bolts provided.
Need help?
Do you have a question about the Anson ANS-DRD and is the answer not in the manual?
Questions and answers