
Subscribe to Our Youtube Channel
Related Manuals for Soozier A90-290


Summary of Contents for Soozier A90-290
- Page 1 IN230500580V02_US_CA A90-290 IMPORTANT, RETAIN FOR FUTURE REFERENCE: READ CAREFULLY ASSEMBLY & INSTRUCTION MANUAL...
- Page 2 Before using the product,please read the following instructions carefully. If you have the following conditions,please pay attention to your exercise time and consult a doctor before use. * Have heart disease * Have sensory impairment * Suffering from osteoporosis or diabetes * During pregnancy * Have a malignant tumor * Physical disability...
- Page 3 PRODUCT ALL PARTS LIST...
- Page 4 PRODUCT INSTALLATION STEPS Step 1: First take ou tall the accessories in the carton and lay it down Step 2: Lay the lower main frame ① flat and overlap the pipe hole on the left ②, ⑦ 8*50 screw and ⑧ use wrench ⑨ ⑩ to tighten together.
- Page 5 Step 3: Overlap the lower main frame ① with the right ③ pipe hole, and tighten the 8*50 screw and ⑧ with a wrench ⑨ ⑩. Step 4: Overlap the fixed pipe holes ② and ③, and tighten the screws ⑦ 8*50 and ⑧ with wrench ⑨...
- Page 6 Step 5: Splice the lower limb rotating foot assembly ④ on the upper end of the lower main frame ③, and insert the ⑦ 8*50 screw and ⑧ with the wrench ⑨ ⑩ to tighten the double holes. Step 6: Insert the upper main frame into the upper end of the lower main frame, and then use the knob to pull the pin to fix it, adjust the upper and lower levels adaptively and flexibly, and then tighten the knob.
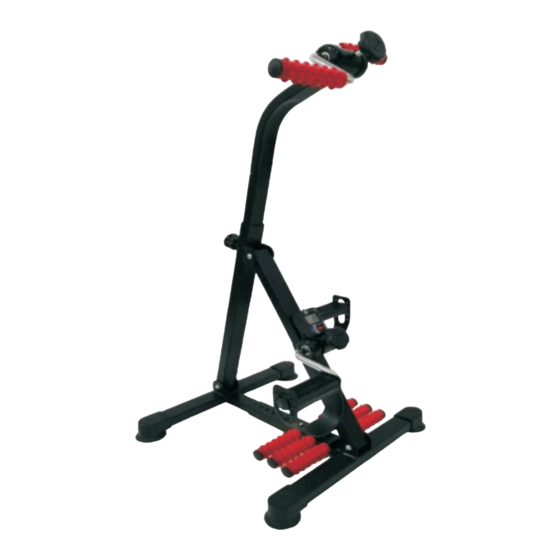
- Page 7 Step 7: Join the upper body rotating armrest assembly ⑥at the upper end of the upper main frame , and insert the screw with the wrench ⑨⑩ to tighten the double holes. Step 8: The installation is complete! Note: The electronic watch can also be installed on the upper limb rotation pedal assembly ⑥...
-
Page 9: Instructions D'assemblage
IN230500580V02_US_CA A90-290 IMPORTANT - CONSERVEZ CES INFORMATIONS POUR VOTRE CONSULTATION ULTÉRIEURE: LISEZ ATTENTIVEMENT INSTRUCTIONS D'ASSEMBLAGE... - Page 10 Avant d'utiliser le produit, prenez le temps de lire attentivement les instructions suivantes. Si vous présentez les particularités suivantes, veuillez surveiller votre temps d'exercice et consulter un médecin avant toute utilisation. * Maladie cardiaque * Déficience sensorielle * Atteinte d'ostéoporose ou de diabète * Être enceinte * Tumeur maligne * Handicap physique...
- Page 11 LISTE DES PIÈCES DU PRODUIT...
- Page 12 ÉTAPES D'ASSEMBLAGE DU PRODUIT Étape 1 : Sortir d'abord tous les accessoires du carton et les poser. Étape 2 : Poser le cadre principal inférieur ① à plat et faire chevaucher le trou du tuyau sur la gauche ②, ⑦ vis 8*50 et ⑧ utiliser la clé ⑨ ⑩ pour serrer ensemble.
- Page 13 Étape 3 : Faire chevaucher le cadre principal inférieur ① avec le trou de tuyau droit ③, et serrer la vis 8*50 et ⑧ avec une clé ⑨ ⑩. Étape 4 : Chevaucher les trous de tuyaux fixes ② et ③, et serrer les vis ⑦ 8*50 et ⑧ avec une clé...
- Page 14 Étape 5 : Fixer l'ensemble du pied rotatif du membre inférieur ④ sur l'extrémité supérieure du cadre principal inférieur ③, et insérer les vis ⑦ 8*50 et ⑧ avec la clé ⑨ ⑩ pour serrer les trous doubles. Étape 6 : Insérer le cadre principal supérieur dans l'extrémité supérieure du cadre princi- pal inférieur, puis utiliser le bouton pour tirer la goupille afin de la fixer, ajuster les niveaux supérieur et inférieur de manière adaptative et flexible, puis serrer le bouton.
- Page 15 Étape 7 : Joindre l'ensemble du coude rotatif de la partie supérieure du corps ⑥ à l'extrémité supérieure du cadre principal supérieur, et insérer la vis avec la clé ⑨⑩ pour serrer les trous doubles. Étape 8 : L'assemblage est terminé ! Note : Le compteur électronique peut également être installé...
Need help?
Do you have a question about the A90-290 and is the answer not in the manual?
Questions and answers