Advertisement
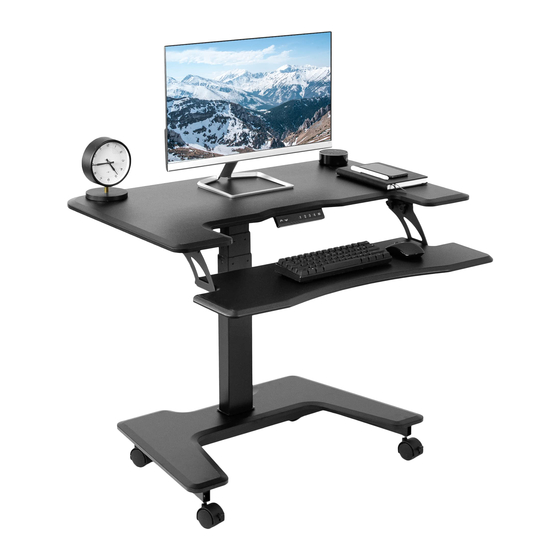
Electric Mobile Compact Desk
Instruction Manual
SKU: DESK-V111VT/W
Scan the QR code with your mobile device or follow the link
for helpful videos and specifications related to this product.
https://vivo-us.com/products/desk-v111vt
GET IN TOUCH | Monday-Friday from 7:00am-7:00pm CST
help@vivo-us.com
www.vivo-us.com
Chat live with an agent!
309-278-5303
Advertisement
Table of Contents

Subscribe to Our Youtube Channel
Related Manuals for Vivo DESK-V111VT/W


Summary of Contents for Vivo DESK-V111VT/W
- Page 1 Electric Mobile Compact Desk Instruction Manual SKU: DESK-V111VT/W Scan the QR code with your mobile device or follow the link for helpful videos and specifications related to this product. https://vivo-us.com/products/desk-v111vt GET IN TOUCH | Monday-Friday from 7:00am-7:00pm CST help@vivo-us.com www.vivo-us.com...
-
Page 2: Electrical Safety Instructions
If you do not understand these directions, or if you have any doubts about the safety of the installation, please contact our product support team at 309-278-5303 or help@vivo-us.com for further assistance. Check carefully to make sure there are no missing or defective parts. Improper installation may cause damage or serious injury. -
Page 3: Tools Needed
TOOLS NEEDED Phillips Screwdriver DO NOT EXCEED WEIGHT CAPACITY. 88lbs 4.4lbs Failure to do so may result in serious injury. (40kg) (2kg) DESKTOP KEYBOARD TRAY ASSEMBLY STEPS STEP 1 Thread Casters (M) onto Base (I) and tighten with Wrench (T-C). STEP 2 Install Leg (D) onto Base (I) with Cover (J) using M6x15mm Screws (S-C). - Page 4 STEP 3 Slide Frame Bracket (C) onto Leg (D) and righten the pre-installed screws using 4mm Allen Wrench (T-B). STEP 4 Attached Side Brackets (B) onto Frame Bracket (C) using M6x15mm Screws (S-C), tightening with 5mm Allen Wrench (T-A). STEP 5 Press the Anti-Vibration Pads (N) onto the top of Side Brackets (B).
- Page 5 STEP 6 Install Desktop (A) onto Side Brackets (B) using M5x14mm Screws (S-A) and a Phillips screwdriver. STEP 7 Attach Keyboard Mounts (E) onto the underside of Desktop (A) using M5x12mm Screws (S-D) and a Phillips screwdriver. The knobs should be facing towards the center of the cart.
- Page 6 STEP 8 Attach Control Panel (L) to the underside of Desktop (A) using M5x14mm Screws (S-A). Tighten with a Phillips screwdriver. STEP 9 Attach Left and Right Keyboard Tray Brackets (G,H) onto Keyboard Tray (F) using M5x12mm Flat Head Screws (S-B). Tighten with a Phillips screwdriver.
- Page 7 STEP 10 Before mounting the keyboard tray, make sure there is a small gap between the knobs and metal bracket on Keyboard Mounts (E). Lift the Keyboard with Left and Right Brackets (G,H) up onto Keyboard Mounts (E) with the knob threads entering the slots, then push the keyboard towards the back so the knob threads are resting in the slot.
- Page 8 AVG. RESPONSE TIME (within office hrs) - 23% within < 15m - 38% within < 30m - 61% within < 1hr - 83% within < 2hr - 92% within < 3hr FOR MORE VIVO PRODUCTS, CHECK OUT OUR WEBSITE AT: www.vivo-us.com...
Need help?
Do you have a question about the DESK-V111VT/W and is the answer not in the manual?
Questions and answers