Veeder-Root TLS-3 Series Installation Manual
Isd balance vapor flow meter
Hide thumbs
Also See for TLS-3 Series:
- Troubleshooting manual (160 pages) ,
- Site prep and installation manual (91 pages) ,
- Quick help (41 pages)

Related Manuals for Veeder-Root TLS-3 Series


Summary of Contents for Veeder-Root TLS-3 Series
- Page 1 Manual No: 577013-916 Revision: G ISD Balance Vapor Flow Meter TLS-450PLUS & TLS-3XX Consoles Installation Guide...
- Page 2 Customer Service will work with production facility to have the replacement product shipped as soon as possible. If “lost” equipment is delivered at a later date and is not needed, Veeder-Root will allow a Return to Stock without a restocking fee.
-
Page 3: Table Of Contents
Product Marking Information .....................2 Related Documents ....................2 Safety Warnings .......................3 Safety Precautions ......................4 Reference Manuals ......................4 Before You Begin ......................4 Veeder-Root Parts ......................5 Tools Required .........................5 Installation Above Shear Valve Installs ....................6 Below Shear Valve Installs ....................7 Figures Figure 1. -
Page 4: Contractor Certification Requirements
Introduction This manual contains instructions to install the Balance model of a Veeder-Root Vapor Flow Meter (VFM) in the dispenser vapor return line. The Vapor Flow Meter described herein is referred to in the 450+ GUI setup/report/ diagnostic screens as an Air Flow Meter (AFM). -
Page 5: Product Marking Information
RELATED DOCUMENTS Documents Required to Install Equipment This intrinsically safe apparatus is only for use as part of a Veeder-Root Automatic Tank Gauging System (ATG Console with probes and sensors). To install intrinsically safe apparatus, use the specific control drawing that... -
Page 6: Safety Warnings
Introduction Safety Warnings Product Label Contents I.S. CIRCUIT FOR HAZLOC SENSOR F/N 332374-XXX CL I, DIV. 1, GP.D S/N XXXXXX CL I, ZONE 0 -40°C < Ta < +60°C AEx ia IIA Ex ia IIA MANUAL NO. 577013-916 TC=T4 SECURITE INTRINSEQUE Safety Warnings To protect yourself and your equipment, observe the following warnings and important information: WARNING... -
Page 7: Safety Precautions
Introduction Safety Precautions Safety Precautions The following safety symbols may be used throughout this manual to alert you to important safety hazards and precautions. EXPLOSIVE FLAMMABLE Fuels and their vapors are extremely explosive if Fuels and their vapors are extremely flammable. ignited. -
Page 8: Veeder-Root Parts
NFPA 70, for installation in the United States, or Section 18 of the Canadian Electrical Code for installations in Canada. Veeder-Root Parts • The Balance VFM installation kit is shown in Table 1. Table 1. Vapor Flow Meter Installation Kit (P/N 330020-585) Item Qty. -
Page 9: Installation
Installation Before installing this device, turn off, tag/lock out power to the system, including console and submersible pumps. Remove the dispenser’s lower sheet metal doors to access the vapor plumbing. Prior to modifying any piping in the dispenser, consult the dispenser manufacturer to determine if ISD ready retrofit kits are available. -
Page 10: Below Shear Valve Installs
Installation Below Shear Valve Installs Important: Upper and lower flanges must align to within 1/16” center-to-center NOTICE before installing flow meter. If piping is improperly aligned, torque could damage the flow meter and result in vapor leakage. Base of dispenser cabinet Vapor return line from hose manifold 1'' NPT... - Page 11 Installation Below Shear Valve Installs running the TP-201.4 back-pressure test. Approximately 3 inches of clearance is required on both sides of the piping to accommodate the width of the meter body. IMPORTANT: Upper and lower flanges must align to within 1/16” center-to-center before installing flow meter.
-
Page 12: Figure 2. Example Flow Meter Installations With Approximate Clearances
Installation Below Shear Valve Installs Dispenser hydraulics cabinet Vapor return line from dispenser Vapor return line shear valve Top of pedestal island ISD Vapor Flow Meter Approx. 10.8 in. inches Approx. 6 in. Approx. 24.8 in. Approx. Required 'Y' fitting for 12 in. -
Page 13: Figure 3. Example Vapor Flow Meter Installation Below Shear Valve
Installation Below Shear Valve Installs Important: Upper and lower flanges must align to within 1/16” center-to-center NOTICE before installing flow meter. If piping is improperly aligned, torque could damage the flow meter and result in vapor leakage. Base of dispenser cabinet Vapor return line Top of shear valve... -
Page 14: Figure 4. Field Wiring Connections For Direct-Wired Vfm Only
Installation Below Shear Valve Installs Black From Seal-off Console White 1/2'' rigid conduit Epoxy sealed connections in a weatherproof junction box isd-evr\vrrmwir.eps Figure 4. Field wiring Connections for Direct-Wired VFM Only - Observe Polarity 797-6.eps From sensor To console Make sure that the ends of cable sheathing are sub-merged in sealant... -
Page 15: Figure 6. Direct-Wired Vfm Connects To Available
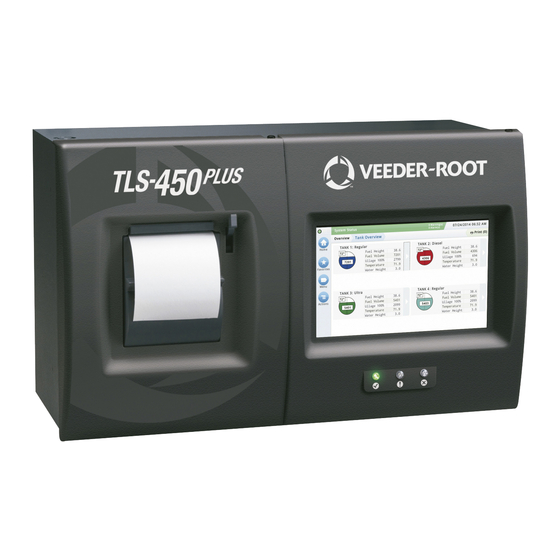
Installation Below Shear Valve Installs Figure 6. Direct-Wired VFM Connects to Available TLS-450PLUS USM Module Position Figure 7. Direct-Wired VFM Connects to Available TLS-3XX Smart Sensor Interface Module Position For wireless configurations, see TLS RF System Control Drawing P/N 331940-012.
Need help?
Do you have a question about the TLS-3 Series and is the answer not in the manual?
Questions and answers