Advertisement
Quick Links
PART No 3432200 DISCOVERY 4 WINCH BAR
PART No 3232200 DISCOVERY 4 BULL BAR
WHEN INSTALLED IN ACCORDANCE WITH THESE INSTRUCTIONS, THE FRONT
PROTECTION BAR DOES NOT AFFECT OPERATION OF THE SRS AIRBAG.
02-08-12
If you have any queries regarding the installation of this product please contact the distributor from whom it was purchased, or alternatively the ARB office in your state.
Head Office – ARB Corporation Ltd VIC: 42-44 Garden Street, Kilsyth, Victoria, 3137 Tel: (03) 9761 6622 Fax: (03) 9761 6807
WA:(08) 9244 3553 NSW: (02) 9821 3633 ACT: (02) 6280 7475 SA: (08) 8244 5001 QLD: (07) 3872 3872 NT: (08) 8947 2262 TAS: (03) 6331 4190
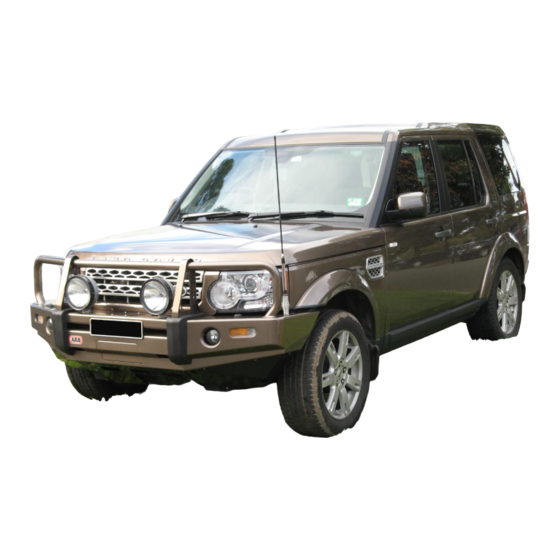
LAND ROVER DISCOVERY 4
ARB BULL BAR AND WINCH BAR
Not suitable for HSE & V8 models.
WARNING
FOR VEHICLES EQUIPPED WITH SRS AIRBAG
Page 1 of 22
3787827
Advertisement

Related Manuals for ARB 3432200


Summary of Contents for ARB 3432200
- Page 1 3787827 If you have any queries regarding the installation of this product please contact the distributor from whom it was purchased, or alternatively the ARB office in your state. Head Office – ARB Corporation Ltd VIC: 42-44 Garden Street, Kilsyth, Victoria, 3137 Tel: (03) 9761 6622 Fax: (03) 9761 6807...
-
Page 2: General Care And Maintenance
GENERAL CARE AND MAINTENANCE choosing an ARB set of side rails, you have bought a product that is one of the most sought after 4WD products in the world. Your side rails are a properly engineered, reliable, quality accessory that represents excellent value. - Page 3 FITTING REQUIREMENTS REQUIRED TOOLS FOR FITMENT OF PRODUCT: POWER DRILL WITH 8 & 10MM BITS SCREWDRIVER SET METRIC SOCKET SET & SPANNERS KEY HOLE SAW TORX BIT SET SHARP KNIFE & WHITE MARKER SENSOR SAFE SILICONE HAVE AVAILABLE THESE SAFETY ITEMS WHEN FITTING PRODUCT Protective eyewear Hearing protection NOTE: ‘WARNING’...
- Page 4 PART no DESCRIPTION 3758047L CHASSIS MOUNT BRACKET ASSEMBLY 3758047R CHASSIS MOUNT BRACKET ASSEMBLY 6151204 BOLT M10 x 35 x 1.5p HEX HEAD 6151321 NUT FLANGE M10 x 1.5 IMPACT ABSORBER TO 4581040 WASHER FLAT M10 CHASSIS 4581048 WASHER SPRING M10 6151022 BOLT M8 x 25mm HEX HEAD 4581044...
- Page 5 6151021 BOLT M8 x 20mm 6151132 NUT FLANGE M8 4581044 WASHER FLAT M8 180302 CABLE TIES PART No DESCRIPTION 3756801 WASHER BOTTLE SUPPORT BRACKET 6151301 CAGE NUT M8 6151021 BOLT M8 x 20mm HEX HEAD WASHER BOTTLE 4581044 WASHER FLAT M8 SUPPORT TO IMPACT 4581046 WASHER SPRING M8...
-
Page 6: Vehicle Preparation
VEHICLE PREPARATION 1. Remove the grill and then the headlights from the vehicle. 2. Remove the flares from the vehicle. 3. Remove the bumper bar from the vehicle. NOTE: Be prepared to block or clamp off the washer bottles lines to prevent water leaking on the ground. - Page 7 VEHICLE PREPARATION 7. If fitting a winch the plastic air ram will need to be removed. 8. To wire up the indicators from the bull bar to the vehicle indicators a short loom must be fitted . A longer loom with two relays is also to be fitted in conjunction with the short turn Short loom .
- Page 8 VEHICLE PREPARATION 10. Find the clearance , indicator and earth wires for each headlight using a test lamp. Removal of the headlamp will make this easier . Wire the park lamp wire ONLY AT THIS STAGE from the short indicator looms into the head light looms using the scotch locks provided .
- Page 9 VEHICLE PREPARATION 14. With all the wiring connections now made , feed the harness down so that it sits neatly and retain in place with the cable ties provided . Note :- Ensure all wiring will not rub or touch on any metal parts , sharp edges and hot or moving parts .
- Page 10 VEHICLE PREPARATION 20. Once satisfied with the cut of the flare, replace the headlight and the grill. 21. Clean the flare where it has been cut and attach the plastic side moulding to the flare. 22. Cut the plastic side moulding with a Stanley knife along the back edge of the flare.
- Page 11 VEHICLE PREPARATION 26. Unclip the headlight washer hose from the nozzle and remove both the headlight washers and the hose. If air suspension not fitted go to step 28. 27. Cut the supplied spiral wrap in half. Wind the spiral wrap around the two lower air hoses that connect to the suspension actuators.
- Page 12 30. If vehicle is fitted with parking sensors cut out templates supplied with instructions. Place outer templates over indicator recess and inner templates over high lift jack opening as shown. Mark holes with a felt tip pen. Drill 16mm holes in marked positions.
- Page 13 33. Fit the fog light insert assembly to the bar using two M6 x 20mm black bolts, M6 flat black washers and M6 black spring washers. 34. For vehicles with fog lights, fit the U-type nuts to any three of the four holes on the fog light bracket.
- Page 14 36. Clip the fog light assembly into the indicator bracket and fix in place using two M6 x 20mm black bolts, M6 flat black washers and M6 black spring washers. 37. If fitted, re-fit the head light washers into the bar using the original spring clips. 38.
- Page 15 39. Run the hoses removed from the bumper through the bar being careful not to kink any lines. 40. Secure to bar with a few cable ties. 41. Fit the fog light loom to the fog light and fit the washer hose to the headlight washer.
- Page 16 43. Remove the cap head screws retaining the gearbox to the winch drum. Carefully lift and rotate the gearbox 144 degrees counter clockwise (four hole spacings) and re-fit the cap screws. 44. Lay the winch on a suitable surface and place the bull bar on top so that the wire rope will feed from the bottom.
- Page 17 47. Remove the cir-clips from the bottom of the vertical rollers of the fairlead and push the pin upwards. Push the vertical rollers inwards und using two 3/8” x 1 ¾” bolts M10 flat and spring washers, attach the roller fairlead to the bar. 48.
- Page 18 52. Run the cables through the rubber grommets and connect to the winch as per wiring diagram supplied with the winch. 53. Using cable ties, fix the cables away from any moving, sharp or hot surfaces. BULL BAR FITMENT TO VEHICLE 54.
- Page 19 56. Centralise the mounts so that the surface that mounts to the bull bar is vertical. 57. The mounts must be positioned so that there is 815mm gap between the outside 815mm surfaces of the bull bar mounting face. 58. Tighten all the bolts. 59.
- Page 20 64. Attach the washer bottle bracket without the cage nuts to the right hand side impact absorber using two M8 x 20mm bolts, M8 flat and spring washers. 65. On vehicles equipped with air suspension, attach the solenoid pack to the bracket.
- Page 21 68. Using a 10mm drill bit; drill the pinning bolt hole using the hole in the upright as a guide. 69. Fix in place using a M10 x 35mm bolt, M10 flat washer, M10 spring washer and M10 flange nut. Repeat for the other side.
- Page 22 M6 FASTENERS 74. Inner sensor mounting. If sensors are activating try to rotate slightly and re-test. Once all sensors are fitted and working correctly apply a small amount of sensor safe silicone to both bracket and bar to limit movement of sensor. 75.
- Page 23 WASHER BOTTLE GUARD FITMENT TO BULL BAR 77. Fit two M6 cage nuts to back surface of guards. Fit the washer bottle stone guards to both sides of the bull bar . 78. Use the three M6 x 20mm black bolts, M6 black flat washers and M6 black spring washers to attach the guards to the wing along the front and side edges .
Need help?
Do you have a question about the 3432200 and is the answer not in the manual?
Questions and answers