Table of Contents
Advertisement
Quick Links
Advertisement
Table of Contents

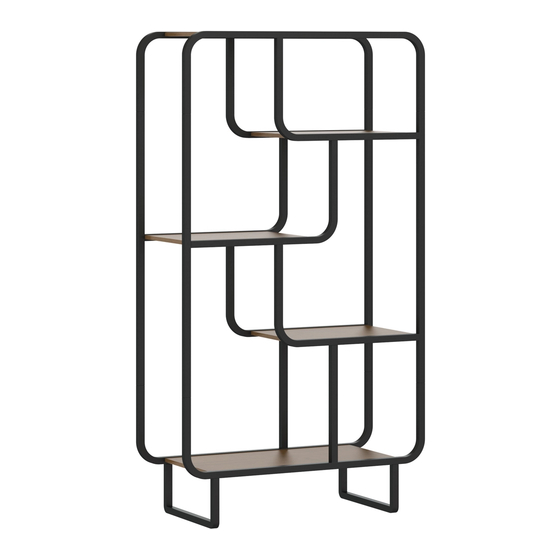
Summary of Contents for real living BQ092-1321
- Page 2 GENERAL BEST PRACTICES FOR ASSEMBLY: Read all instructions before starting Clear a flat covered space to begin Two adults are recommended for assembly Note that hardware required is provided for every step Pay attention to orientation Letter of the part corresponds to a sticker on the product Number of the hardware corresponds to its number in the package Helpful hints provided along the way WARNINGS:...
- Page 3 PARTS LIST DESCRIPTION 2pcs Large Shelf Panel 3pcs Small Shelf Panel 2pcs Bottom Metal Leg Front Upper Frame Back Upper Frame 3pcs L Shape Tube 1 3pcs L Shape Tube 2 2pcs Left Link Tube 2pcs Right Link Tube 2pcs Short Link Tube Front Bottom Frame Back Bottom Frame...
- Page 4 HARDWARE LIST PARTS DESCRIPTION Cam Bolt 24pcs 24pcs Cam Lock 8pcs Bolt(6×10mm) 20pcs Bolt(6×35mm) Screw(4×35mm) 4pcs 2pcs Anchor Bracket 4pcs Plastic Plug Allen Wrench 2pcs Plastic Lock Strap 4pcs Rubber Feet Sticker HELPFUL HINTS • A Phillips Screwdriver and a flat head screwdriver will be needed for assembly and are not provided. •...
- Page 5 4 x 2 8 x 1 Attach L Shape Tube 1 (F) and L Shape Tube 2 (G) to Short Link Tube (J) with Bolt (4) using Allen Wrench (8) separately. TIP: All the holes for cam bolts should be facing the same direction. 4 x 2 8 x 1 Attach L Shape Tube 1 (F) to L Shape Tube 2 (G) and attach L Shape Tube 2 (G) to L Shape Tube 1 (F) with Bolt (4) using...
- Page 6 4 x 6 8 x 1 1. Attach Left Link Tube (H) to L Shape Tube 1 (F), attach Right Link Tub (I) to L Shape Tube 2 (G) using Allen Wrench (8) as shown in the diagram. Fully tighten bolts. 2.
- Page 7 Insert Cam Bolt (1) into Assembled Front and Back Frame. Fully tighten using Phillips screwdriver (not provided). 1 x 24 1. Align Cam Bolt (1) in Back Upper Frame (E), Back Bottom Frame (L), L Shape Tube 1 (F) and L Shape Tube 2 (G) with the holes in the edge of Large Shelf Panel (A) and Small Shelf Panel (B) and slide into place.
- Page 8 4 x 4 8 x 1 10 x 4 1. Attach Bottom Metal Leg (C) to the Front Bottom Frame (K) and Back Bottom Frame (L) with Bolt (4) using Allen Wrench (9). Fully tighten bolts. 2. Attach Rubber Feet Sticker (10) to the bottoms of Bottom Metal Leg (C). step 1 5 x 4 6 x 2...


Need help?
Do you have a question about the BQ092-1321 and is the answer not in the manual?
Questions and answers