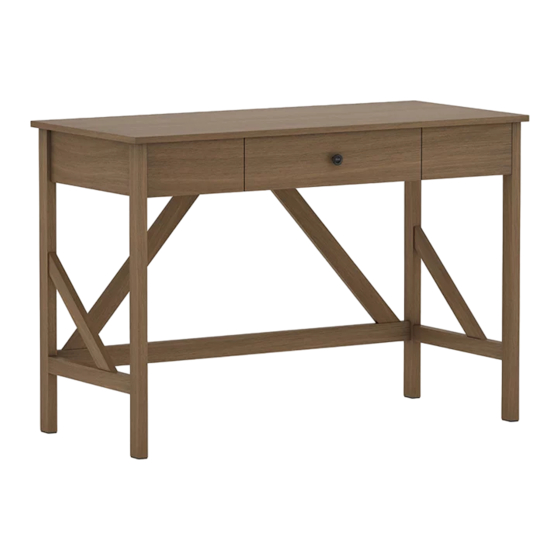
Summary of Contents for real living BQ092-1702AC
- Page 1 ONE DRAWER DESK ASSEMBLY INSTRUCTIONS ITEM#:BQ092-1702AC/BQ092-1702WH/BQ092-1702BK SKU#:810529561/810529568/810529569...
- Page 2 GENERAL BEST PRACTICES FOR ASSEMBLY: Read all instructions before starting Clear a flat covered space to begin Two adults are recommended for assembly Note that hardware required is provided for every step Pay attention to orientation Letter of the part corresponds to a sticker on the product Number of the hardware corresponds to its number in the package Helpful hints provided along the way WARNINGS:...
- Page 3 PARTS LIST DESCRIPTION Top Panel Left Side Panel Right Side Panel Under Top Bar Left Front Panel Right Front Panel Left Divider Right Divider Back Panel Bottom Support Panel 2pcs Back Slat Back Bottom Slat Drawer Front Panel Drawer Back Panel Drawer Left Side Panel Drawer Right Side Panel Drawer Bottom Panel...
- Page 4 PARTS LIST DESCRIPTION Drawer Handle 2pcs Glider HARDWARE LIST PARTS DESCRIPTION 23pcs Cam Bolt 23pcs Cam Lock 12pcs Wooden Dowel 6pcs Screw(3×12mm) Bolt 2pcs Bolt 2pcs Screw(4×25mm) Screw(4×35mm) 10pcs Screw(4×55mm) 2pcs 10pcs Bolt(6×55mm) 10pcs Allen Wrench 4pcs Rubber Feet Sticker 10pcs PVC Sticker Page 4 of 8...
- Page 5 HELPFUL HINTS • A Phillips Screwdriver and a flat head screwdriver will be needed for assembly and are not provided. • Saperate all parts before starting HOW TO INSTALL THE CAM BOLT AND CAM LOCK HOW TO INSTALL NUTS Important: Using a standard screw Important: Press a nut into the hole in the part, making sure the “-“...
- Page 6 Insert Cam Bolt (1) into Left Front Panel (E) and Right Front Panel (F). Fully tighten. 1 x 4 1. Insert Wooden Dowel (3) into the end of Left Divider (G) and Right Divider (H) . 2. Align the Cam Bolts (1) in Left Front Panel (E) and Right 2 x 4 3 x 2 Front Panel (F) with the holes in the edge of Left Divider (G)
- Page 7 10 x 5 10 x 5 12 x 1 12 x 1 Secure the Right Side Panel (C) to Back Panel (I), Back Bottom Secure the Left Side Panel (B) to Back Panel (I), Back Bottom Slat (L), and Right Front Panel (F) with Allen Bolt (10) using Allen Slat (L), and Left Front Panel (E) with Allen Bolt (10) using...
- Page 8 Align the Drawer Left Side Panel (O) with the Drawer Back Panel (N) and secure in place with Screw (8). Fully tighten screws. Repeat process for Drawer Right Side Panel (P). Note: Make sure the grooves in all panels are aligned. 8 x 4 1.


Need help?
Do you have a question about the BQ092-1702AC and is the answer not in the manual?
Questions and answers