
Related Manuals for Hachette U-BOAT U 96


Summary of Contents for Hachette U-BOAT U 96
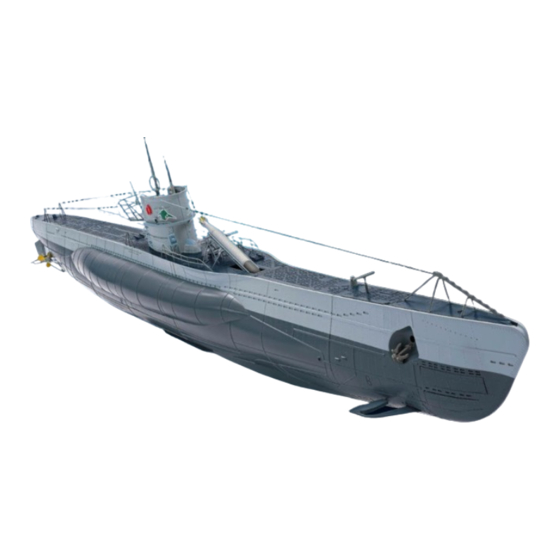
- Page 1 U 96 Pack 3 Kits 9-12 U-BOAT BUILD THE ICONIC WORLD WAR II U-BOAT PACK_3 _UK.indd 1 02/08/2023 15:38...
- Page 2 Kit 9: The first two torpedo tubes Kit 10: Two torpedoes Kit 11: Two more torpedo tubes Kit 12: Two more torpedoes © 2023/2024 Hachette Partworks Ltd. ALL RIGHTS RESERVED Not suitable for children under 14. Hachette Partworks Ltd WARNING: All parts belong to a kit.
- Page 3 Kit 9: The first two torpedo tubes Kit 9: The first two torpedo tubes STAGE First details STAGE Fitting the diverter taps Take torpedo tube (with the 1 circled). Separate the two parts Repeat the process to glue the second part to the other half of Separate the two parts marked ‘R’...
- Page 4 Kit 9: The first two torpedo tubes Kit 9: The first two torpedo tubes STAGE Assembling the ejector cartridges Remove part from frame and apply some glue to each of its With part attached, the ejection cartridges are complete. four pegs. After noting the end with the notches, t onto part S, as Separate parts (with a peg on one side, indicated by the arrow) shown above.
- Page 5 Kit 9: The first two torpedo tubes Kit 9: The first two torpedo tubes Pipe is glued into the recess of torpedo tube (on the far right in the image) and the upper hole of part A. Glue part into the two small holes of torpedo tube , as Glue part to torpedo tube...
- Page 6 Kit 10: Two torpedoes Kit 10: Two torpedoes STAGE Assembling the torpedos Half of each torpedo is equipped with a propeller, then joined to the remaining half. Two connectors are added to a new hull plate, before it is attached to the main hull assembly. Detach the two opposing propellers from one of Take one torpedo upper half...
- Page 7 Kit 10: Two torpedoes Kit 11: Two more torpedo tubes STAGE Adding the hull section After various details are attached to torpedo tubes 2 and 4, the two are joined together and five pipes attached. Lower hatches are attached to all four bow tubes. Place the upper port (L) hull section on your work surface.
- Page 8 Kit 11: Two more torpedo tubes Kit 11: Two more torpedo tubes STAGE First details and diverter tap Fix one of the diverter taps to torpedo tube along with The second diverter tap and second part are likewise attached to torpedo tube one of the two parts from frame Take torpedo tube...
- Page 9 Kit 11: Two more torpedo tubes Kit 11: Two more torpedo tubes Remove part from frame and glue its four pegs onto part S. Apply some glue to the two small pegs on the bottom of parts Apply some glue to the two pegs of pipe . Insert one into the Take frame and detach hatches and .
- Page 10 Kit 12: Two more torpedoes Kit 12: Two more torpedos STAGE Adding the hull section Place the upper starboard (R) hull section , the two connectors Two connectors are attached to the upper starboard (R) hull section, which is then added four screws on your work surface.
- Page 11 Kit 12: Two more torpedoes Take the main hull assembly, which you last worked on in kit . Fit the upper starboard (R) hull section to the main assembly so that it rests on connectors Once the hull section is correctly seated, secure to the main hull assembly, using two screws to attach the...
Need help?
Do you have a question about the U-BOAT U 96 and is the answer not in the manual?
Questions and answers