Table of Contents
Advertisement
Quick Links
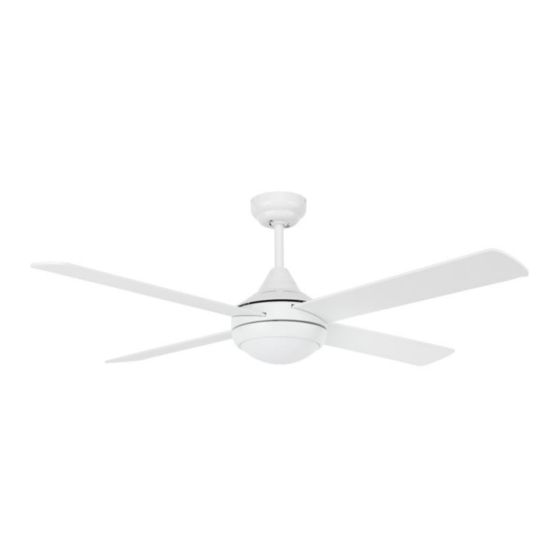
ECO SILENT 52" CEILING FAN
Installation Manual
CFFCES3WH White
CFFCES3LWH White
with LED Light
YOUR FANCO DC CEILING FAN:
Congratulations on the purchase of your new quality Fanco DC Ceiling Fan. Before first
using, it is most important that you read and follow the instructions in this use and care
booklet, even if you feel you are quite familiar with this type of product.
Find a place and keep this booklet handy for future reference.
Advertisement
Table of Contents

Related Manuals for Fanco ECO SILENT CFFCES3WH


Summary of Contents for Fanco ECO SILENT CFFCES3WH
- Page 1 LED Light YOUR FANCO DC CEILING FAN: Congratulations on the purchase of your new quality Fanco DC Ceiling Fan. Before first using, it is most important that you read and follow the instructions in this use and care booklet, even if you feel you are quite familiar with this type of product.
-
Page 2: Important Safeguards
IMPORTANT SAFEGUARDS: Read all instructions carefully, even if you feel you are quite familiar with this type of appliance. When using electrical appliances, in order to reduce the risk of fire, electric shock, and/or injury, these basic safety precautions should always be followed: This appliance MUST be installed by a Qualified Electrical Contractor in accordance with the local regulations, and all local, state and national electrical codes. -
Page 3: Parts List
PREPARATION: Unpack your ceiling fan carefully, then remove all parts and components, and lay on a cloth or soft surface to avoid damage. DO NOT lay the motor housing on its side, the housing may get damaged. Before commencing installation, check that all parts are included. NB: You may need to remove all foam packaging material to ensure there are no missing components. -
Page 4: Selecting A Location
ASSEMBLY: Unlike most ceiling fans, the Fanco Eco SilentCeiling Fan requires you to attach the blades to the motor BEFORE mounting the motor to the ceiling. If installing more than one ceiling fan, ensure that the blades do not get mixed up between units, as each set is dynamically balanced. -
Page 5: Installation
INSTALLATION Note: This is NOT a DIY product. This ceiling fan must be installed by a licensed/qualified electrician. CAUTION: Before installing the fan, make sure you have turned OFF the electricity supply. 1. Secure the hanging bracket to the ceiling joist or suitable structure that is capable of carrying a load of at least 45kg, with the two long fixing screws provided. -
Page 6: Electrical Wiring
ELECTRICAL WIRING This fan must be installed by licenced electrician. For your convenience, and to assist in easy installation & cleaning, your ceiling fan is connected with easy connectors. View after installation IMPORTANT: ENSURE ALL CABLES ARE ELECTRICALLY ISOLATED BEFORE WIRING. 1) Wire the incoming power cables to the terminal block mounted on the hanging bracket. - Page 7 REVERSE FUNCTION: The “Summer / Winter” reverse function is included in the remote control to make the fan rotate in an anti-clockwise direction during summer. In winter, this can be reversed, so that the blades now move in a clockwise direction. CARE &...
- Page 8 After completing the ceiling fan installation, install the 12V battery (included) in the hand held remote control (FIG 1). The fan is ready for use with the remote control without setting up. NB: Your fan is equipped with an automatically learning remote control.
-
Page 9: Troubleshooting
Fanco warranty, will be payable by the purchaser at the time of repair. This warranty is only valid for appliances used according to the manufacturer’s instructions. -
Page 10: Warranty
The original purchaser of this Fanco Ceiling Fan is provided with the following warranty subject to the following conditions. Fanco warrants this ceiling fans motor for a period of 5 years from the date of purchase, the first 2 years are covered by an in-home warranty. All parts deemed defective in workmanship or materials will be replaced free of charge.
Need help?
Do you have a question about the ECO SILENT CFFCES3WH and is the answer not in the manual?
Questions and answers