Table of Contents
Advertisement
Quick Links
Advertisement
Table of Contents

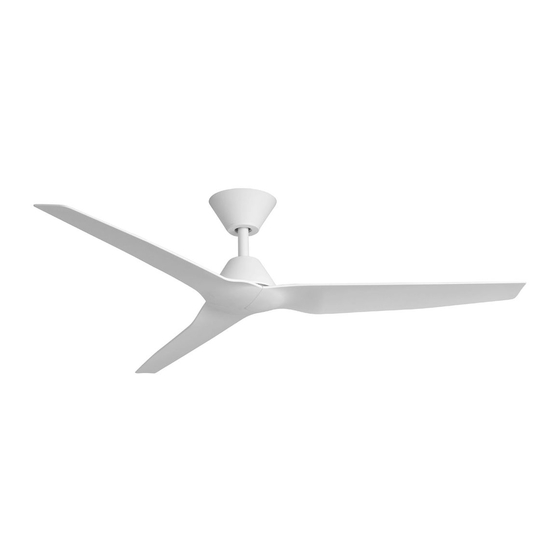
Summary of Contents for Fanco Infinity-ID DC
- Page 1 Infinity-ID Installation Manual VER 2.1...
-
Page 2: Important Safeguards
CEILING FAN INSTRUCTION BOOKLET Thank you for purchasing your Fanco Infinity-ID DC Ceiling Fan. Please read all instructions carefully before assembly and use. IMPORTANT SAFEGUARDS: Read all instructions carefully, even if you feel you are quite familiar with this type of appliance. When... -
Page 3: Important Note
21. The LED light panel in light kit is user replaceable as it connects with 'Push Plug' wiring. It is user replaceable ONLY with Fanco certified replacement LED panels. Using unauthorised parts may damage the fan, cause undesired results, or be a safety hazard. - Page 4 PREPARATION: 1. Unpack your ceiling fan carefully, then remove all parts and components, and lay on a cloth or soft surface to avoid damage. DO NOT lay the motor housing on its side as the housing may get damaged. 2. Before commencing installation, check that all parts are included. NOTE: You may need to remove all foam packaging material to ensure there are no missing parts.
-
Page 5: Installation And Assembly
INSTALLATION AND ASSEMBLY: CAUTION! Before installing the fan make sure you have turned OFF the electricity supply. SELECTING A LOCATION: 1. Choose a location for mounting the fan where the blades will have at least 2.1 metres of clearance from the floor. 2. -
Page 9: Installation Steps
INSTALLATION STEPS: Ensure the power is OFF when installing this fan. 1. Lift up the motor housing. 2. Take the pre-assembled screws and blade buckles off the motor. 3. Align the blades with screw holes on top of the motor and secure with the blade buckles, screws and washers. - Page 10 4. Once all blades are securely attached to the motor, simply slide the motor housing down into place and secure it with 3x motor housing screws. MODELS WITH LIGHT - Remove the three screws on the middle of the motor. Align the light kit with the screw holes on the motor housing and secure with screws.
- Page 11 5. Carefully lift the assembled fan and place 6. Place the receiver within the hanging the hanging ball in the middle of the bracket and connect the wires. hanging bracket. Place the hanging ball into the bracket. 7. Connect power, receiver and the fan in accordance with the electrical wiring diagram. IMPORTANT: The fan must be earthed! Double pole disconnection switch and wall switch must be connected.
-
Page 12: Care And Cleaning
CARE & CLEANING: • Periodic cleaning (approximately every 6 months) of your ceiling fan is the only maintenance required. • Use a soft brush or lint free cloth to avoid scratching the finish. Please turn off electricity when you do so. •... -
Page 13: Functions Of The Transmitter
CONSIDERATIONS: 1. If the receiver is not receiving a signal from the remote control: a. Please check the battery to ensure it has sufficient power, has been inserted correctly and aligns with the positive and negative terminals; and b. Please check if there are any other similarly remote-controlled objects that work nearby, as remote-controlled items operating on the same frequency may disturb each other. -
Page 14: Troubleshooting
TROUBLESHOOTING: Trouble Possible Cause Suggested Remedy Fans does not start Remote and receiver are not Re-pair the receiver and remote after pairing process. paired successfully Battery flat in remote control Replace the battery in remote control Loose wire connections or plugs Check wire connections and ensure plugs are to fan/receiver positively connected... - Page 15 Model Number Rated Voltage Motor Consumption Rated Light Power Control CFFCINID2WHW 220-240 Vac Max. 35 W Wall Control CFFCINID2BLW 220-240 Vac Max. 35 W Wall Control CFFCINID2WHSMR 220-240 Vac Max. 35 W Remote CFFCINID2BLSMR 220-240 Vac Max. 35 W Remote CFFCINID2WHNSMR 220-240 Vac Max.


Need help?
Do you have a question about the Infinity-ID DC and is the answer not in the manual?
Questions and answers