Table of Contents
Advertisement
Advertisement
Table of Contents

Related Manuals for Fanco Eco Motion DC


Summary of Contents for Fanco Eco Motion DC
- Page 1 Eco Motion Installation Manual...
-
Page 2: Important Safeguards
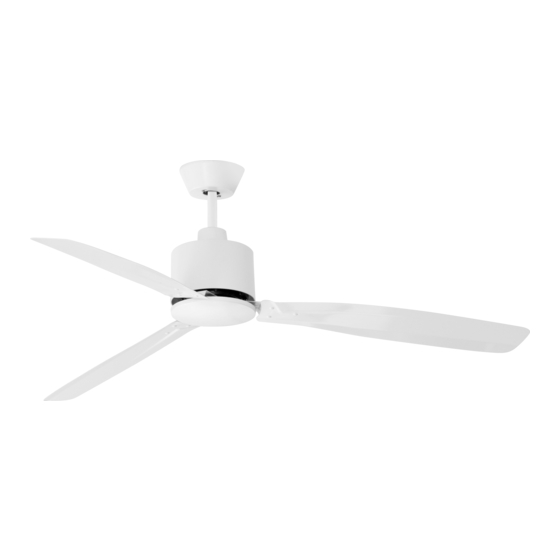
Ceiling fan instruction booklet Thank you for purchasing your Fanco Eco Motion DC Ceiling Fan. Please read all instructions carefully before assembly and use. IMPORTANT SAFEGUARDS Read all instructions carefully, even if you feel you are quite familiar with this type of appliance. -
Page 3: Important Note
19. If it is necessary to replace the live or neutral brushes to ensure operation of the motor then both brushes and the earth brush shall be replaced at the same time. The brushes shall only be replaced by a suitably qualified person. 20. -
Page 4: Installation And Assembly
name Pieces Serial number Bracket ,Canopy Downrod Motor hub cap Motor Blade X3/5 lamp plate or Base plate Screw bag Wall Control screw package details name pattern Pieces Expansion Screws J Hook Screw Screw Wiring cap INSTALLATION AND ASSEMBLY CAUTION: Before installing the fan make sure you have turned OFF the electricity supply. SELECTING A LOCATION: 1. -
Page 5: Electrical Connections
ELECTRICAL CONNECTIONS • Ensure the power is off when installing this fan. - Page 6 Separate the bracket Remove Loosen from the canopy bracket from canopy Take out Rotate and remove the canopy Remove the screws from the canopy C eiling C eiling E xplos ive hook pos itioning Make location point for "J"hook 3mm Make location point Hole : Dia 8mm Deep 50mm...
- Page 7 ceiling ceiling Hole : Dia 8mm Deep 5 0mm Drill hole ceiling F as ten the bracket on the ceiling by expans ion s crew ,fas ten the" J "hook Ins tallation finis h...
-
Page 8: Fan Blade
Turn motor upside down Remove the blade holders Remove screws Aligning the screw hole of blade and blade holder Bladeholder Fan blade mounting plate... - Page 9 Install the blades and tighten the screws Installation plate blade Make sure all the blades are smooth after installation 3 .2 Downrod & Canopy Installation Remove the screws on the yoke Remove Enlarged view...
-
Page 10: Canopy Installation
Place downrod through Insert wires & safety wire canopy through the downrod downrod downrod safety wire L Wire canopy N Wire E arth wire Connector screw installation Cottern pin Canopy Installation Fix with nut Enlarged drawing Align at the Downrod insert cross pin Tighten screw Align at the... -
Page 11: Wire Rope Installation
3 .3 Hang the Fan Lift the fan assembly onto the mounting bracket Place Rotate the fan assembly so that the groove on the ball engages the ridge in the mounting bracket Groove Wire rope installation Attach the safe wire to the "J" hook Tighten the screw... - Page 12 3 .4 Wiring Wiring method is as follows Wiring cap us e method E arth wire E arth wir( Yellow & Green) Ins ert Tighten AC I N N( B lue) AC I N L (B rown) Input voltage: AC 2 20V~ 240V 5 0Hz L I N L O UT DC F an R egulator...
- Page 13 After alignment, make sure the screws on the cannopy are tightened Tight en The installation is complete Rotate the canopy to align the holes and secure the canopy to the mounting bracket & tighten the screws Base Plate Installation Install base plate as per below Ins er t Tight en Base plate...
- Page 14 CARE & CLEANING: • Periodic cleaning (approximately 6 months) of your ceiling fan is the only maintenance required. • Use a soft brush or lint free cloth to avoid scratching the finish. Please turn off electricity when you do so. •...
- Page 15 Note: Remote control kit is not included in the box and can be separately purchased from Fanco. To control the fan with remote, the receiver pre-assembled inside the motor needs to be replaced with the receiver in remote control kit.
- Page 16 REMOTE CONTROL SETTINGS AND OPERATION FOR DC FANS NOTE: The Hand Held Remote Control System is equipped with a learning frequency function which has code combinations to prevent potential interference from other remote units. The frequency on your Receiver and Transmitter units have been pre-set at the factory. If the remotes need programming please following these instructions and use a small size tool to change the code switch setting for each remote.
-
Page 17: Functions Of Transmitter
FUNCTIONS OF TRANSMITTER Note: light buttons are not functional on this model as the fan does not have a light option. Forward/Reverse mode (Hold the button for 3 seconds to change modes) Natural wind mode Timer (1-9 hours) Speed Adjustment Fan On or Off Pairing Process - Press the ON/OFF button 3 times and on the 4th press, hold the button down for at least 3 seconds. - Page 18 Trouble Possible Cause Suggested Remedy Fans does not start after A) Remote and receiver are A) Re-pair the receiver and pairing process not paired successfully remote B) Battery flat in remote B) Replace the battery in control remote control C) Loose wire connections C) Check wire connections or plugs to fan/receiver and ensure plugs are...
- Page 19 Model Number Rated Voltage Motor Consumption Rated Light Power CFFCEM4WH 220-240Vac Max. 45 W DC Motor N/A CFFCEM4BL 220-240Vac Max. 45 W DC Motor N/A...
Need help?
Do you have a question about the Eco Motion DC and is the answer not in the manual?
Questions and answers