Table of Contents
Advertisement
Quick Links
Advertisement
Table of Contents

Related Manuals for Fanco Studio DC


Summary of Contents for Fanco Studio DC
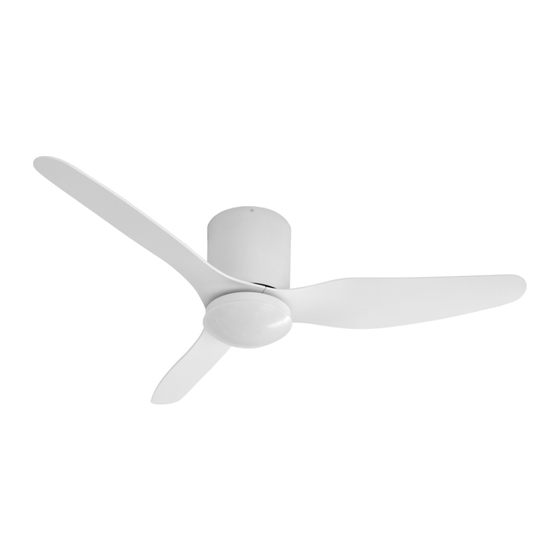
- Page 1 Studio Installation Manual...
-
Page 2: Important Safeguards
Ceiling fan instruction booklet Thank you for purchasing your Fanco Studio DC Ceiling Fan. Please read all instructions carefully before assembly and use. IMPORTANT SAFEGUARDS Read all instructions carefully, even if you feel you are quite familiar with this type of appliance. -
Page 3: Important Note
then both brushes and the earth brush shall be replaced at the same time. The brushes shall only be replaced by a suitably qualified person. 20. An all-pole disconnection incorporated in the fixed wiring is to be provided, such as an all-pole switch or a supply cord fitted with a plug. -
Page 4: Installation And Assembly
name Pieces Serial number Bracket ,Canopy Motor Top cover Blade lamp plate or Base plate Screw bag Emitter ,screw bag screw package details name pattern Pieces Expansion Screws J Hook Screw Screw Wiring cap Remote control accessories name pattern Pieces Battery Screw bag Emitter holder... -
Page 5: Electrical Connections
ELECTRICAL CONNECTIONS • Ensure the power is off when installing this fan. WIRING DIAGRAM - WITH REMOTE Double pole disconnection switch or 2 pin plug Wall Switch Power Supply-Live Wire Brown Ground Wire Yellow /Green Power Supply-Neutral Wire Blue WIRING DIAGRAM - WITH WALL CONTROL Double pole disconnection switch or 2 pin plug L in L out... - Page 6 INSTALL CEILING BRACKET Use screws to fix the parts together Bracket Align the rubber wire hole & nut with the rubber bracket Complete Drill Holes ceiling ceiling Use the bracket as a guide to mark required screw holes Hole : Dia 8mm Deep 50mm Place bracket over...
- Page 7 ATTACHING MOTOR ceiling Place screw into screw hole & tighten Connect the motor N Wire and nut together Ground wire L Wire ceiling ceiling N Wire ceiling Ground wire L Wire N Wire Ground wire Cotter Pin L Wire N Wire Ground wire N Wire L Wire...
- Page 8 LIGHT PLATE INSTALLATION FOR FAN WITH LED LIGHT ONLY L oos en Seperate lamp plate and lamp shade Loosen 2 screws & remove 1 screw as picvtured S crew o L oos en s crew as photo L oosen S crew o as photo BASE PLATE INSTALLATION FOR FAN WITHOUT LIGHT Finish...
- Page 9 Light Plate Installation Screw hole Tighten screws alignment scr ew Rotate into position and tighten the screw Insert wire into lamp plate Light Diffuser Installation Tighten Align the lock points Gently twist diffuser into place...
- Page 10 REVERSE FUNCTION The “Summer/Winter” reverse function is included in the remote control to make the fan rotate in an anti-clockwise direction during summer. In winter, this can be reversed, so that the blades now move in a clockwise direction. Press and hold “F/R”...
-
Page 11: Functions Of The Transmitter
2. If the battery is low it will affect the sensitivity of the remote control and the signal reception and must be replaced (the LED indicator light will flash a warning when the battery runs low). 3. Please remove the battery if the remote control is not being used for a long time. 4. - Page 12 Trouble Possible Cause Suggested Remedy Fans does not start after A) Remote and receiver are A) Re-pair the receiver and pairing process not paired successfully remote B) Battery flat in remote B) Replace the battery in control remote control C) Loose wire connections C) Check wire connections or plugs to fan/receiver and ensure plugs are...
- Page 13 Model Number Rated Voltage Motor Consumption Rated Light Power CFFCST2WHSMR 220-240Vac Max. 45 W DC Motor N/A CFFCST2LWHSMR 220-240Vac Max. 45 W DC Motor Max 18W LED CFFCST2WHW 220-240Vac Max. 45 W DC Motor N/A...
Need help?
Do you have a question about the Studio DC and is the answer not in the manual?
Questions and answers