Table of Contents
Advertisement
Installation Manual
LOW PROFILE
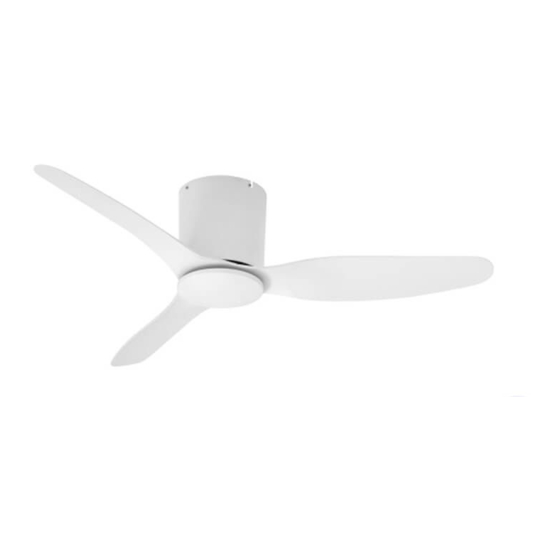
HUGGER CEILING FAN
YOUR FANCO LOW PROFILE HUGGER CEILING FAN
Congratulations on the purchase of your new quality FANCO Ceiling Fan.
Before installation, it is most important that you read and follow the instructions
in this use and care booklet, even if you feel you are quite familiar with this type
of product.
Find a safe place and keep this booklet handy for future reference.
THIS IS NOT A DIY PRODUCT.
THIS PRODUCT MUST BE INSTALLED BY A QUALIFIED ELECTRICIAN
Advertisement
Table of Contents

Summary of Contents for Fanco CFFCLP2WH-48"
- Page 1 HUGGER CEILING FAN YOUR FANCO LOW PROFILE HUGGER CEILING FAN Congratulations on the purchase of your new quality FANCO Ceiling Fan. Before installation, it is most important that you read and follow the instructions in this use and care booklet, even if you feel you are quite familiar with this type of product.
-
Page 2: Important Safeguards
IMPORTANT SAFEGUARDS: Read all instructions carefully, even if you feel you are quite familiar with this type of appliance. When using electrical appliances, in order to reduce the risk of fire, electric shock, and/or injury, these basic safety precautions should always be followed: 1. - Page 3 Ceiling Fan Contents (With Light Kit) Before Installing Unpack your ceiling fan carefully, then remove all parts and components, and lay on a cloth or soft surface to avoid damage. DO NOT lay the motor housing on its side, the housing may get damaged.
- Page 4 Ceiling Fan Contents (Without Light Kit) Before Installing Unpack your ceiling fan carefully, then remove all parts and components, and lay on a cloth or soft surface to avoid damage. DO NOT lay the motor housing on its side, the housing may get damaged.
-
Page 5: Selecting A Location
Selecting a Location DO NOT use outdoors. Installing the fan in a position where it could be exposed to water or moisture is dangerous. Choose a location for mounting the fan where the blades will have at least 2.1 metres of clearance from the floor. - Page 6 Attaching Motor and mounting bar to Mounting bracket 1. Remove the Mounting screw on the mounting bar. 2. Remove the 4 side screws and 2 mounting screws from the mounting bracket and keep for later use. 3. Twist the single screw end of the mounting bar through the rectangular opening on the mounting bracket.
-
Page 7: Assembling The Blades
Fan Housing installation Place the fan housing over the motor assembly and against the ceiling, aligning the 4 screw holes on the mounting bracket. Secure the fan housing to the mounting bracket using the 4 screws as previously removed Assembling the blades With the motor housing in place the blades can now be assembled onto the motor. -
Page 8: Bottom Cover Installation
Bottom Cover Installation Secure the bottom cover to the shaft at the bottom of the fan by twisting it on clockwise until firmly tight. Light Kit Installation 1. Connect the light kit plugs to the plugs from the bottom of the fan. 2. - Page 9 Light Kit Installation continued Align glass shade on light kit and twist clockwise to secure. Balancing: 1. This fan includes a blade balancing kit. Upon initial installation, the balance kit should be used on the fan blades to reduce wobble. 2.
-
Page 10: Troubleshooting
The cost of repairs and / or service call arising from incorrect installation, not due to faulty material or workmanship in accordance with the Fanco warranty, will be payable by the purchaser at the time of repair. -
Page 11: Warranty
The original purchaser of this Fanco Ceiling Fan is provided with the following warranty subject to the following conditions. Fanco warrants this ceiling fans motor for a period of 5 years from the date of purchase, the first 2 years are covered by an in-home warranty. All parts deemed defective in workmanship or materials will be replaced free of charge.


Need help?
Do you have a question about the CFFCLP2WH-48" and is the answer not in the manual?
Questions and answers